Here I use M2P as an example:
1.Download M2P bsp code
(1)Execute command “git clone https://github.com/BPI-SINOVOIP/BPI-M2P-bsp.git”
(2)After you cloned project, execute command “cd BPI-M2P-bsp”
2.Change your boot logo
(1)Prepare a “.bmp” picture, here I rotate 180°, as follows :

(2)Change your picture name as “bootlogo.bmp”
(3)put your picture to “sunxi-pack/chips/sun8iw7p1/configs/BPI-M2P-xxxP/” Here I replaced “bootlogo.bmp” which is under “sunxi-pack/chips/sun8iw7p1/configs/BPI-M2P-720P/” as an example:
![]()
3.Build your code
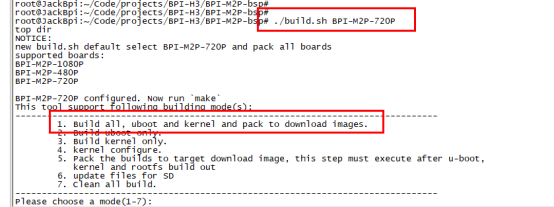
(1) “./build.sh BPI-M2P-720P”
(2) choose 1

(3)After you built the project, you will see “SD” directory

4.Install a raspbian image on your SD card
5.Plug your SD card into your Ubuntu PC
(1) check your SD card was recognised as /dev/sdxx, as you can see, mine sd card was recognised as /dev/sde

6.Then “cd SD/bpi-m2p/100MB”
7.Execute command “bpi-bootsel BPI-M2P-720P.img.gz /dev/sde”

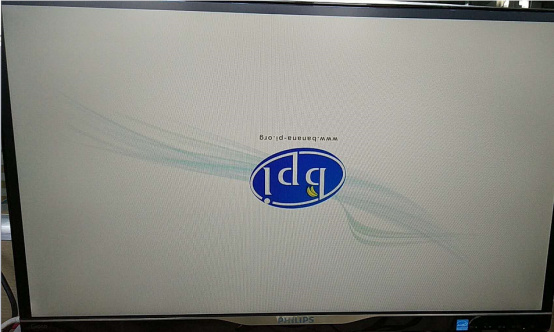
8.Insert your updated SD card to board, and power on, you will see:
