hi guys, I have a 3D printer here and i looking for a 3d case for the R3
does anyone know a housing or knows where I can find something?
hi guys, I have a 3D printer here and i looking for a 3d case for the R3
does anyone know a housing or knows where I can find something?
R3 is an really new board and you can see here that 2 users working on a case:
hmm okay, I have started to build my own model
i have the front design for now and if everything fits i will publish a simple design where everyone can make something better out of it
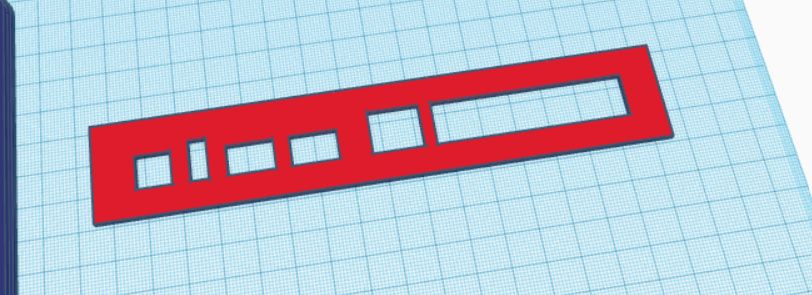
I’m up for one of these. I have a metal case from Ali express but it doesn’t align with the lights on the front / left
i will build a very simple concept, so please don’t expect too much from me, i only do this as a hobby haha xD
I don’t know if and how it is possible to move light from board-leds to any position of the case…maybe some kind of fiberoptic has to be added
i had also thought about how i would handle this, either like you said or i would just make 7 lanes with clear filament
I wondered if you could buy something for the metal case for this to stick onto the LEDs and move them to the edge of the case. But if it’s all in plastic then that’s easier i guess.
i had also thought about how i would handle this, either like you said or i would just make 7 lanes with clear filament
Why message 2 times? Maybe 1 combined works too?
öhm lul fail xD
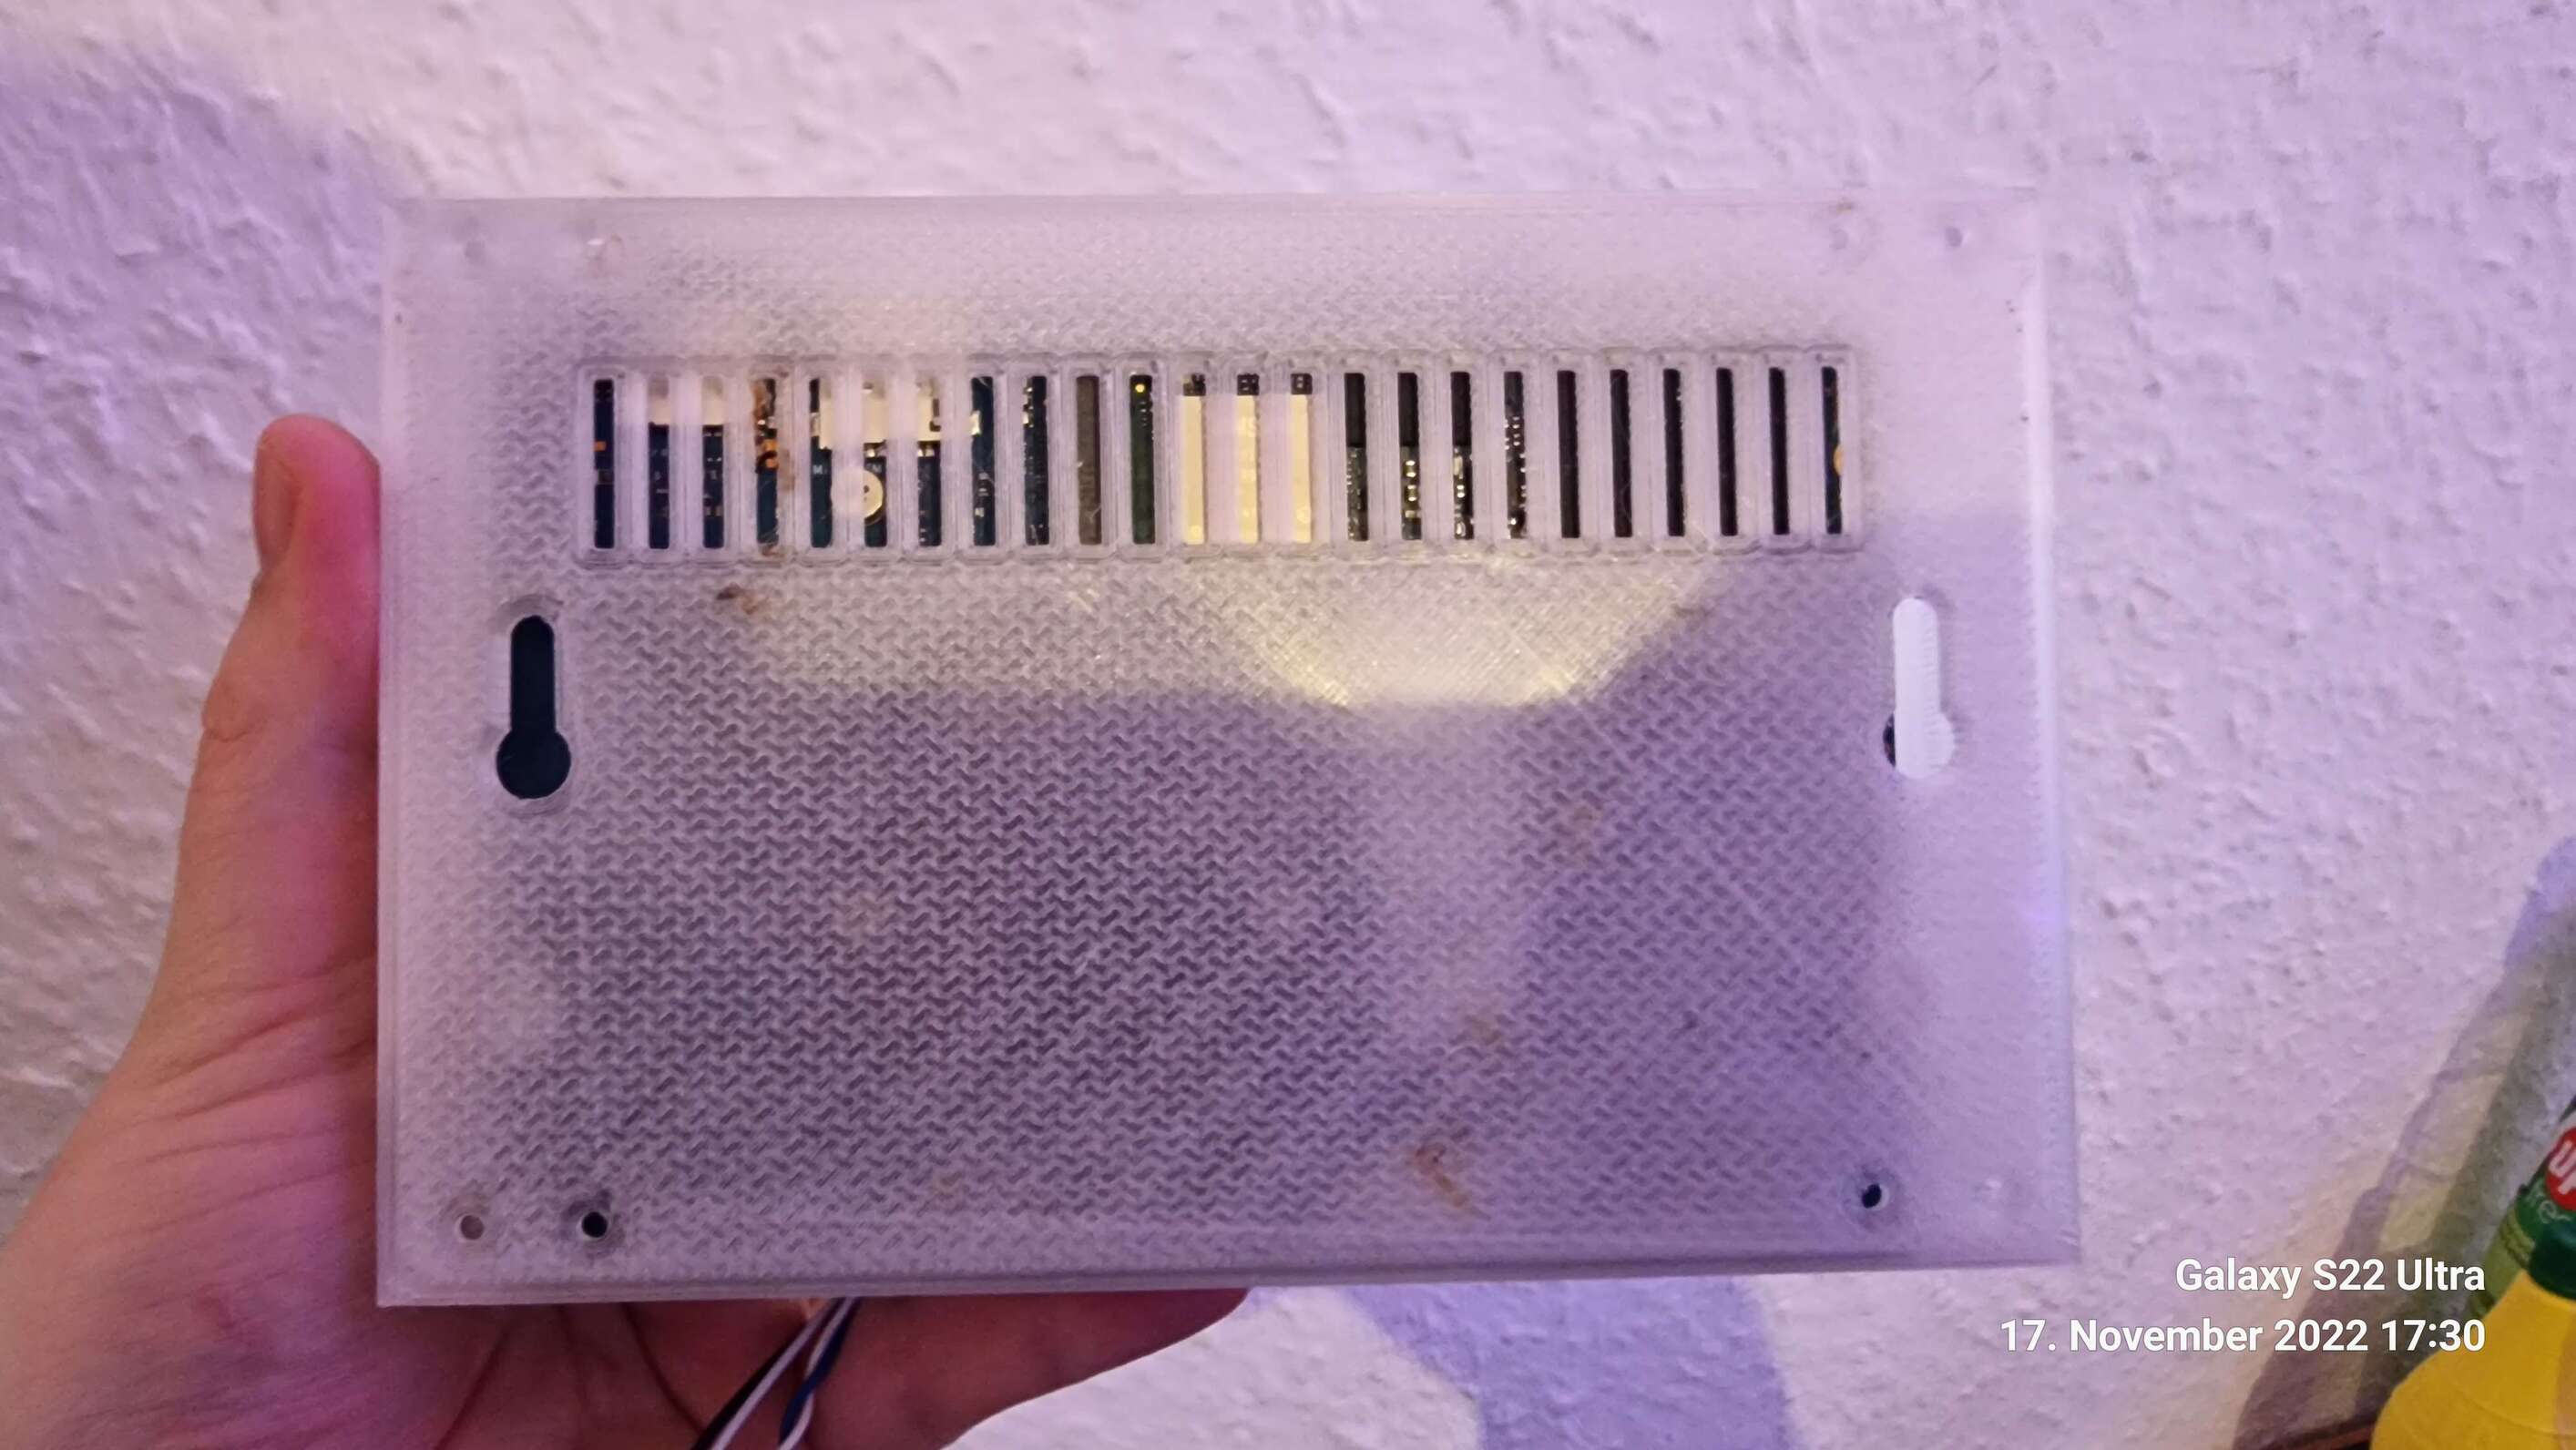
so i build my own 3d case
I’d give it some more holes for SMA/RP-SMA connectors. The board itself already has 8 antenna connectors, now think that people may add another 4T4R Wi-Fi 6E module and maybe also 3G/4G/5G modem with at least 2 data antennas and 1 GPS. That makes it 15 antennas total…
oha okay O.o currently i have only one 4g / lte card installed and 10 antennas in total I have adapted the housing to myself, but anyone can customize it individually (see screenshot)
This looks indeed good. I would not add the addditional holes but leave space for them (can be easily drilled if needed). My lte card uses inhouse antenna without additional hole needed.
More interesting will be a removable slot for the m.2 slot that allows chaning it from outside or allow using an m2 to sata adapter.
And i want to have a possibilty to connect debug uart directly and have a micro-usb connector direct on case (see my r2 case). Similar for gpio. It is helpful to have Prepared holes for getting cables out of the case and better access connectors without disabling the case.
And maybe a solution for the leds (how to bring the light out of the case - maybe clear filament is enough).
Second Try  yes I know the filamt has become too hot
i am printing the lid now, if it all fits i will release the 3d files
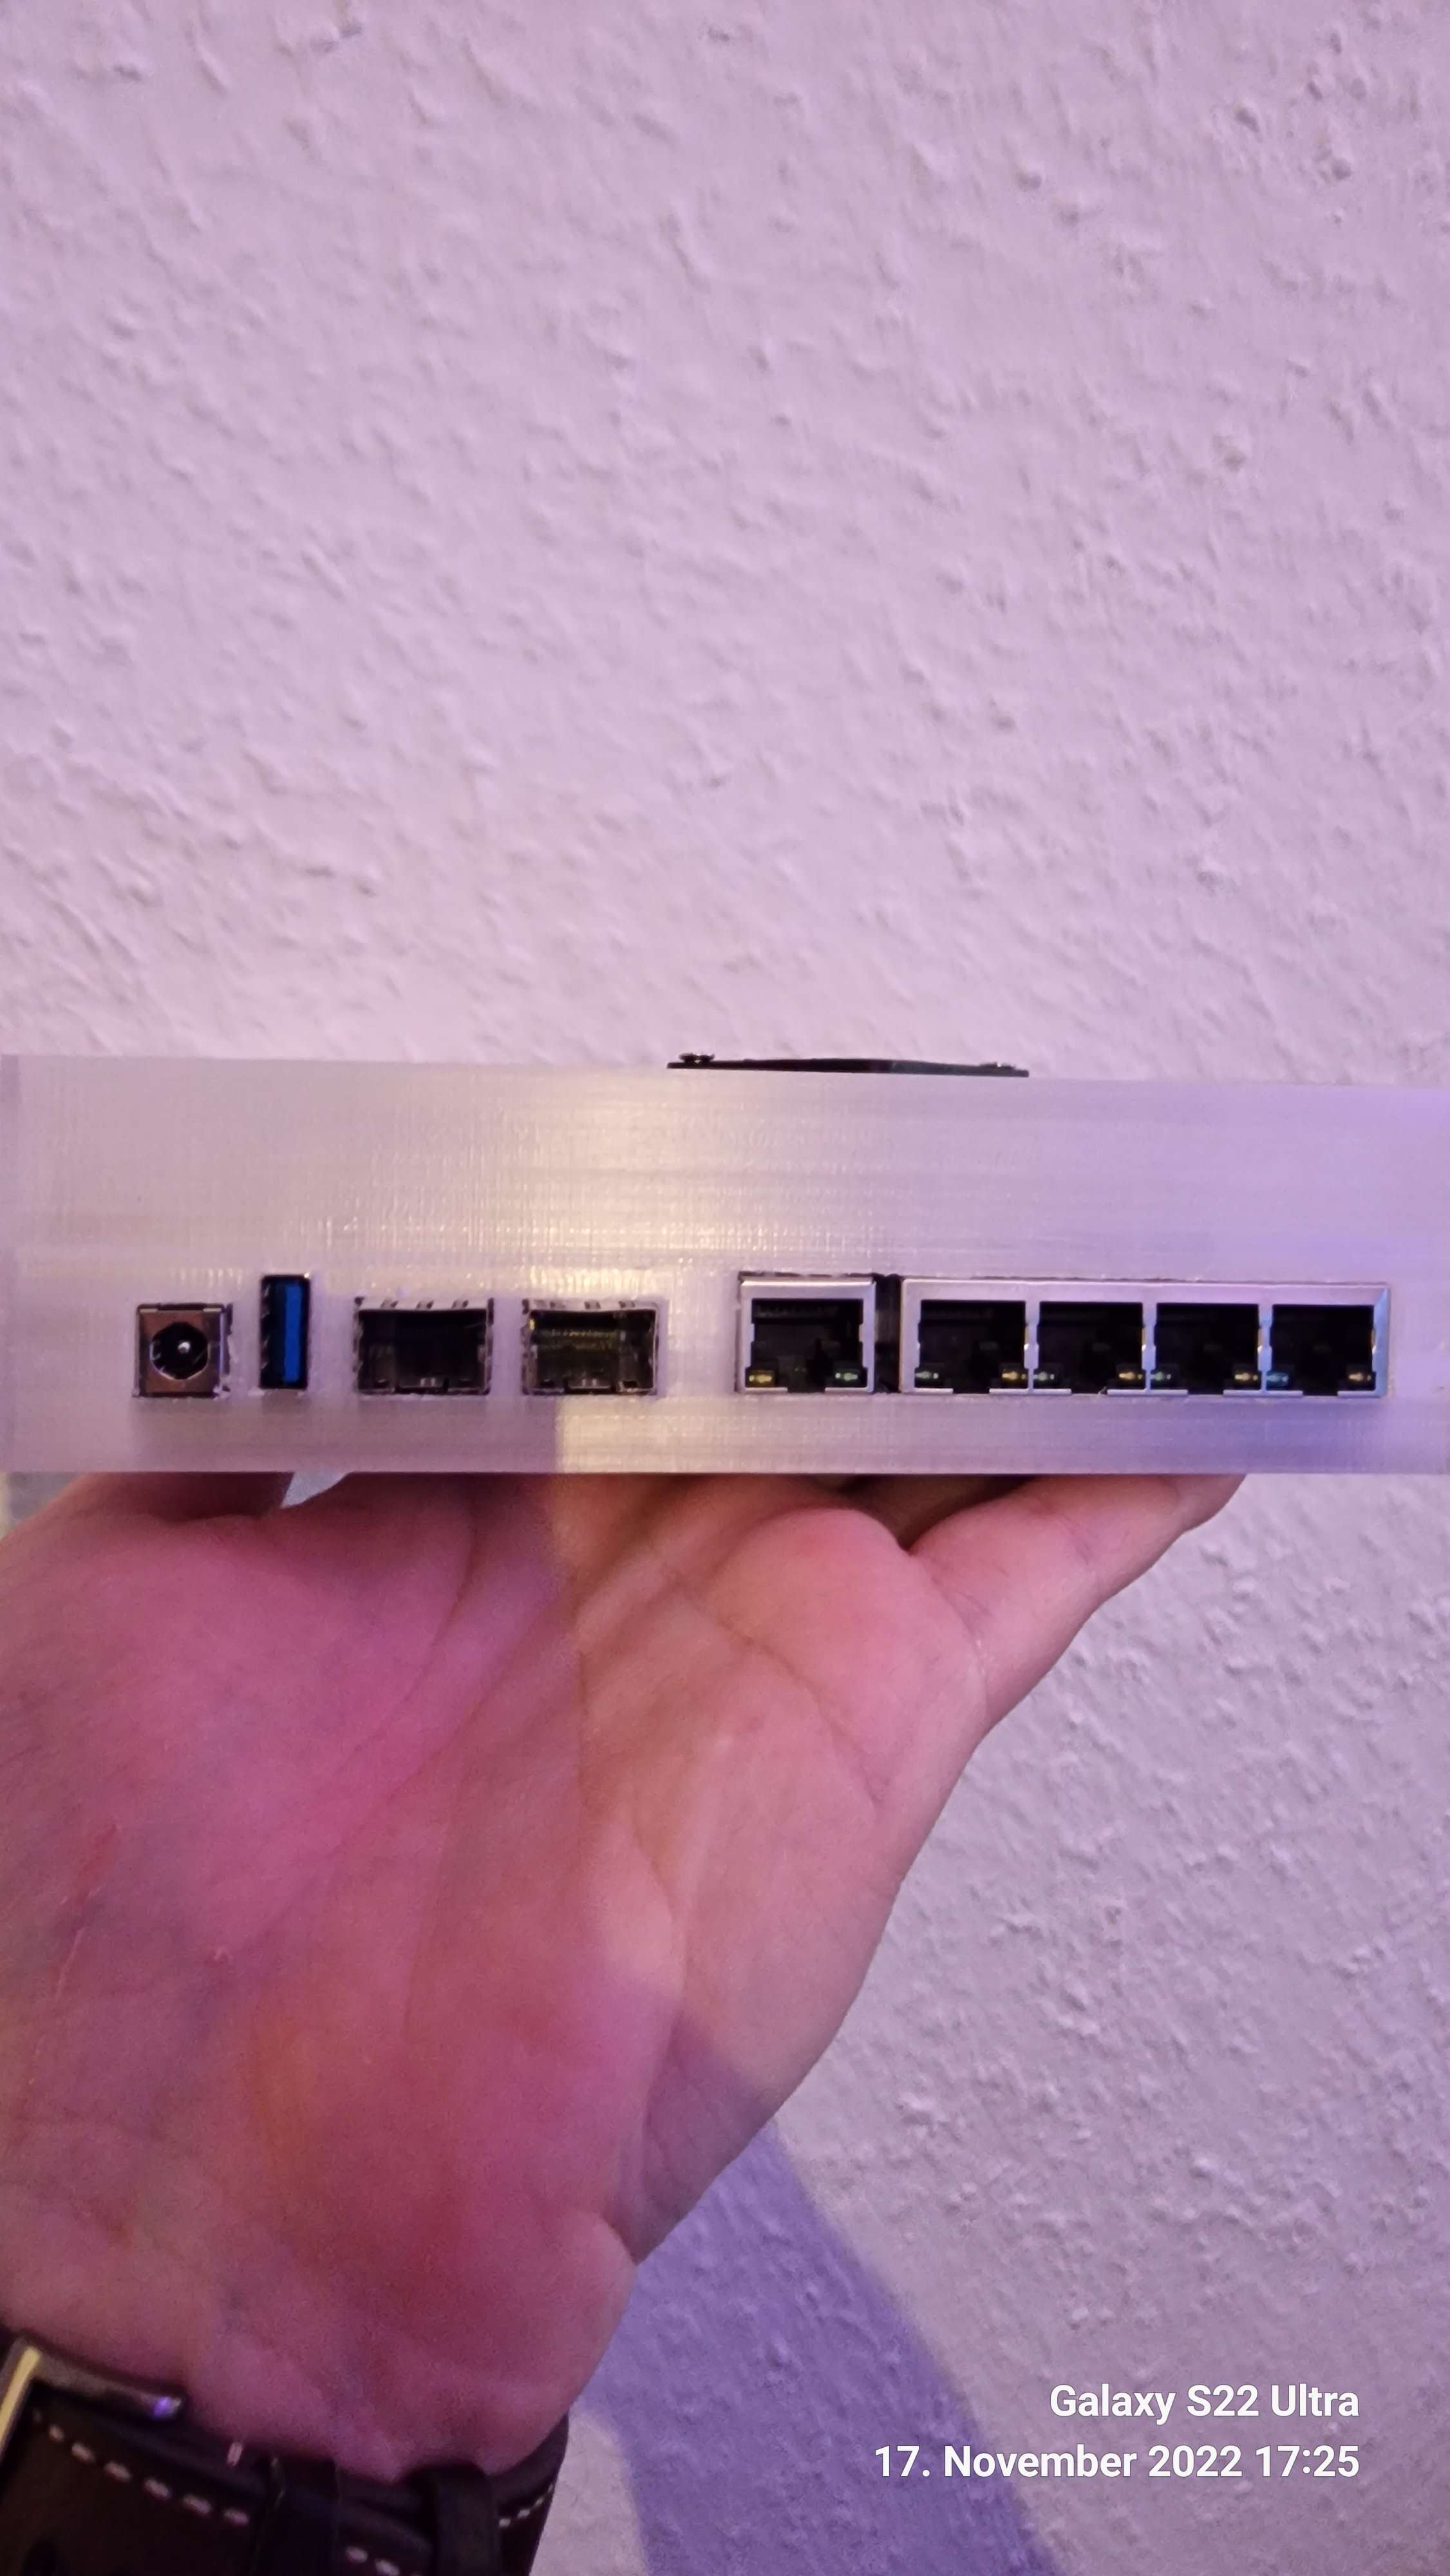
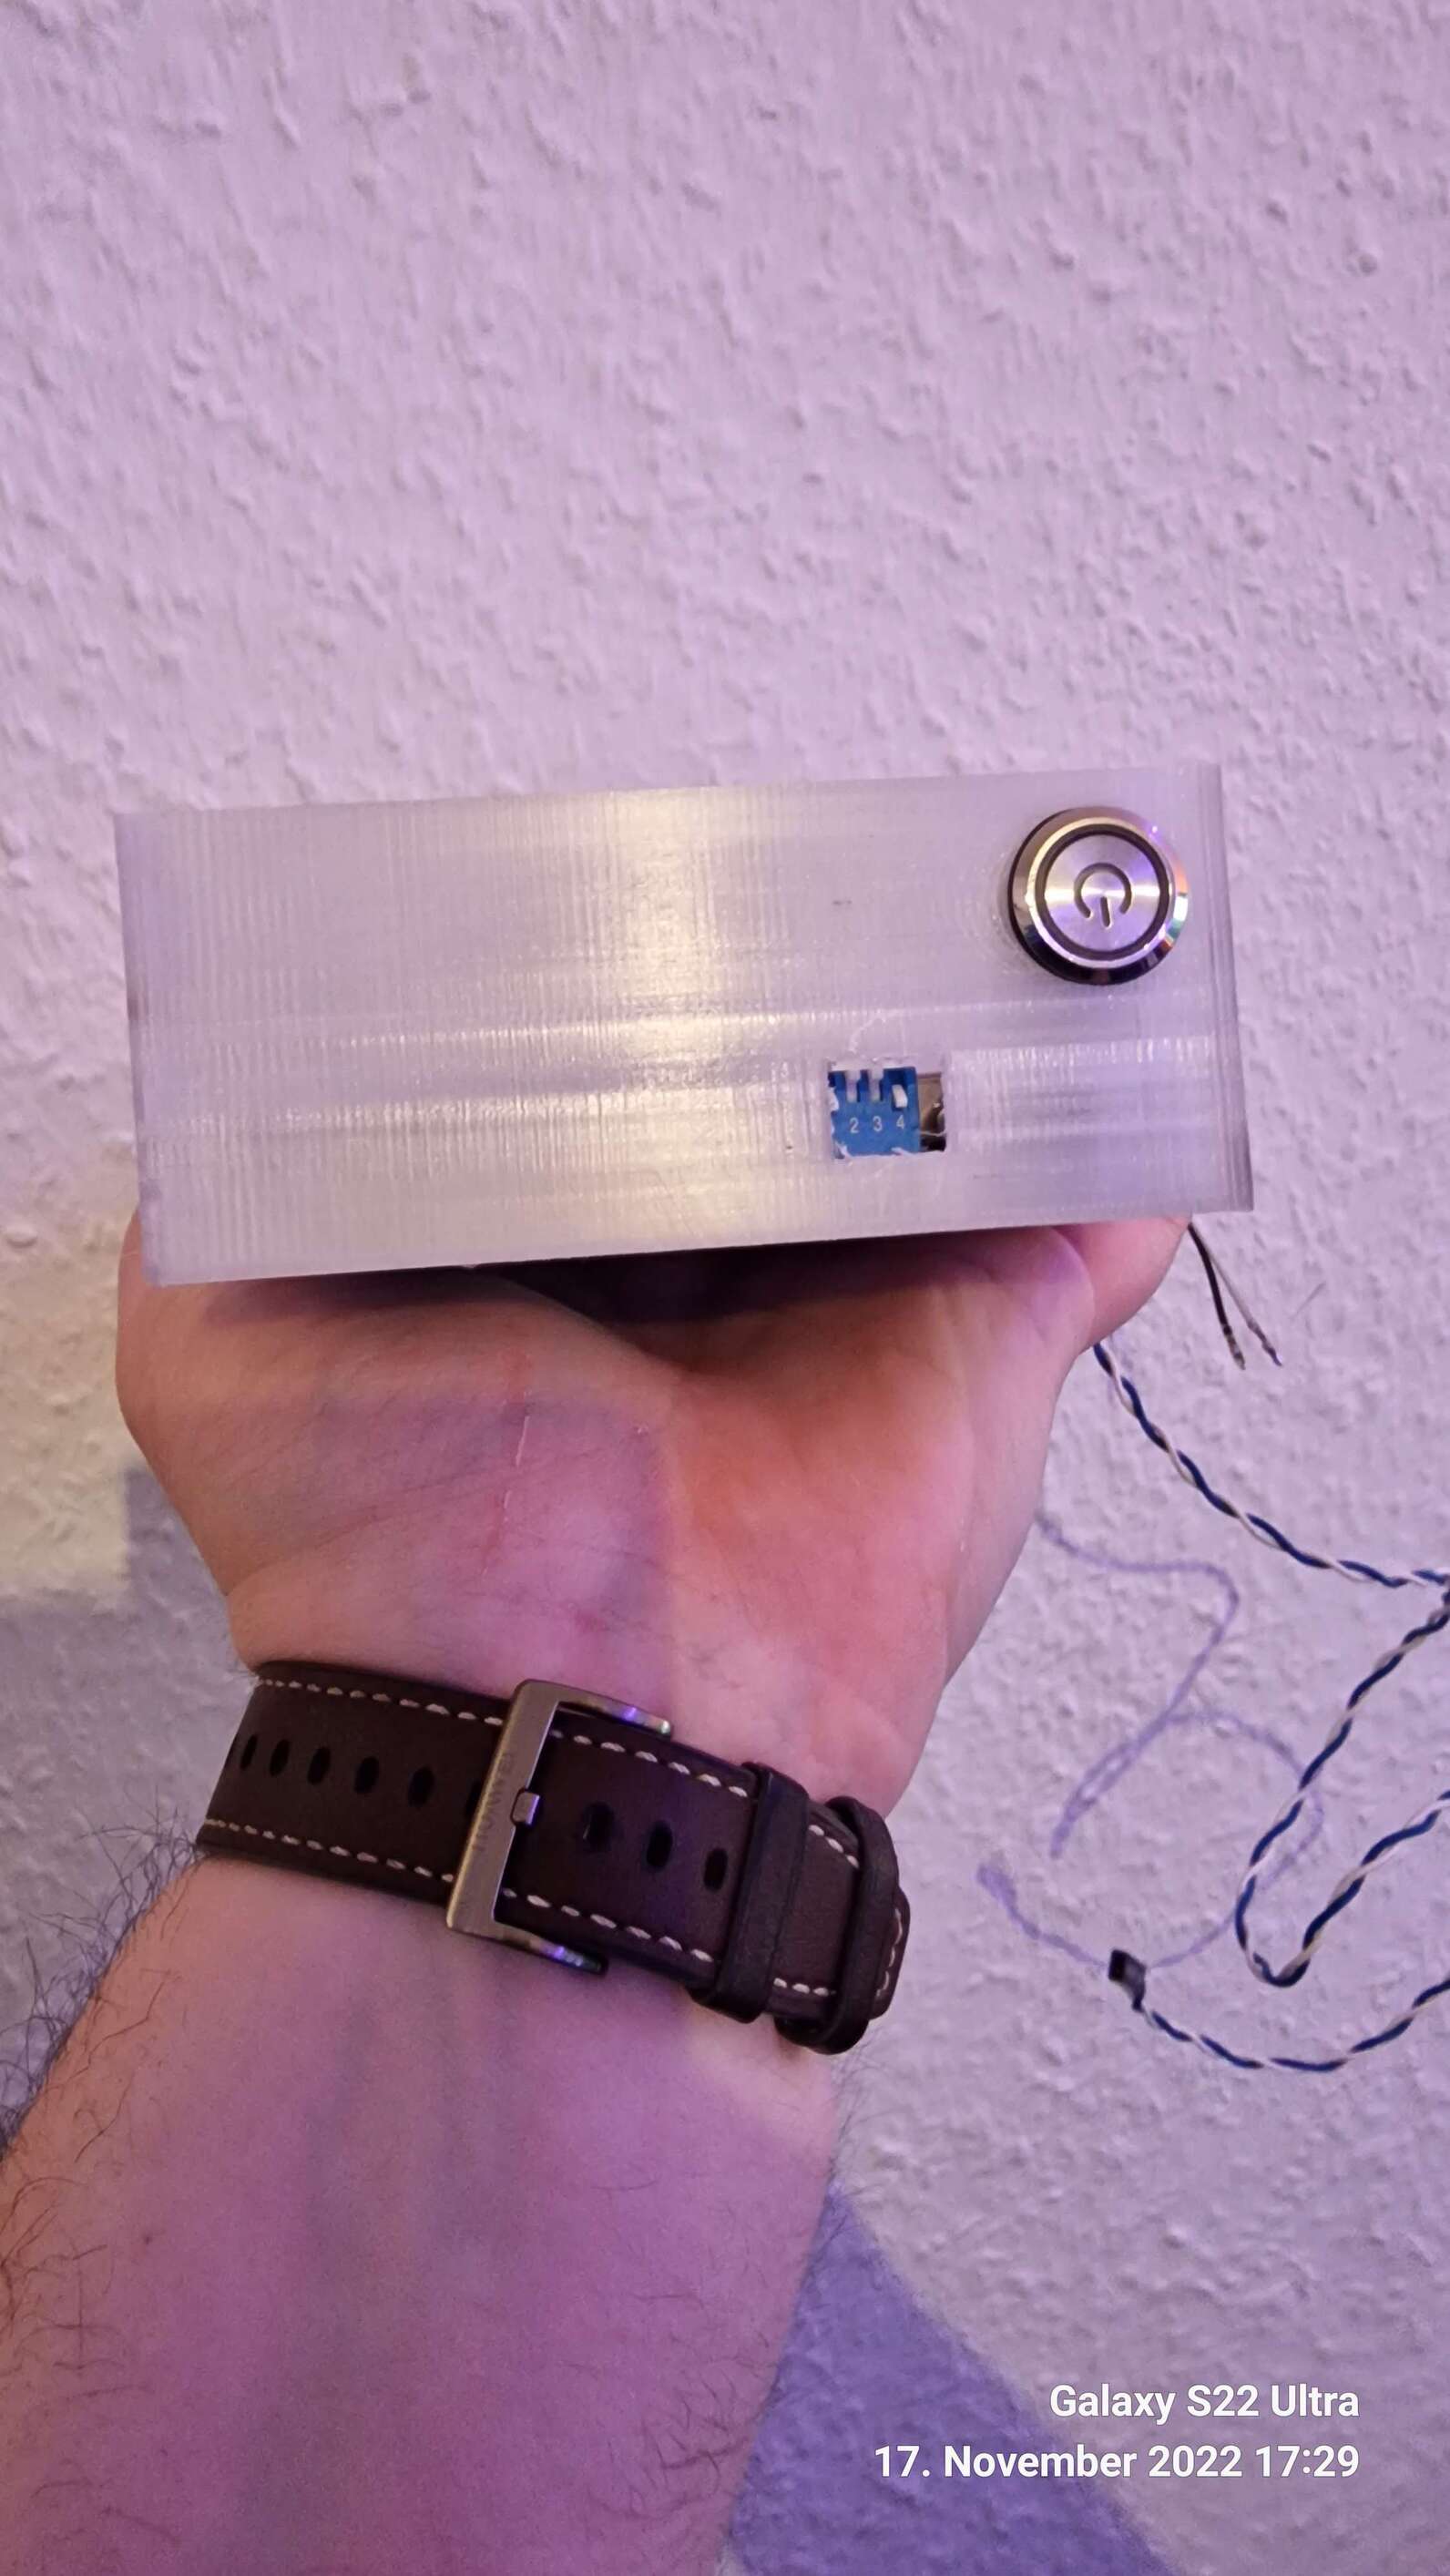
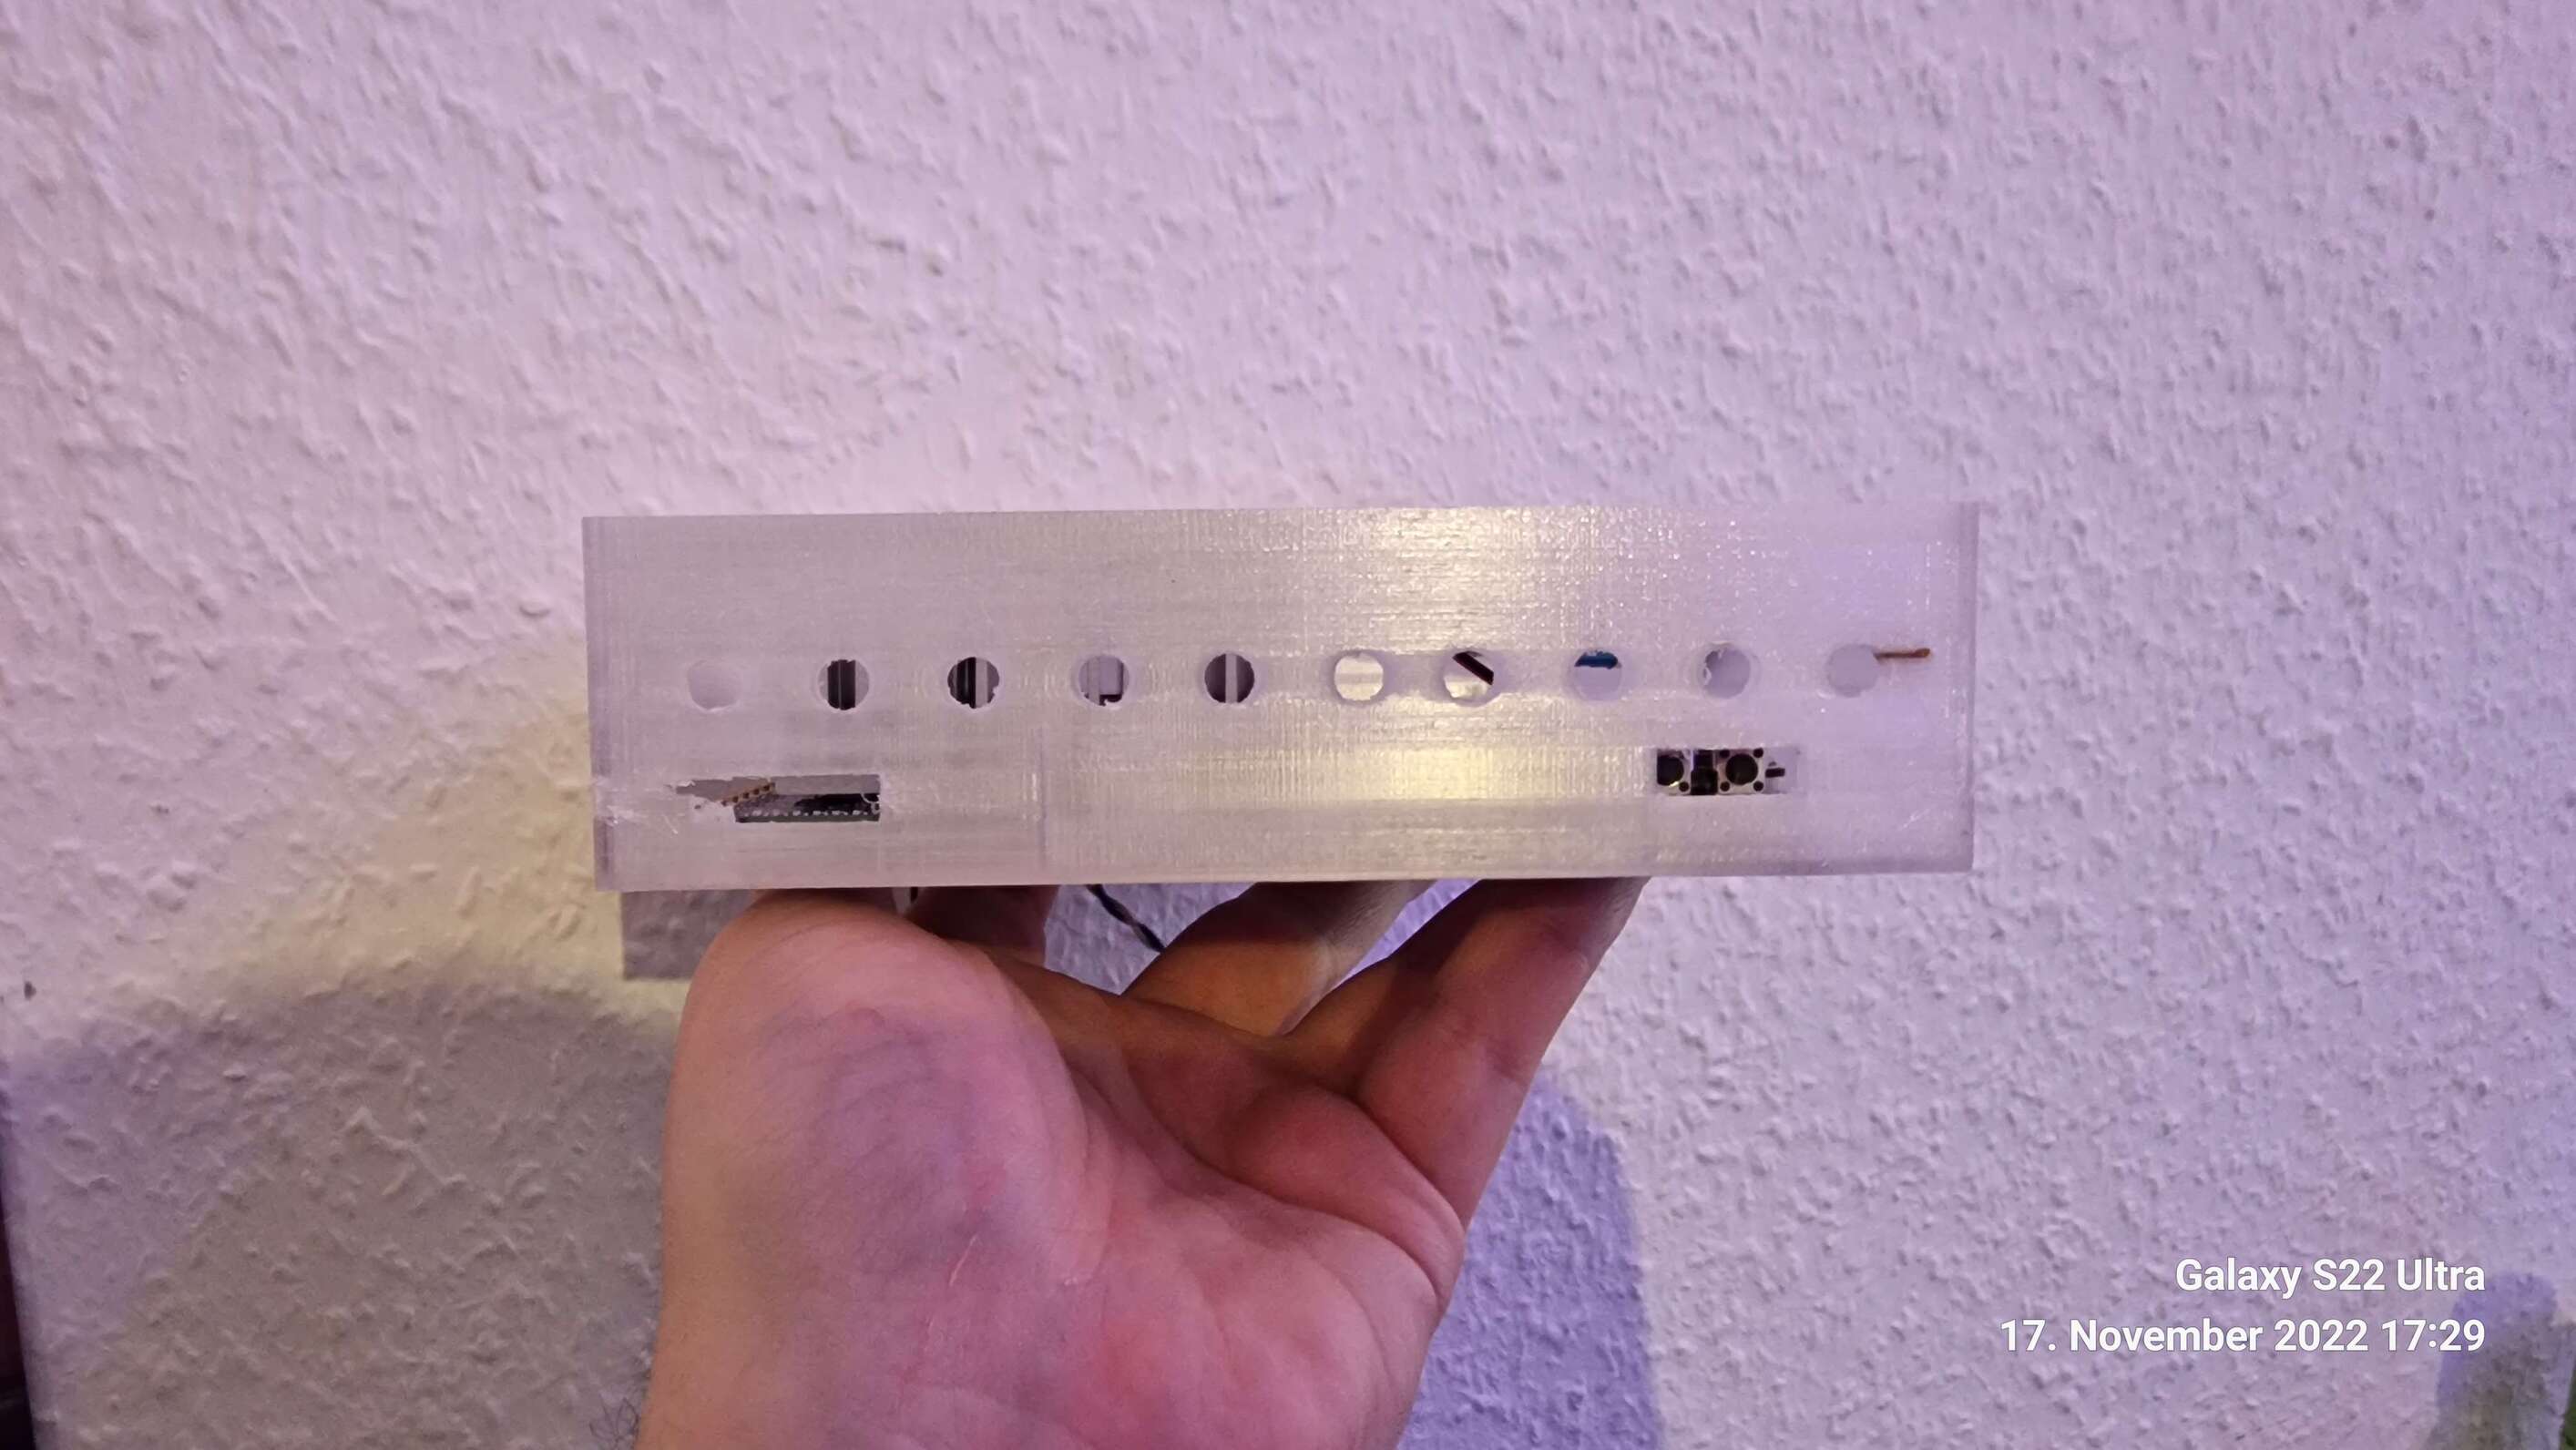
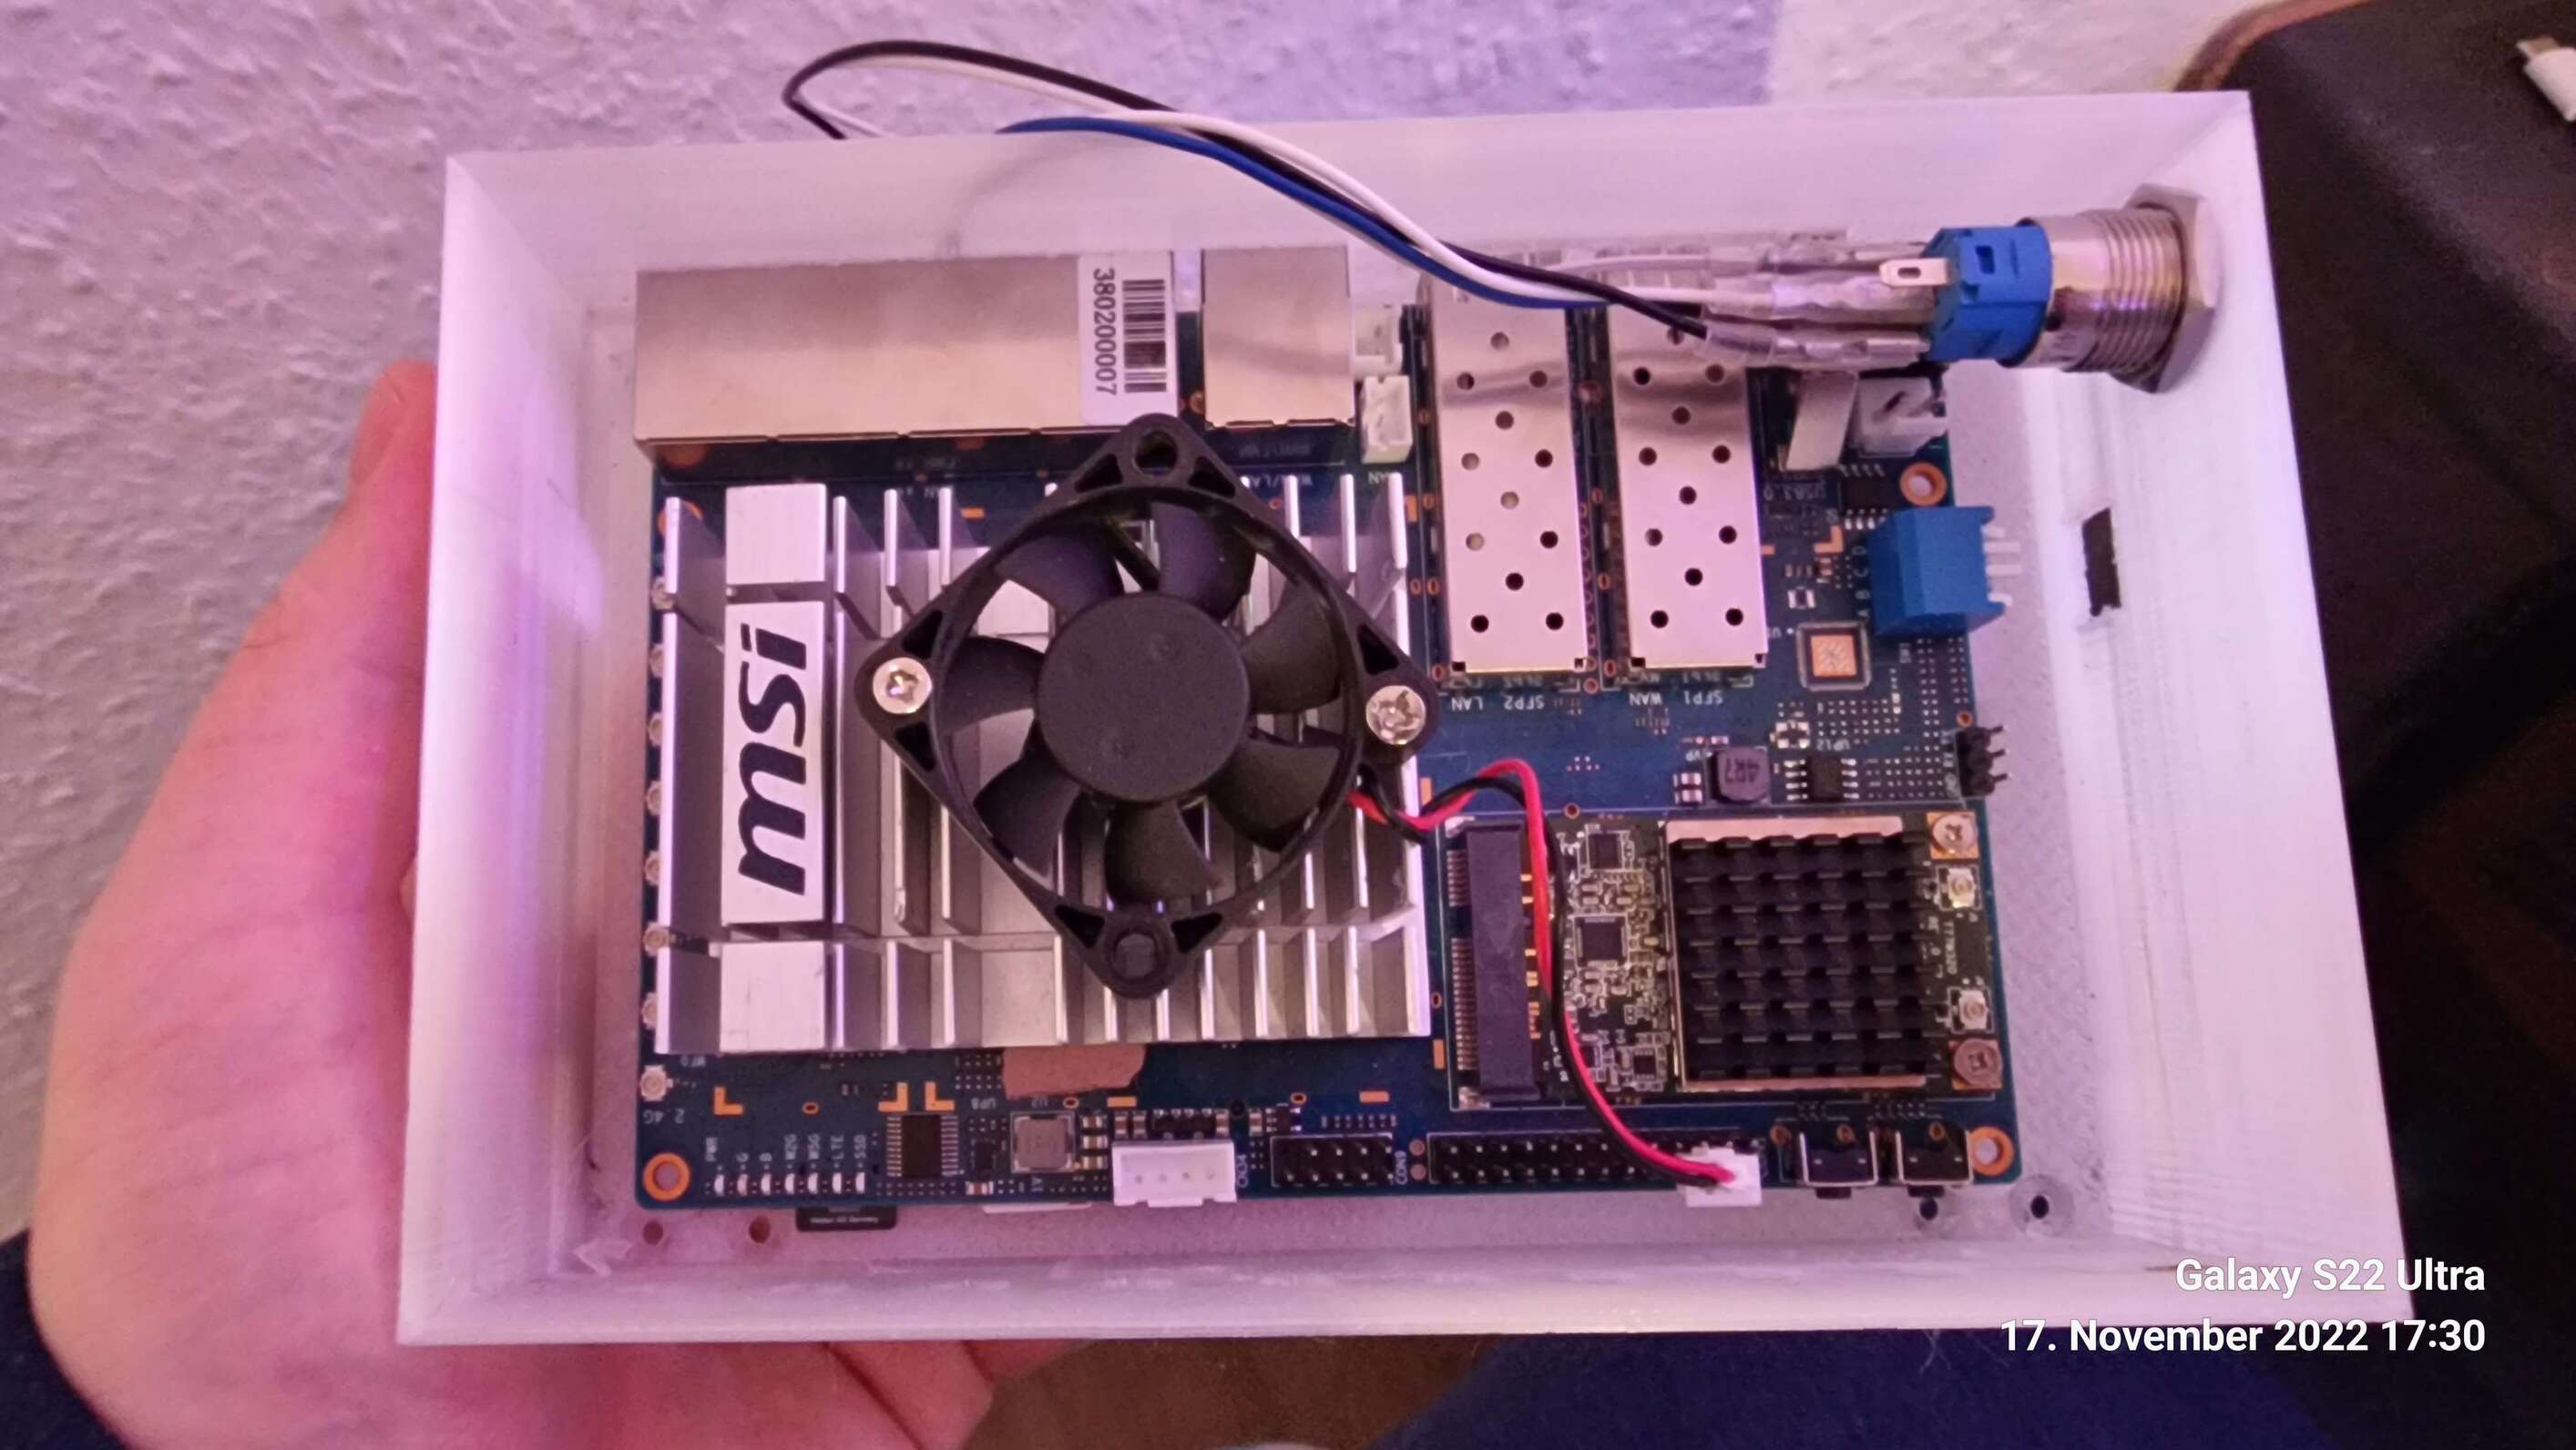
Can you insert/eject sdcard from outside of the case? How do you want to connect your powerswitch?
Bootswitches seem also be hard to access from outside,imho case schould be smaller to have wall of case closer to the board
I am almost done with my design and it’s getting quite good in my opinion. I had to start from scratch many times as this is my first time attempting something so “complex” and so it was quite a learning curve. The main part of the case fits like a glove and prints very well. I am still missing:
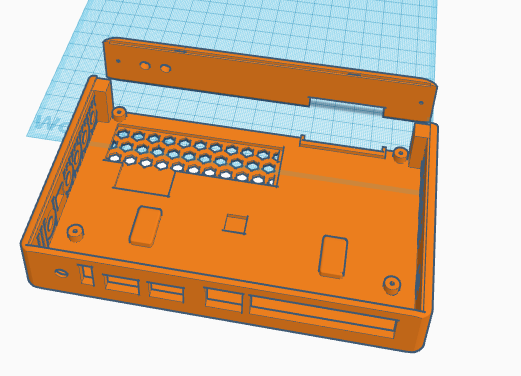
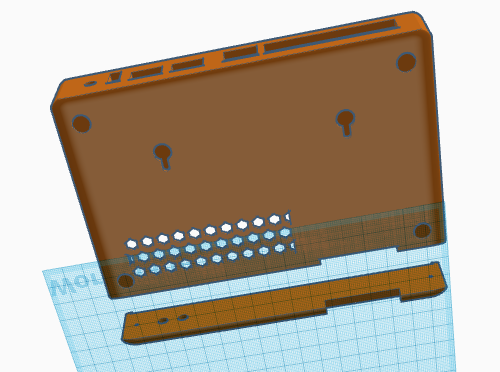
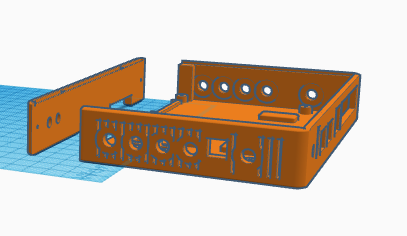
The case will be secured with two screws on the back plate that screw into the main case. the top cover will be fixed by little latches.
I implemented two nice suggestions from frank-w, a vented back for the nvme and the system for wall mount.
Why is the back cover separately? Is it unprintable because of the sim/sdslot?
Can the nvme cover removed (to use sata adapter)?
Could you try adding clear filament over the leds (triangle) to move light from them to the back-cover?
For top-cover it would be nice to have some kind of removable slot to access the gpio without removing the cover completely
the back cover is not part of the main case to make the board fit better inside. This way the sim/sdslot is closer to the back and the reset button is also “touchable”. My first designs where with the back part being part of the main case but after printing many test cases I ended up with this design that I think is better.