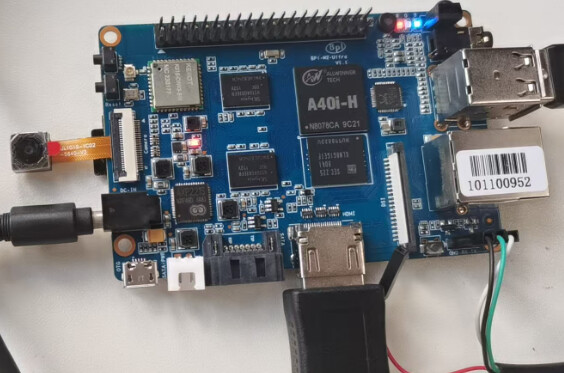
Prepare:One BPI-M2-Ultra, one HDMI display screen and an OV5640 camera.
Image name: 2020-04-19-ubuntu-16.04-mate-desktop-bpi-m2u-sd-emmc.img
First, Burn the image onto the SD card and Insert the SD card,connect the OV5640 camera to the BPI-M2-Ultra.Then connect the power supply and start it.
Under the /dev directory, you can find the device for the camera, which is named video0.
root@bpi-iot-ros-ai:~# ls /dev/v
v4l/    vcs1    vcs3    vcs5    vcs7    vcsa1   vcsa3   vcsa5   vcsa7
vcs     vcs2    vcs4    vcs6    vcsa    vcsa2   vcsa4   vcsa6   video0
Our test scripts are located in the /usr/local/bin directory.
root@bpi-iot-ros-ai:/usr/local/bin# ls
a10disp              frame_2592x1936.jpg        realtinaplayerdemo
adbd                 frame_640x480.jpg          services_test
adbd.sh              frame_800x600.jpg          sgx_blit_test
apple.dat            g40_bcm.py                 sgx_clipblit_test
bpi-bt-on            g40.py                     sgx_flip_test
bpi-bt-patch         getevent                   sgx_init_test
bpi_test_52pi        glsltest1_fragshaderA.txt  sgx_render_flip_test
bpi_test_gpio40      glsltest1_fragshaderB.txt  sun8i-corekeeper.sh
bpi_test_hello       glsltest1_vertshader.txt   test_ov5640_image_mode.sh
bpi_test_lcd1602     gpio                       test_ov5640.sh
brcm_bt_reset        gpio40                     test_ov8865.sh
brcm_patchram_plus   gpio40_bcm                 tinacameratest
bt_reset.sh          gpio40_wpi                 tinaplayerdemo
cameratest.sh        guvcview                   tinarecorderdemo
cap                  guvcview.rpi               tinymembench
ffmpeg-3.1.4         guvcview.u1604             xeglinfo
frame_1024x768.jpg   h3disp                     xgles1test1
frame_1280x720.jpg   info.py                    xgles1_texture_stream
frame_1280x960.jpg   irtester                   xgles2test1
frame_1600x1200.jpg  pdump                      xgles2_texture_stream
frame_1920x1080.jpg  pvr2d_test                 xmultiegltest
frame_2048x1536.jpg  pvrsrvctl
You can use ./test_ov5640_image_mode.sh and ./cameratest.sh to test the usage of the camera.
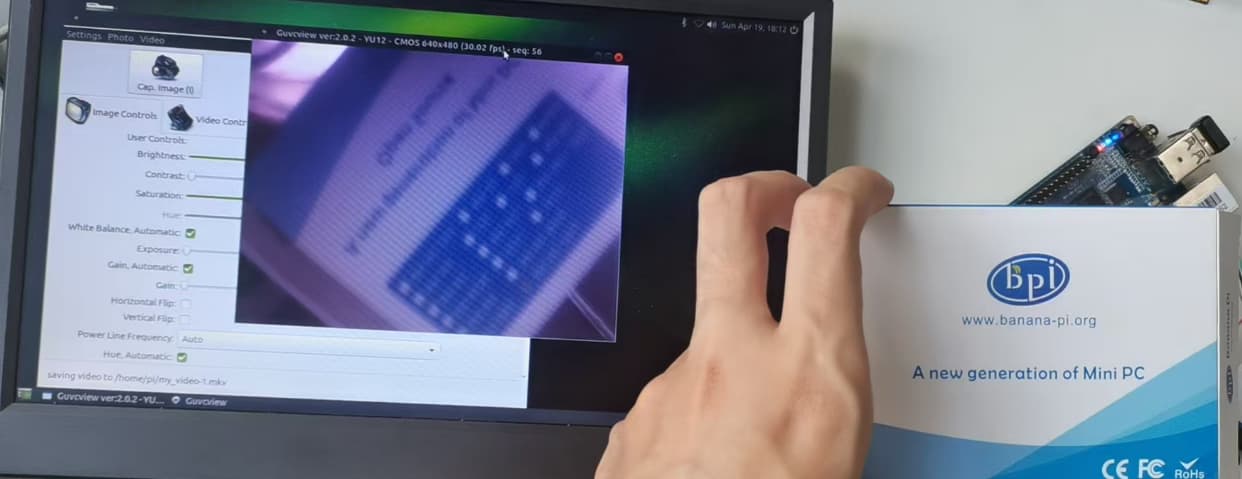
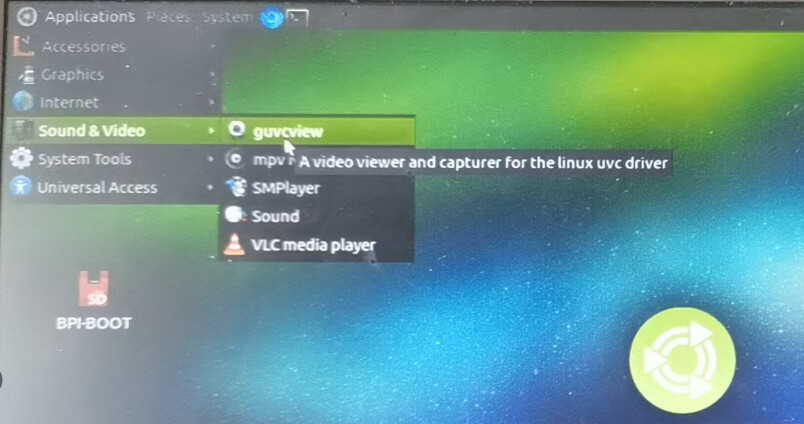
On the desktop, you can directly click on this application to use the camera.
Then you can use this camera.