This release is for the Bananapi BPI-M6 development board based on Synaptics VS680.
1、Get ready:BPI-M6, a 5V/3A adaptor type-c power supply.
SenarySocSystemTool (Download link:https://download.banana-pi.dev/d/ca025d76afd448aabc63/files/?p=%2FTools%2Fimage_download_tools%2FSenarySocSystemToolSetupV1.3.2.1.zip
image: Banana Pi BPI-M6 - Banana Pi Wiki (banana-pi.org)
2、Install SenarySocSystemTool
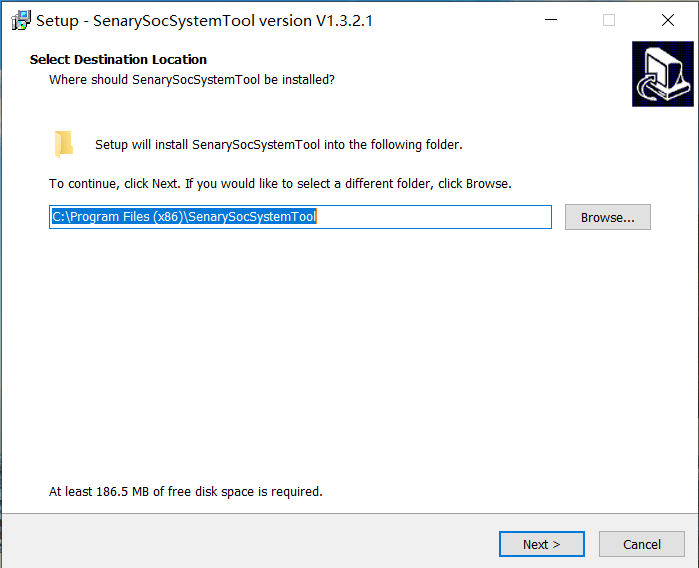
Open SenarySocSystemTool.exe, select the installation path, and then click Next.
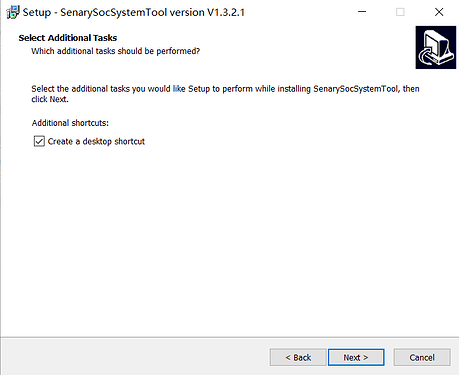
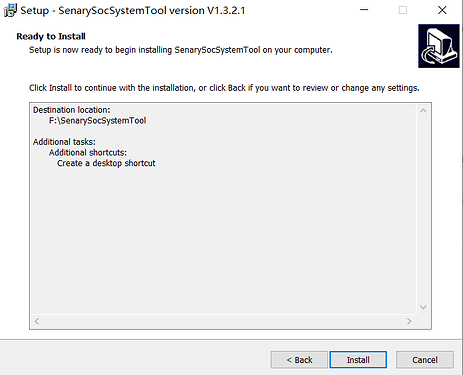
Click Next, then click Install
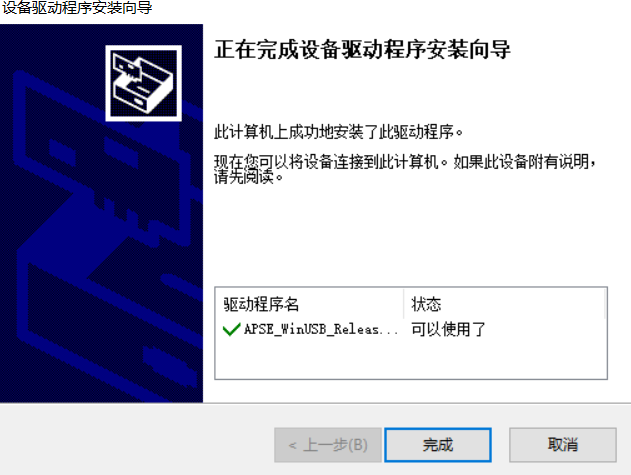
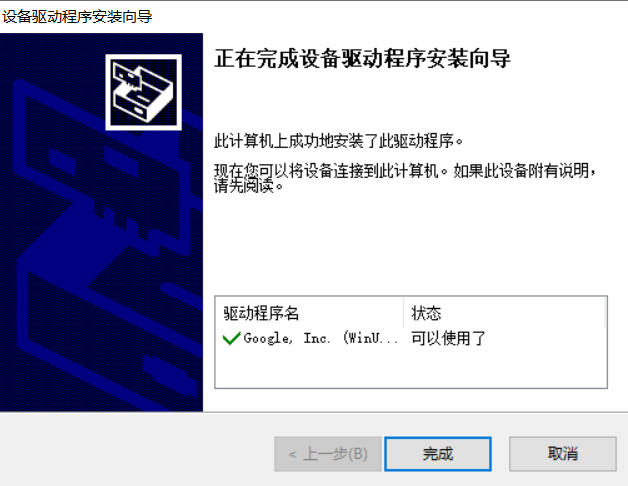
The installation of SenarySocSystemTool is complete. Next, install the driver. Click Finish
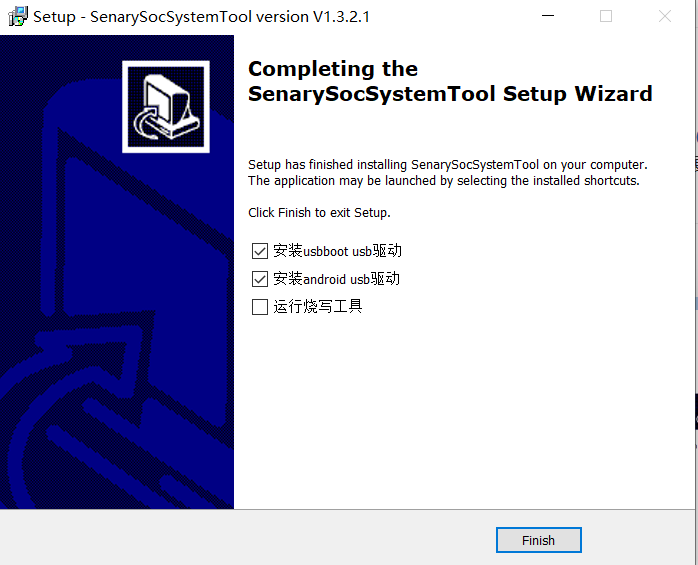
installation is complete
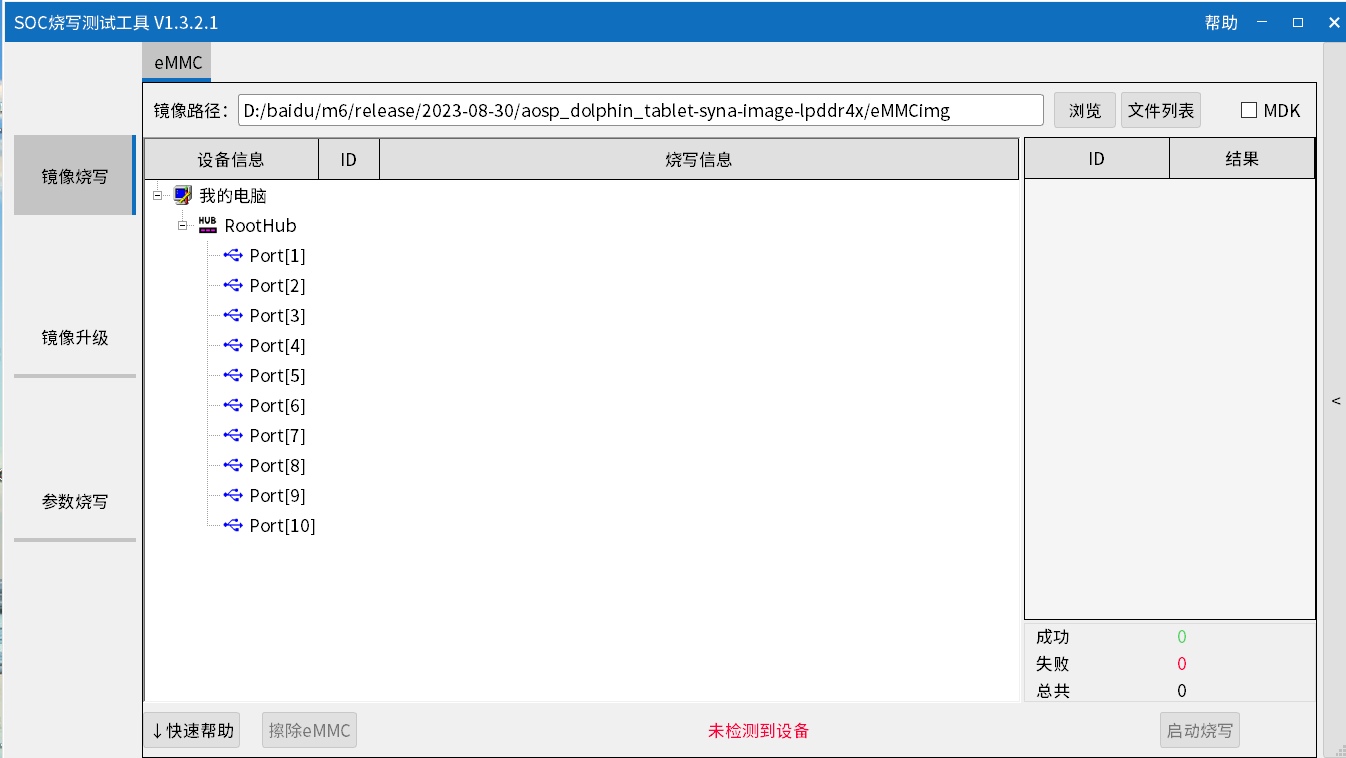
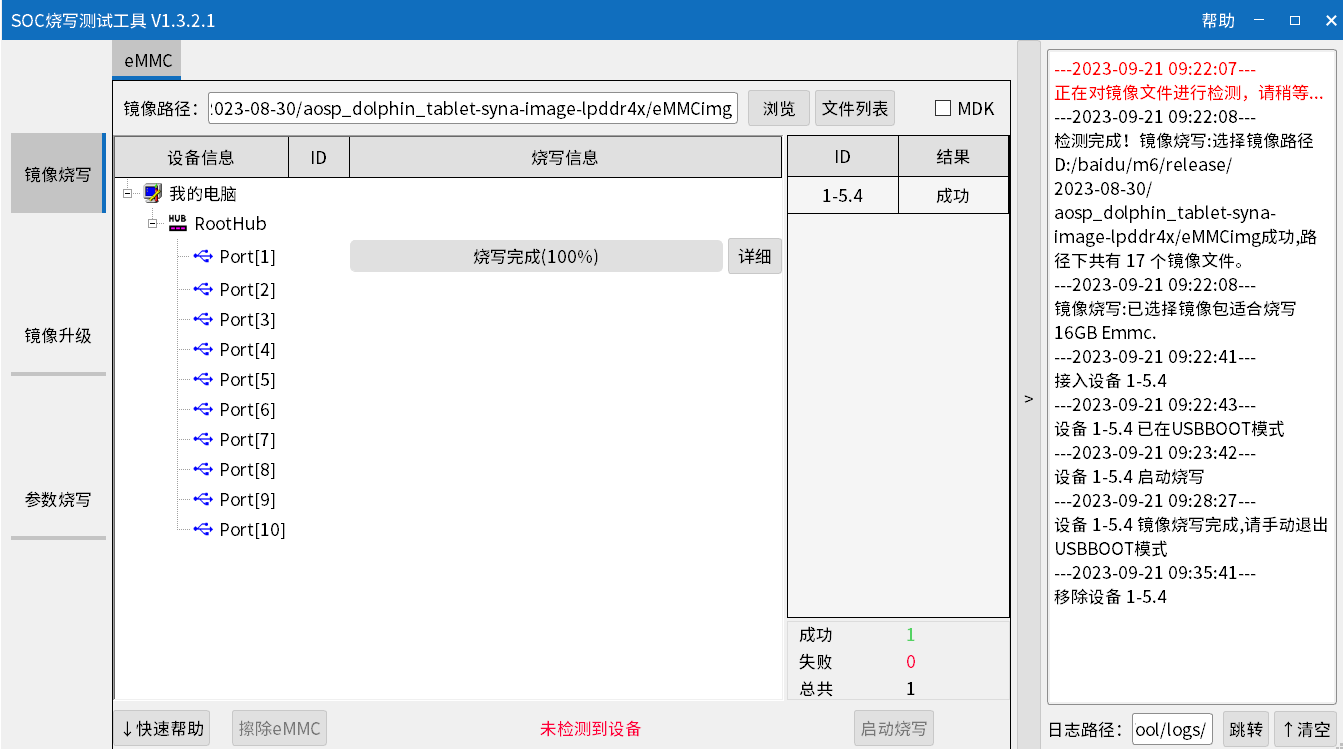
3、burn image
Click “Browse” and select the location of the image (it needs to be opened in the corresponding EMMC folder)
Press the USB button next to type-c and connect to the computer using the type-c cable.
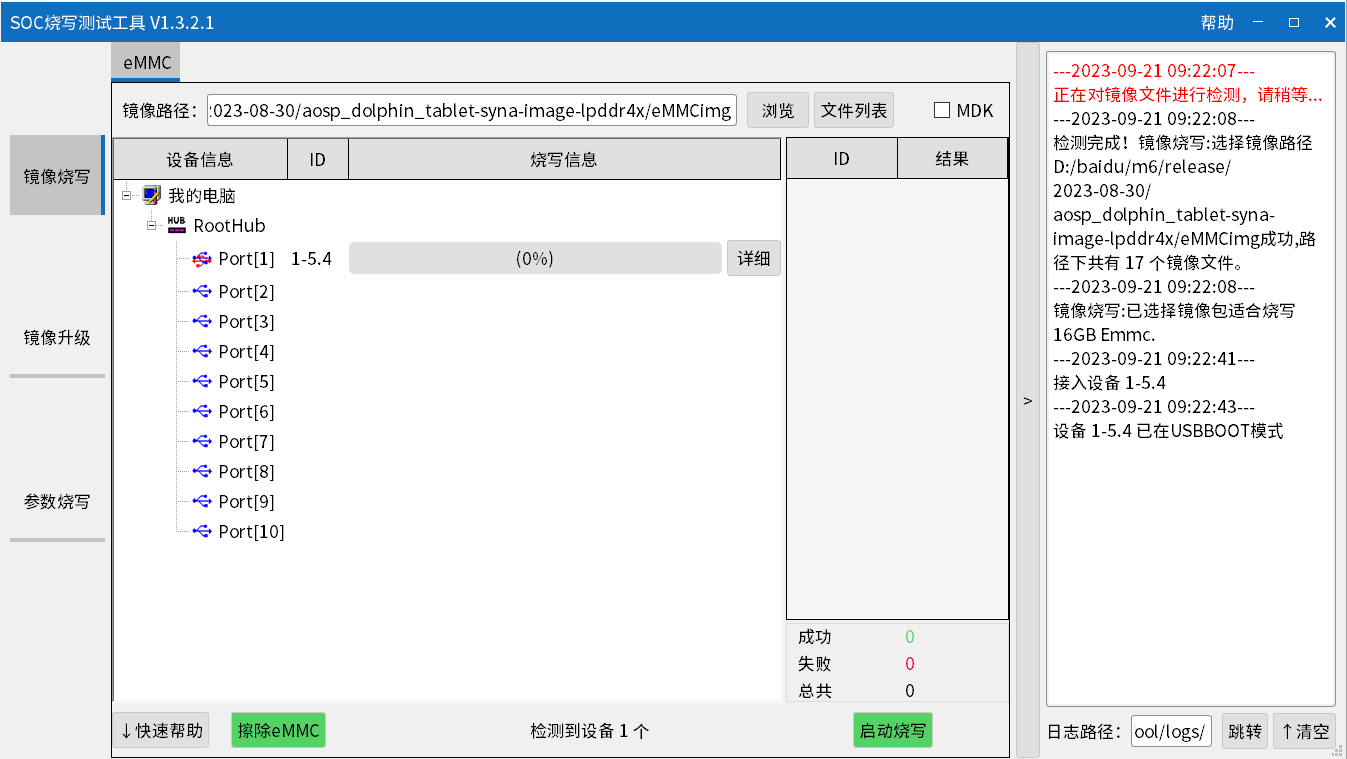
Click to start burning. To exit USBBOOT mode after burning is completed (press the RST key or power on again to exit USBBOOT mode)
If you want to erase eMMC, you can repeat the above steps, but you need to click on Erase eMMC instead of starting the burn.