Before reading this tutorial, you need to first read Tutorial :Burning BPI-M5 Armbian image to SD card in Windows - banana pi single board computer open source project official forum BPI team (banana-pi.org)
1、get ready:M5 board, SD card,U Disk,5V adapter, usb to ttl cable( or HDMI cable and monitor, mouse, keyboard).
MobaXterm (Download link: https://mobaxterm.mobatek.net/download-home-edition.html?spm=wolai.workspace.0.0.6b9c394bQaPoSe)
2、Copy the image to the U disk.Then insert the u disk into m5.
3、Note:The EMMC of the M5 needs to be empty,if you have images on EMMC it will boot from EMMC by default.
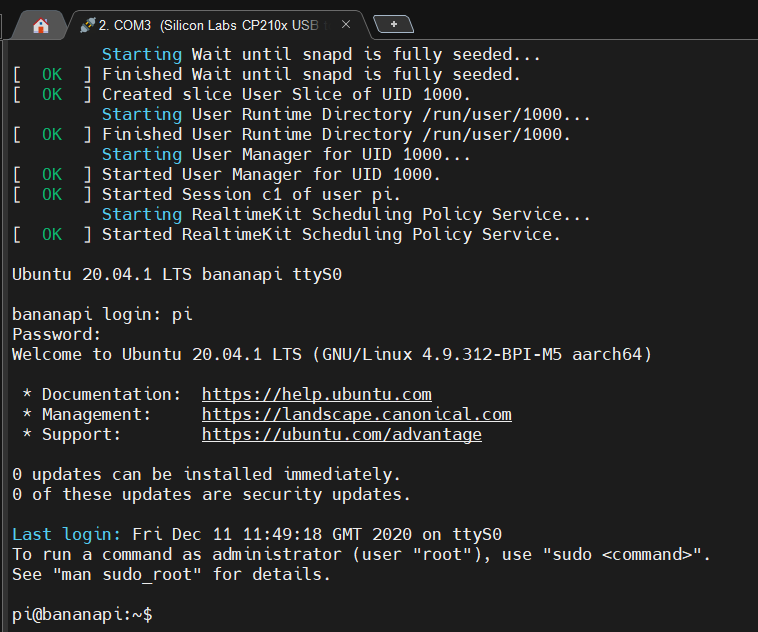
The image name I use is 2023-03-01-ubuntu-20.04-mate-desktop-bpi-m5-m2pro-aarch64-sd-emmc.img. Insert the SD card into M5 and insert USB to TTL Cable (or Monitor).Plug in 5V power to start M5 from the SD card.
4、
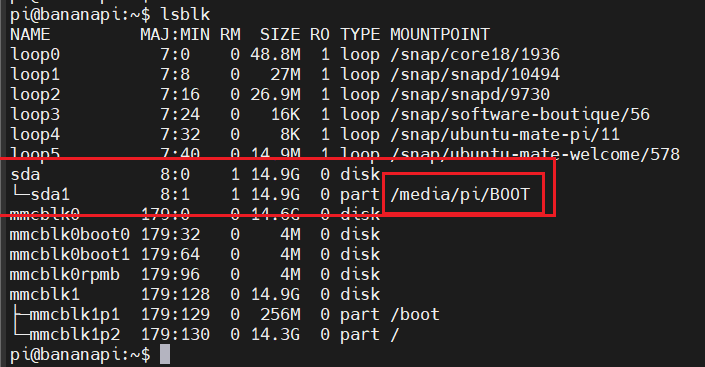
lsblk
You can see sda (sd *). If the mountpoint area is not blank, it indicates that the u disk has been mounted.(You can skip step five)
5、If the mount point area is empty, manual mounting is required.
sudo mount dev/sda1 /mnt
Mount the u disk to mnt.
6、Next, use the dd command to burn the image to eMMC.
sudo dd if=your_img_path of=/dev/mmcblk*
sudo dd if=/mnt/2023-03-01-ubuntu-20.04-mate-desktop-bpi-m5-m2pro-aarch64-sd-emmc.img of=/dev/mmcblk0
![]()
7、You can also choose to use bpi-copy.If you use the bpi-copy command, you can directly write to eMMC without decompressing it.
sudo bpi-copy your_img_path /dev/mmcblk*
sudo bpi-copy /mnt/2023-03-01-ubuntu-20.04-mate-desktop-bpi-m5-m2pro-aarch64-sd-emmc.img /dev/mmcblk0
![]()
If an error appears as shown in the figure below, it indicates that there is no bpi copy and installation is required.
![]()
curl -sL https://github.com/BPI-SINOVOIP/bpi-tools/raw/master/bpi-tools |sudo -E bash
After installation, use bpi-copy again for recording.