I recently bought an OpenWRT One, and I’ve got it all set up the way I want…
a hard drive connected to it and shared over the lan via Samba, with HD Idle to spin the drive down;
using hardware offloading but limiting upload speed to just under the ISP’s limit to prevent bufferbloat and concomitant increase in latency under high data transfer rates:
(I set up /etc/firewall.user, set it up as an include for /etc/config/firewall (option type ‘script’, option path '/etc/firewall-user, option fw4_compatible ‘1’), with the contents of that file being: nft insert rule inet fw4 forward oifname “eth0” limit rate over 3333 kbytes/second burst 5 mbytes drop);
DoH, using DNS servers that do ad blocking;
various tweaks, etc.
One issue: We’re in a warm area, so the OpenWRT One idles at 64 C. I want to order some Gelid Solutions GP-Ultimate 15W thermal pad material to increase heat transfer from chips to heat sink. I’ve also ordered a fan for it, to wash air over the outside of the case to increase cooling…
But I have to get the right thickness of thermal pad.
Google AI informs me its a 1.0 mm thick pads, but Google AI has been wrong before.
Anyone know what the actual thickness of the thermal pads is?
{ EDIT: I found Aairhut 2.0mm 20 W/mK thermal pads. I bought those instead. }
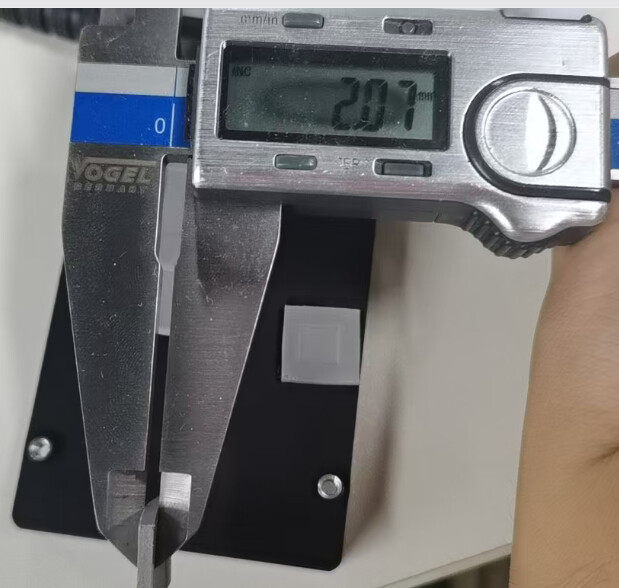
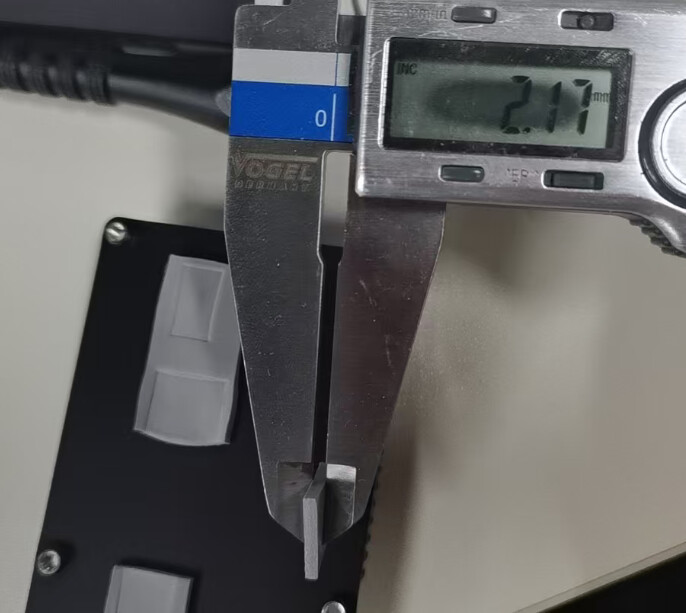
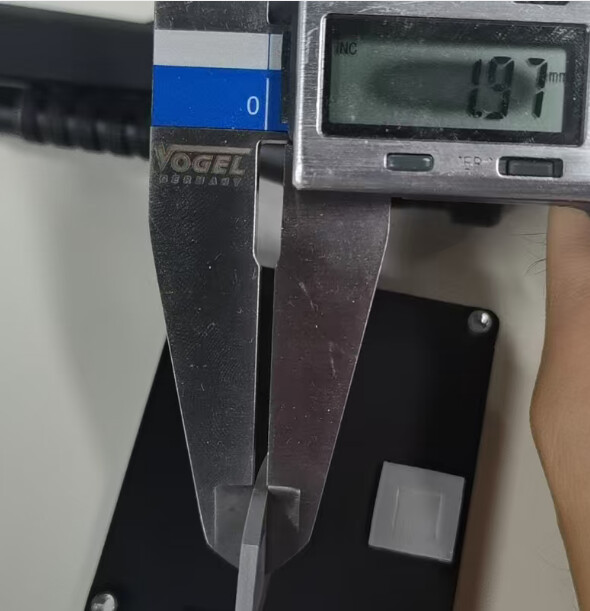
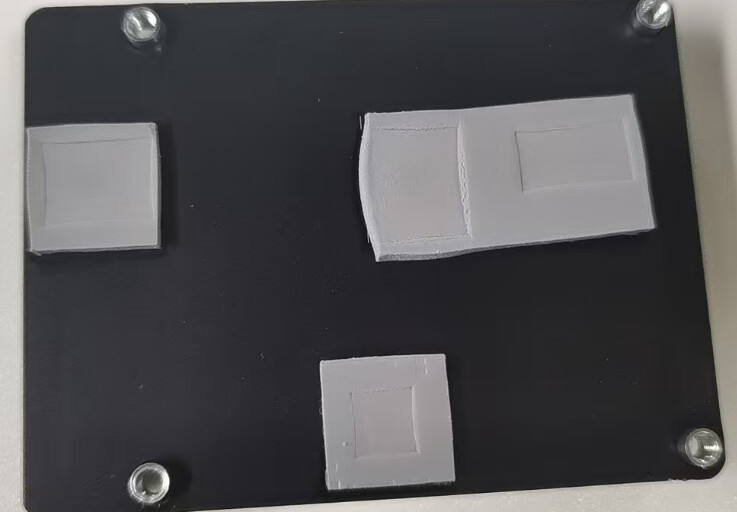
Hello friend, I’ve roughly measured the thickness of these three thermal pads for you. The thickness of all three thermal pads is estimated to be around 2mm.
Wow! That’s a pretty good difference. I purchased Aairhut Thermal Pad 20 W/mK 2.0mm, removed the old thermal pads, cleaned everything with q-tips, applied the new thermal pad material to the heatsink, popped the CR1220 RTC battery in, closed it up, plugged everything in, set the new 92mm cooling fan on top of the OpenWRT One case (using a bit of the leftover thermal pad material beneath the fan’s feet as non-slip) and started it up.
I see people complaining (on Amazon reviews) that it’s difficult to get the plastic film off the thermal pad material. That’s not the case with the Aairhut Thermal Pad 20 W/mk. The film practically fell off.
And the material is not that fragile. Use nitrile gloves when handling it so oils on your skin don’t contaminate it. It’s not sticky, it’s like a really thick putty or Play-Doh. You can seamlessly meld two pieces together.
Before, it averaged around 65.5 C. Now it’s running at ~54.5 C. I notice that the temperature jumps up and down a lot more now… before it would be a pretty steady rise as CPU load increased, and a pretty steady fall as CPU load decreased. Now it’s following CPU load more closely… when CPU load dips, temperature quickly falls.
{ EDIT: I switched the fan so it’s blowing down onto the OpenWRT One router. It’s now running at ~53.5 C. The fan has a 3-way speed switch, I’ve got it running on Medium speed. A further benefit of this is that the air rolls off the OpenWRT One router and hits the modem on one side, and the hard drive enclosure on the other, cooling both of them, too. }
{ EDIT 2: I didn’t want to reveal this at first, just in case I’d done something wrong, and burned out my router… but rather than cutting three small patches of thermal pad material to apply to the square-etched regions on the bottom of the heatsink, I covered the entire bottom of the heatsink with thermal pad material, cutting out tiny slots for the standoffs. My thinking was that there are other heat sources under there that could stand to have their heat removed. Thus far, no problems after one week of running.
Just FYI, you have to use 2.0mm thermal pads. The heatsink has little standoffs that only allow you to crush the thermal pad so far before the heatsink bolts bottom out, if you use a thinner thermal pad, you’ll bottom out without crushing the thermal pad between chips and heatsink.
I’m investigating whether I could mill those heatsink standoffs down by 1.0 mm, and use 1.0 mm thermal pad material, to increase heat transfer from chip to heatsink.
Removing the heatsink is super simple. First, remove all 4 screws. Then lightly grasp the motherboard in one hand, grasp the heatsink in the other hand, and very slightly twist the heatsink back and forth like you’re trying to rotate it on the motherboard. You’ll feel it starting to loosen up, and you’ll be able to twist just a bit further… after a handful of twists, the heatsink and motherboard will separate.