I’m eager to see the first reviews about power consumption and temperatures of this board.
and wifi noise - i hope its at least a bit better
You can take a look here. The relevant power tests have already been conducted. However, the data is only for reference as the status of each person’s module used may vary. The cooling aspect is still under improvement.
1 Like
Thanks ![]() ,
,
very informative!
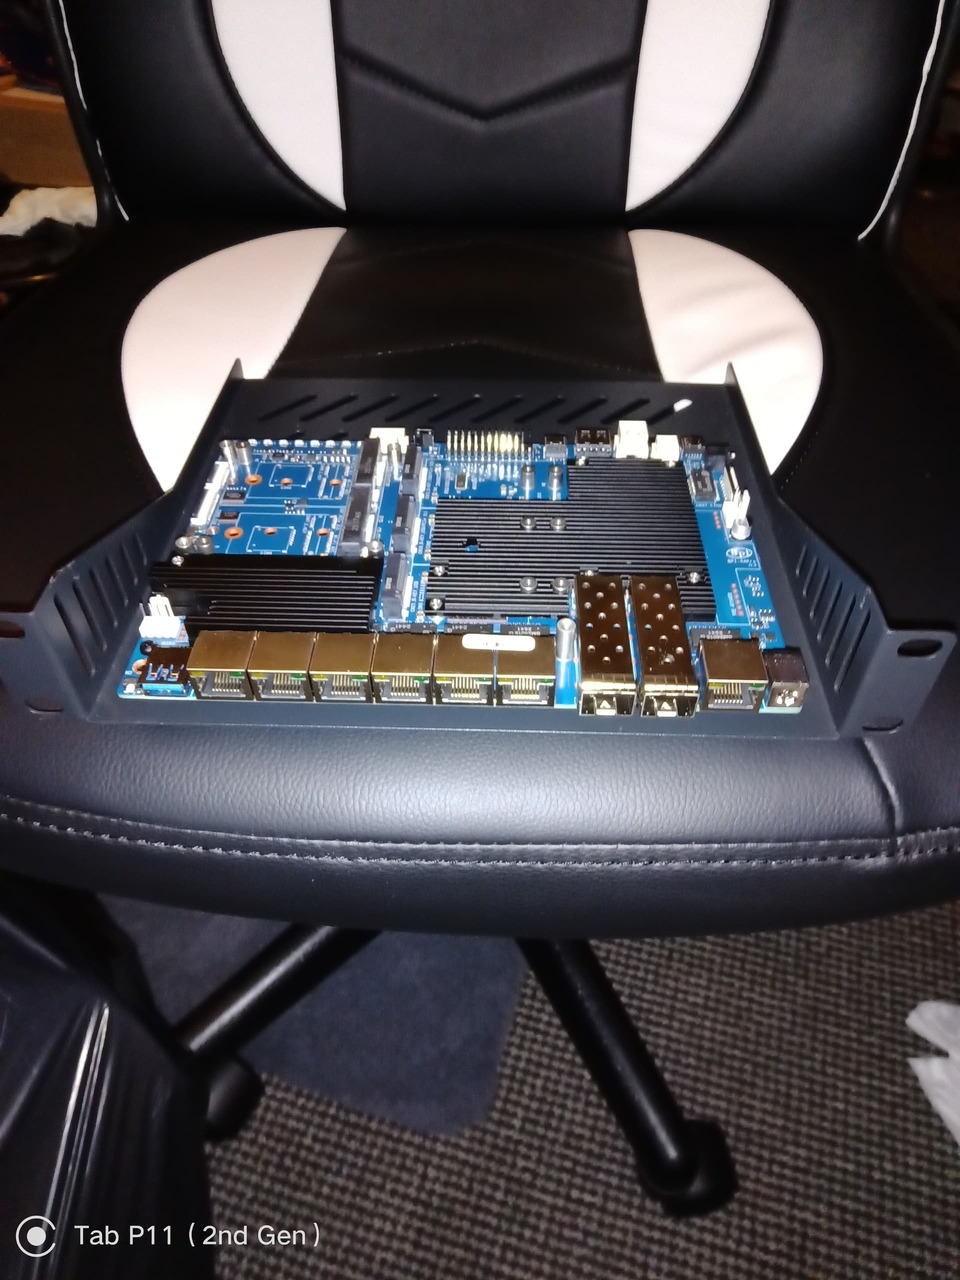
Got mine mounted to a rack on my desk pi case, I’m hoping I can figure out a cooling solution though
1 Like
made similar fan solution:
- 2x NF-a4x10 5V PWM
- 1x NF-A6x15 5V PWM
- 1x splitter NA-SYC1
=>
temp1:        +44.0°C  (high = +120.0°C, crit = +110.0°C)
temp1:        +42.2°C
temp1:        +42.2°C
temp1:        +37.0°C  (high = +120.0°C, crit = +110.0°C)
temp1:        +44.0°C  (high = +120.0°C, crit = +110.0°C)
temp1:        +42.2°C
temp1:        +42.2°C
2 Likes
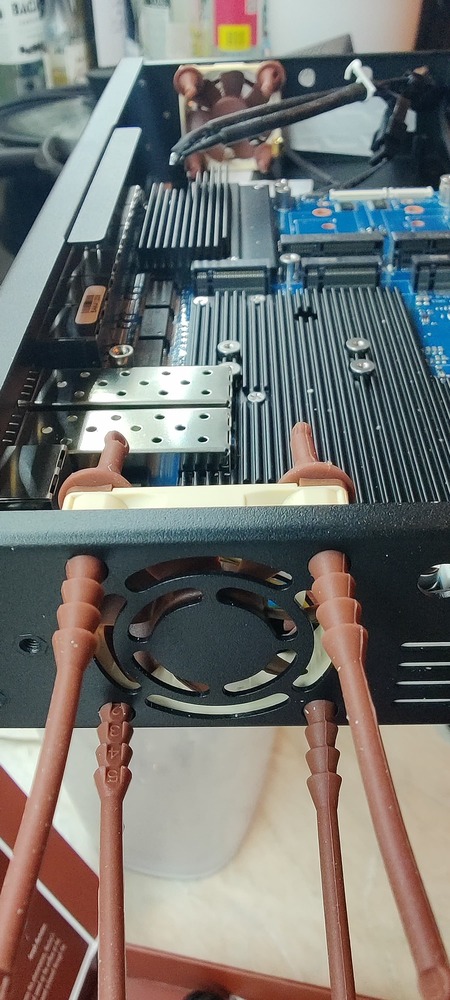
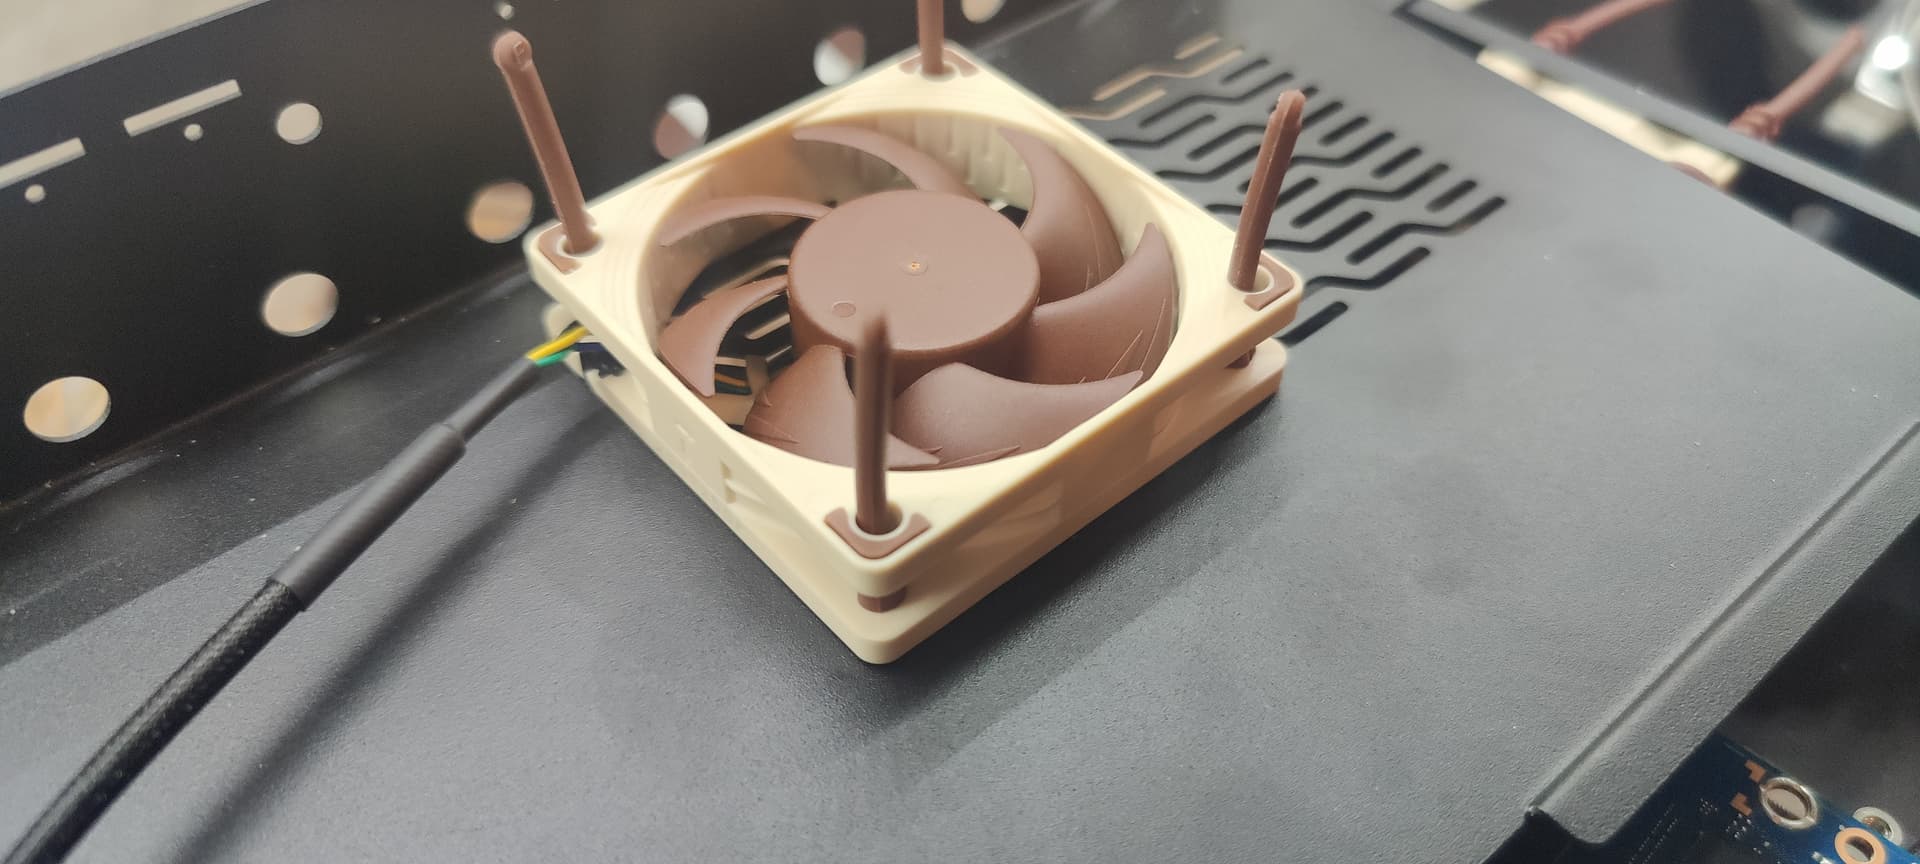
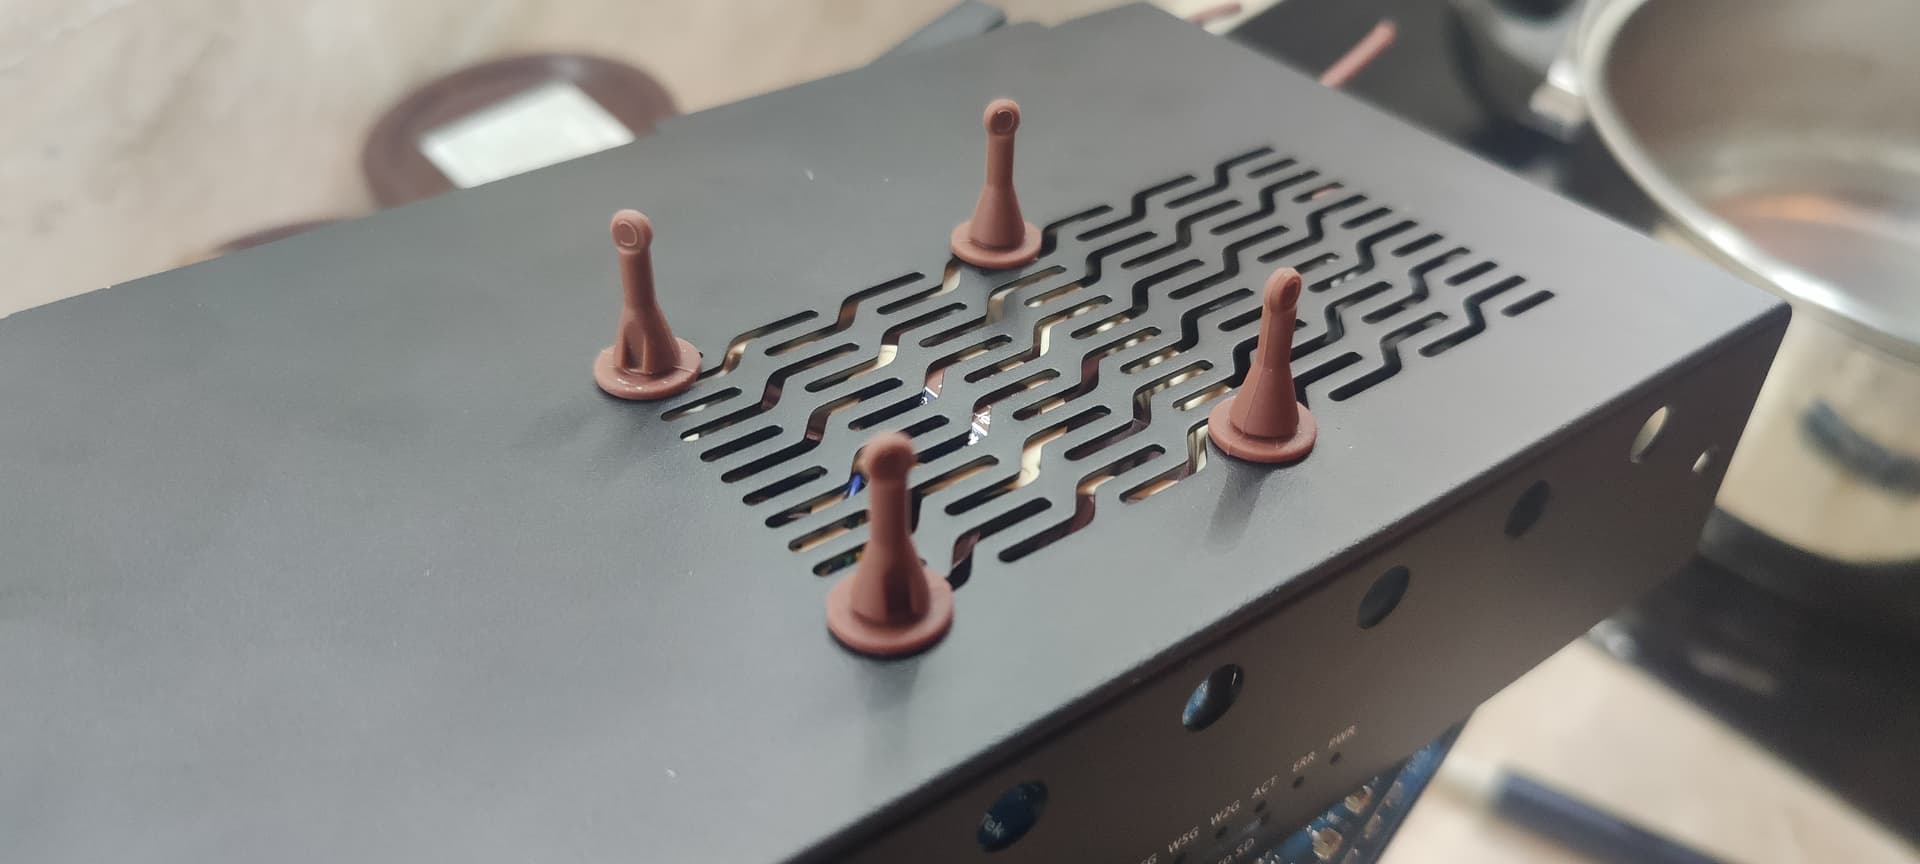
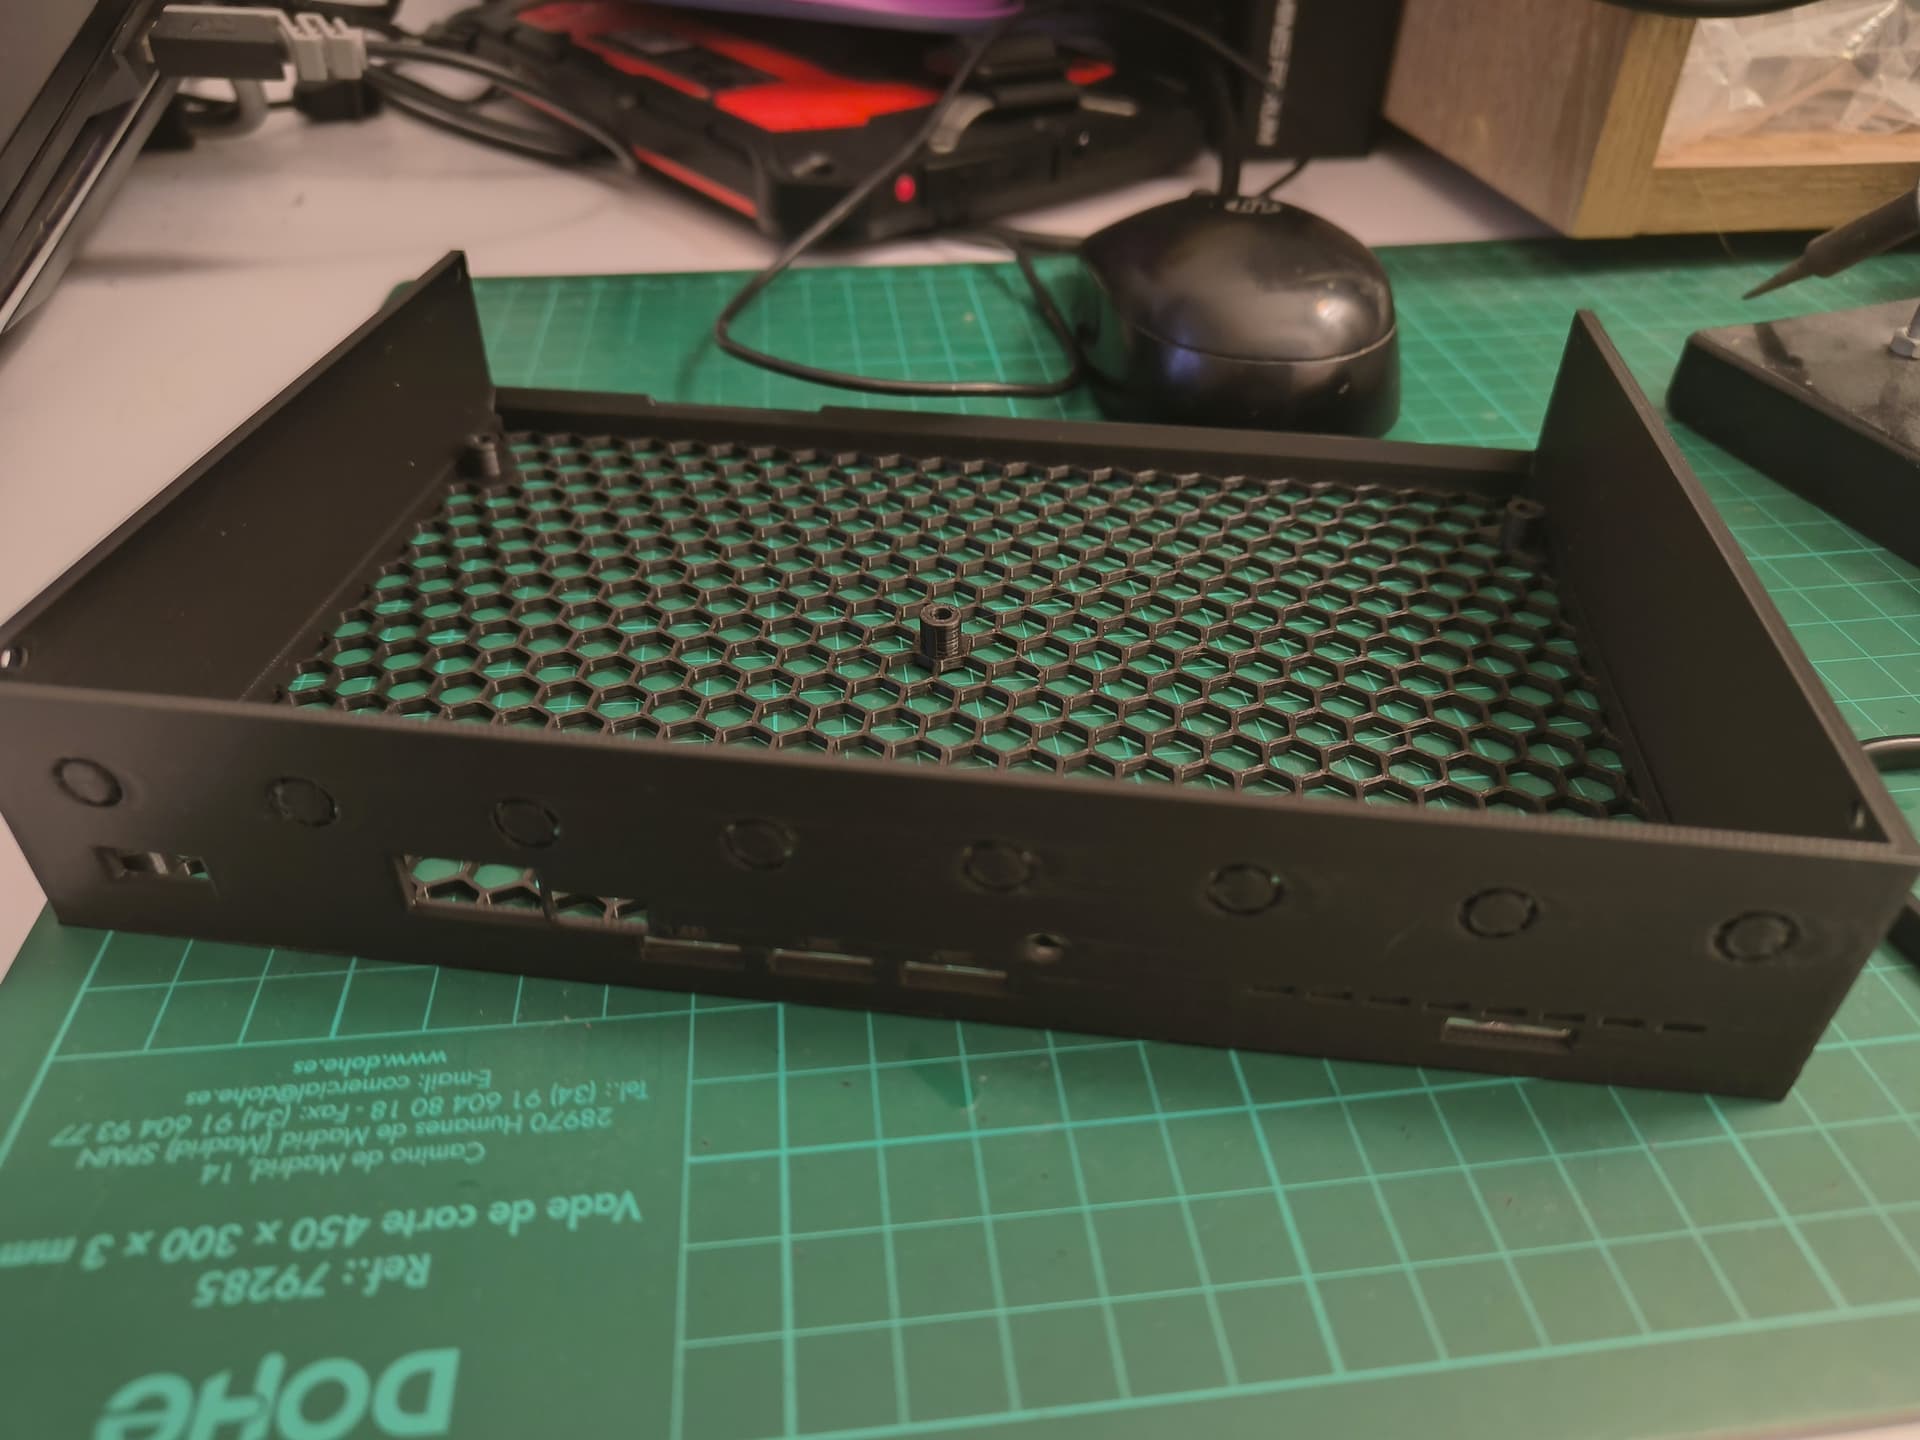
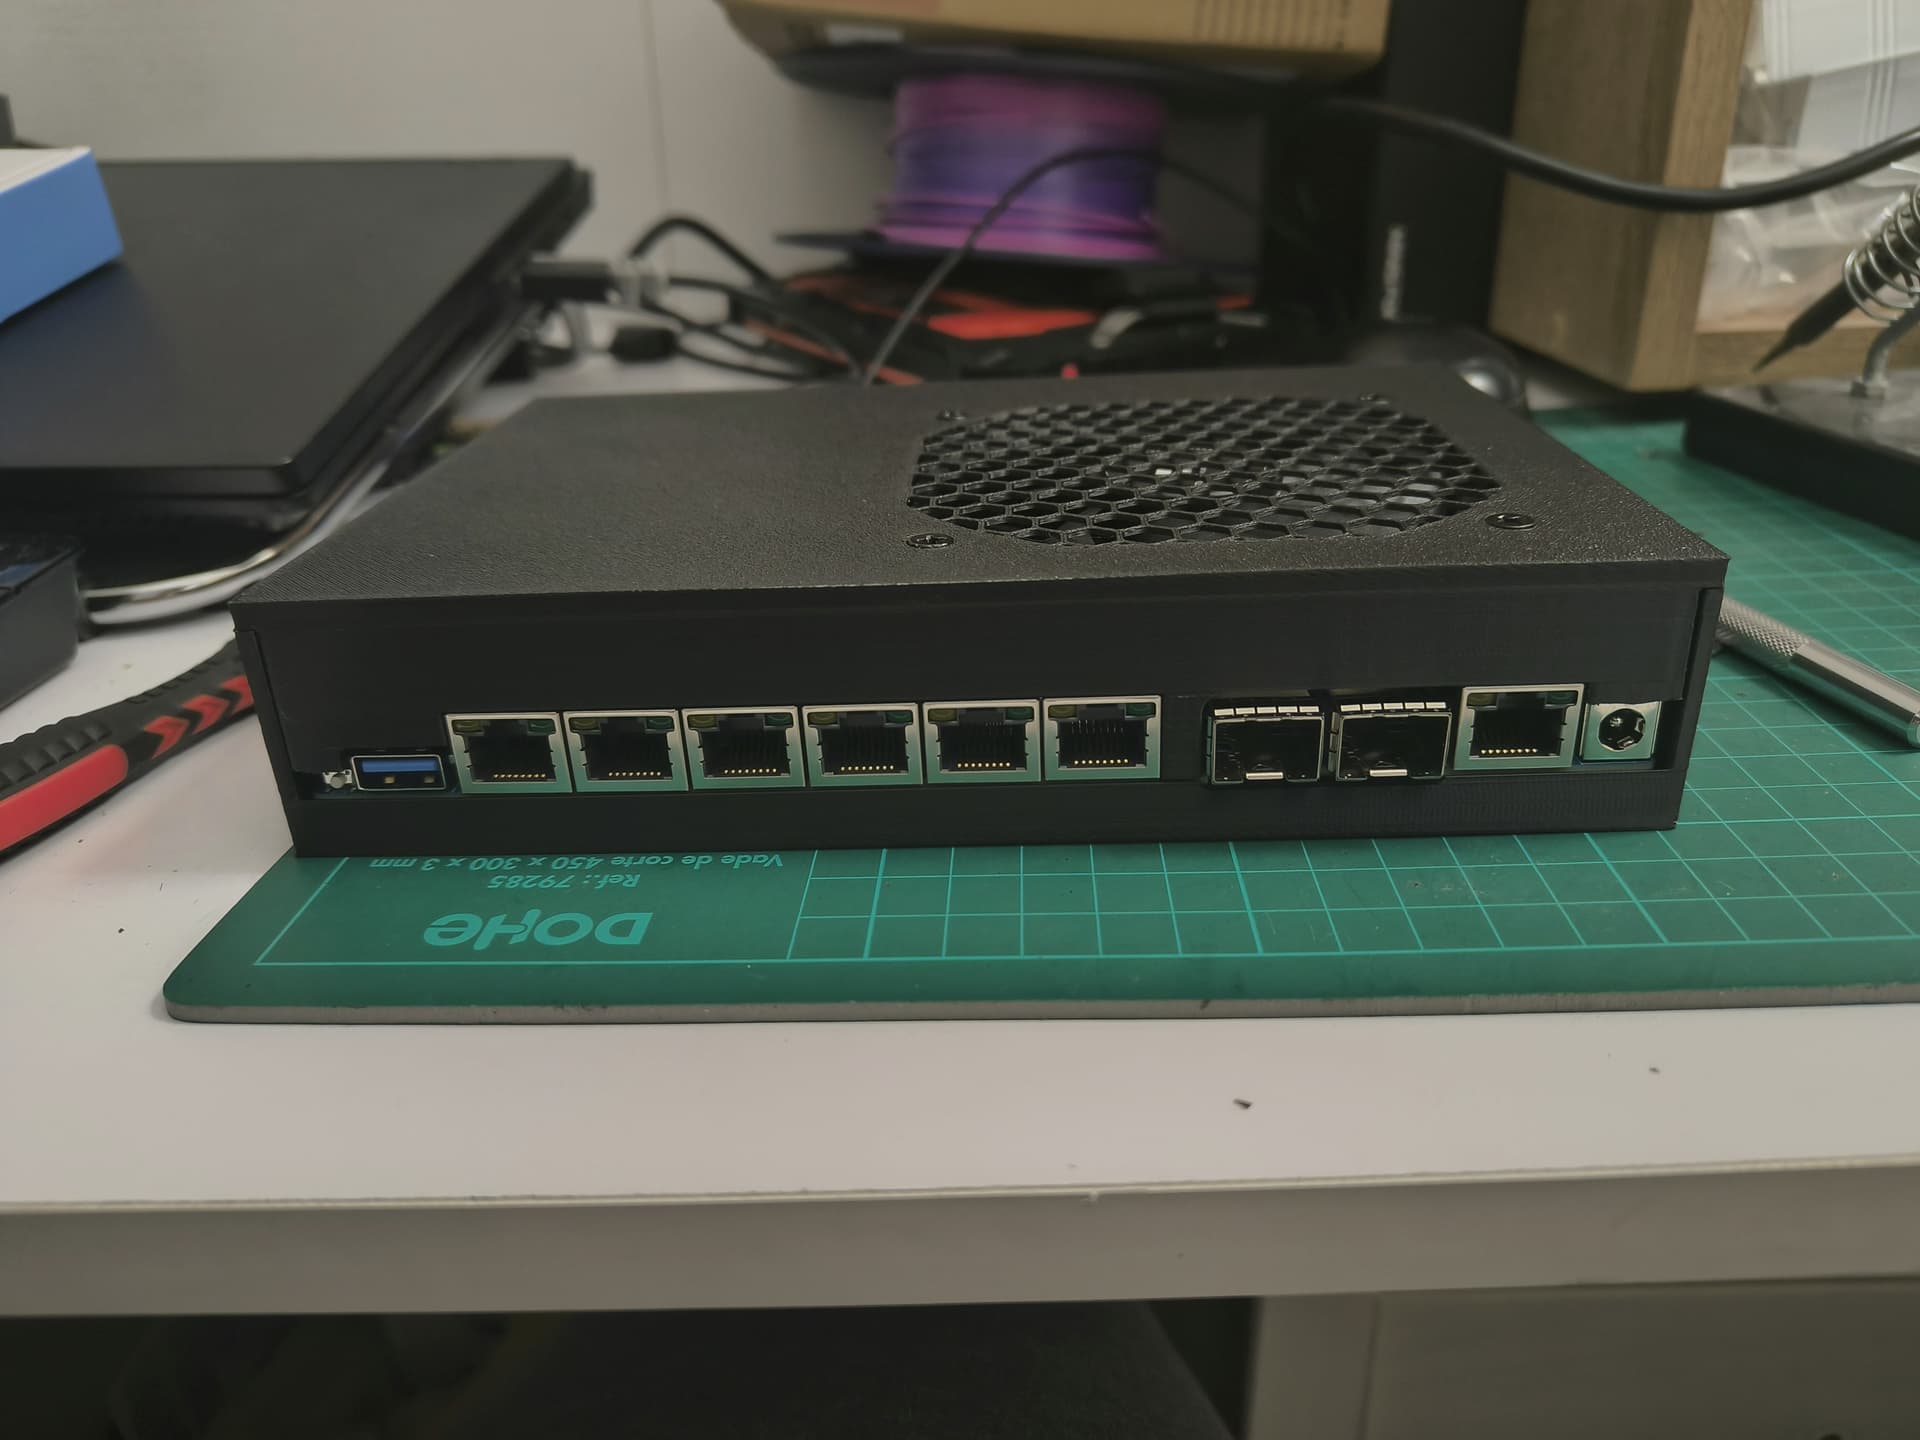
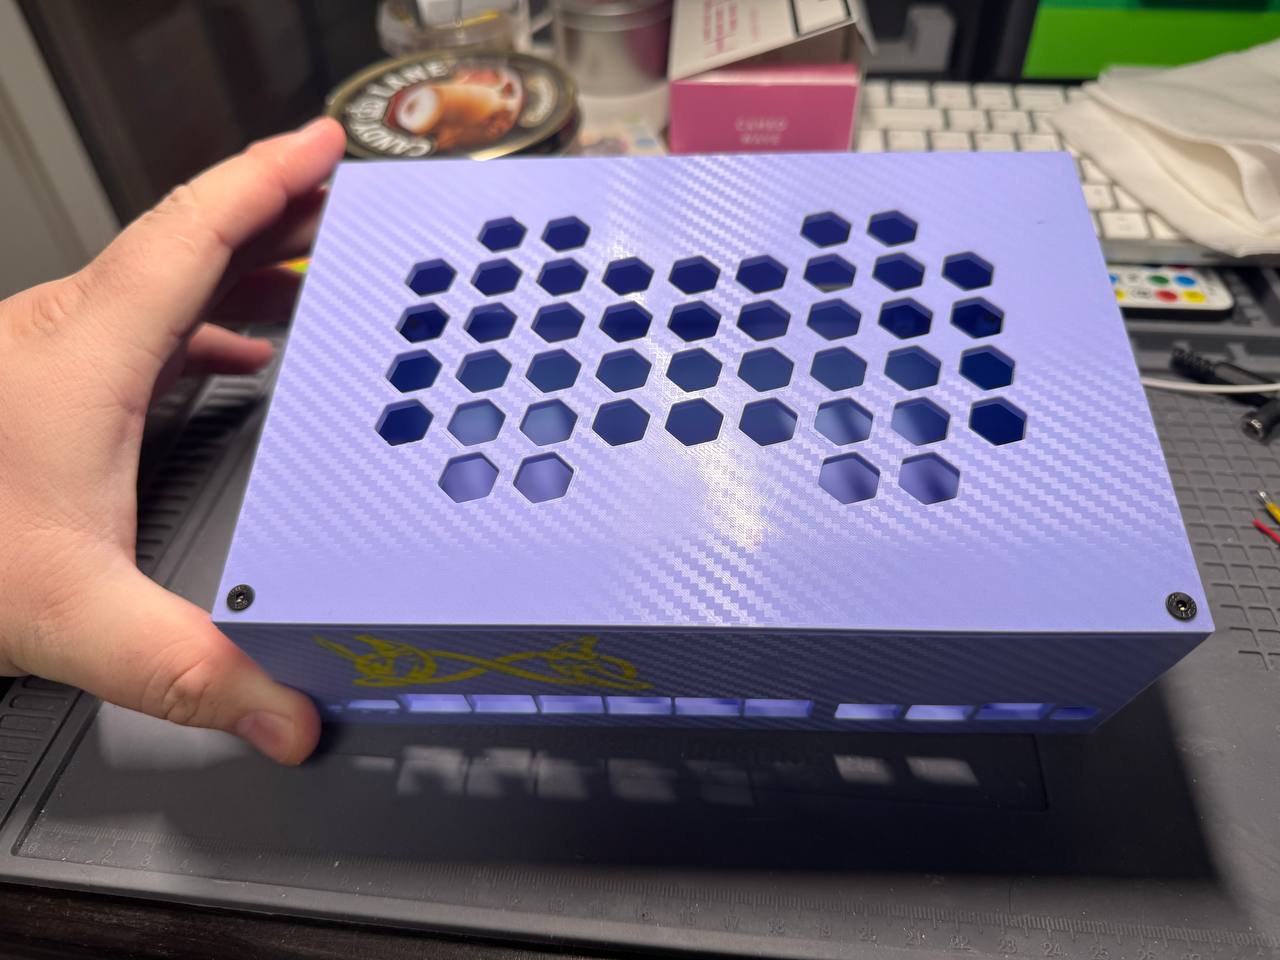
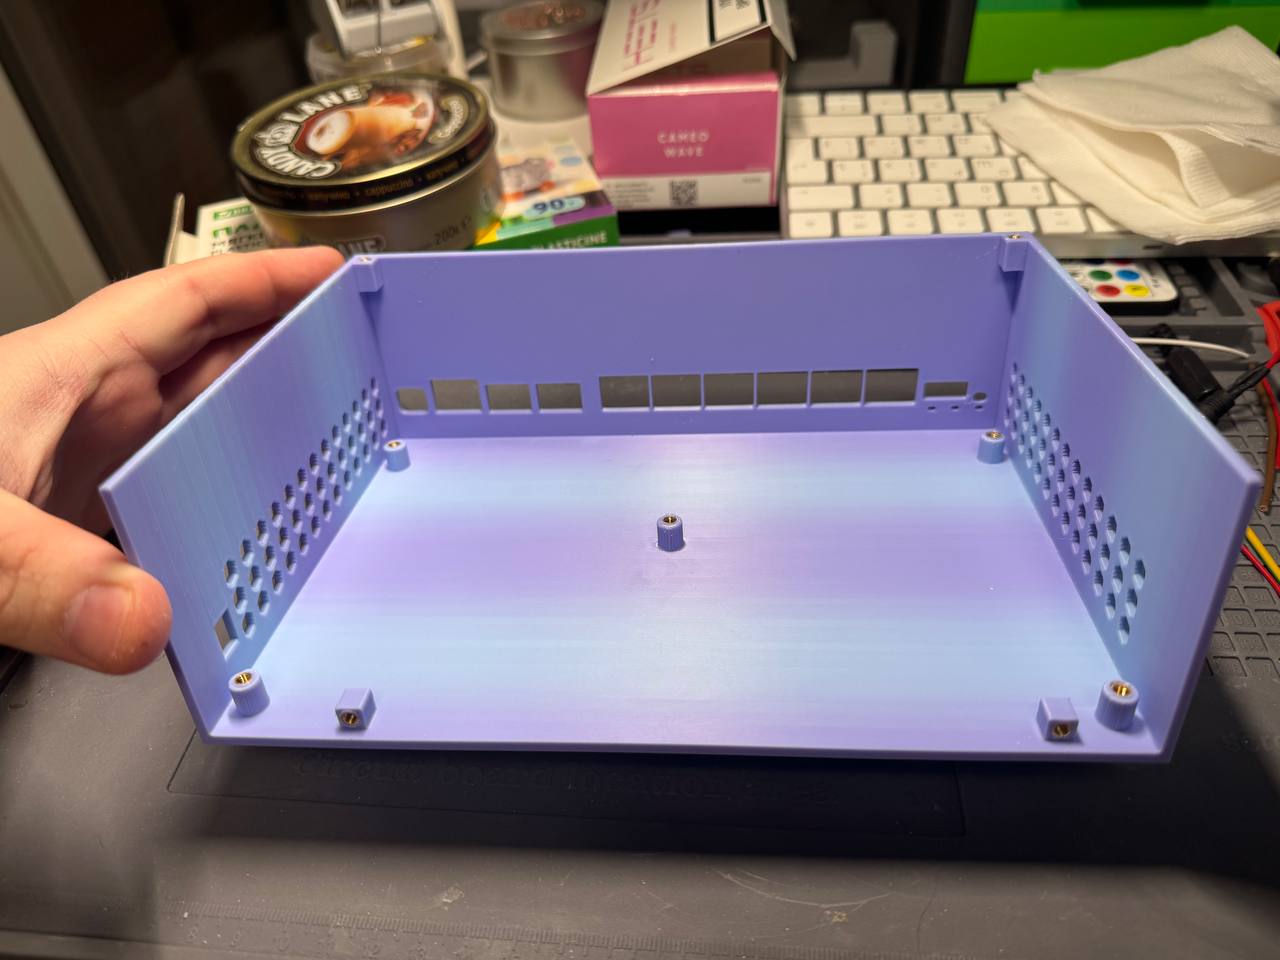
I’m not sure if this is the right place to share my experience, but since I won’t be using the new Wi-Fi 7 module anytime soon, I created a case with a 3D printer, just to house the router itself and perhaps a simple m2 Wi-Fi 6E module and a cellular module maybe. The idea behind the design is to use a single 90mm fan to reduce noise (a larger fan = fewer RPMs to achieve same airflow). The fan blows directly onto the CPU heatsink and much of the SFP+ cage, leaving (intentionally) more space around the SFP+ cage for airflow to exit around the port, attempting to dissipate the heat from the SFP module.
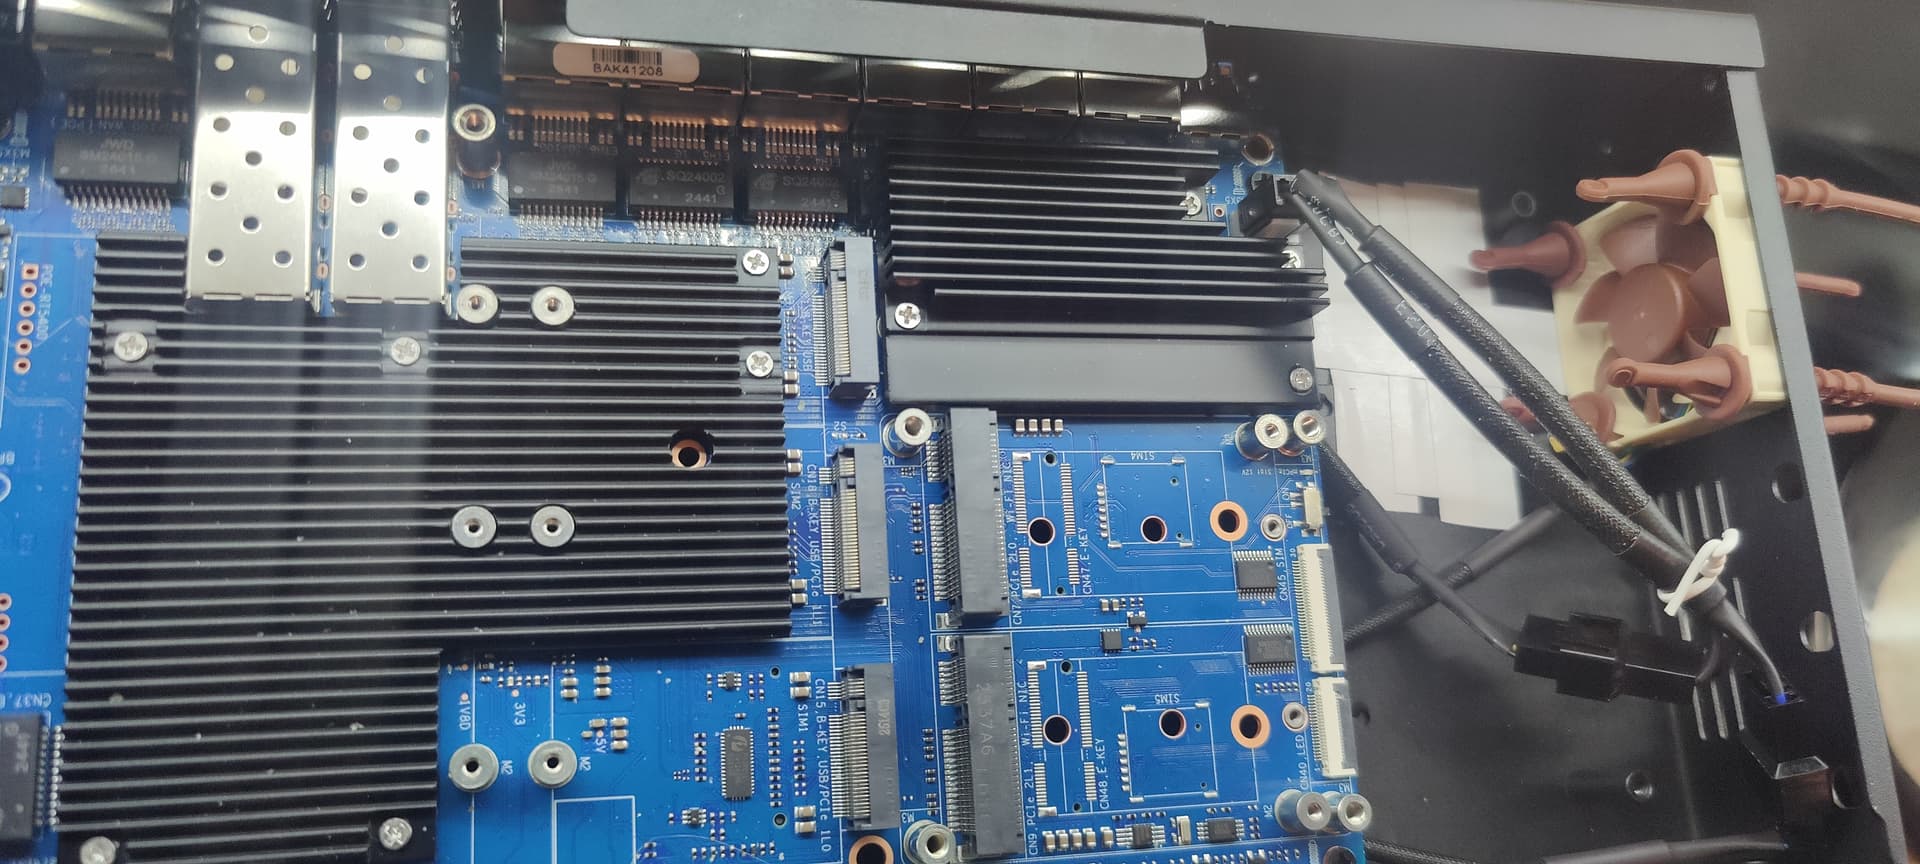
The only drawback I want to point out is that, with the current limitations of 3D printing and my design skills, I wasn’t able to gain direct access to the bottom M2 NVMe slot. So, you’ll need to disassemble it to add/replace storage, if you use it.
Here are some photos/videos of my work. Any comments/suggestions on how to improve are welcome ![]()


2 Likes
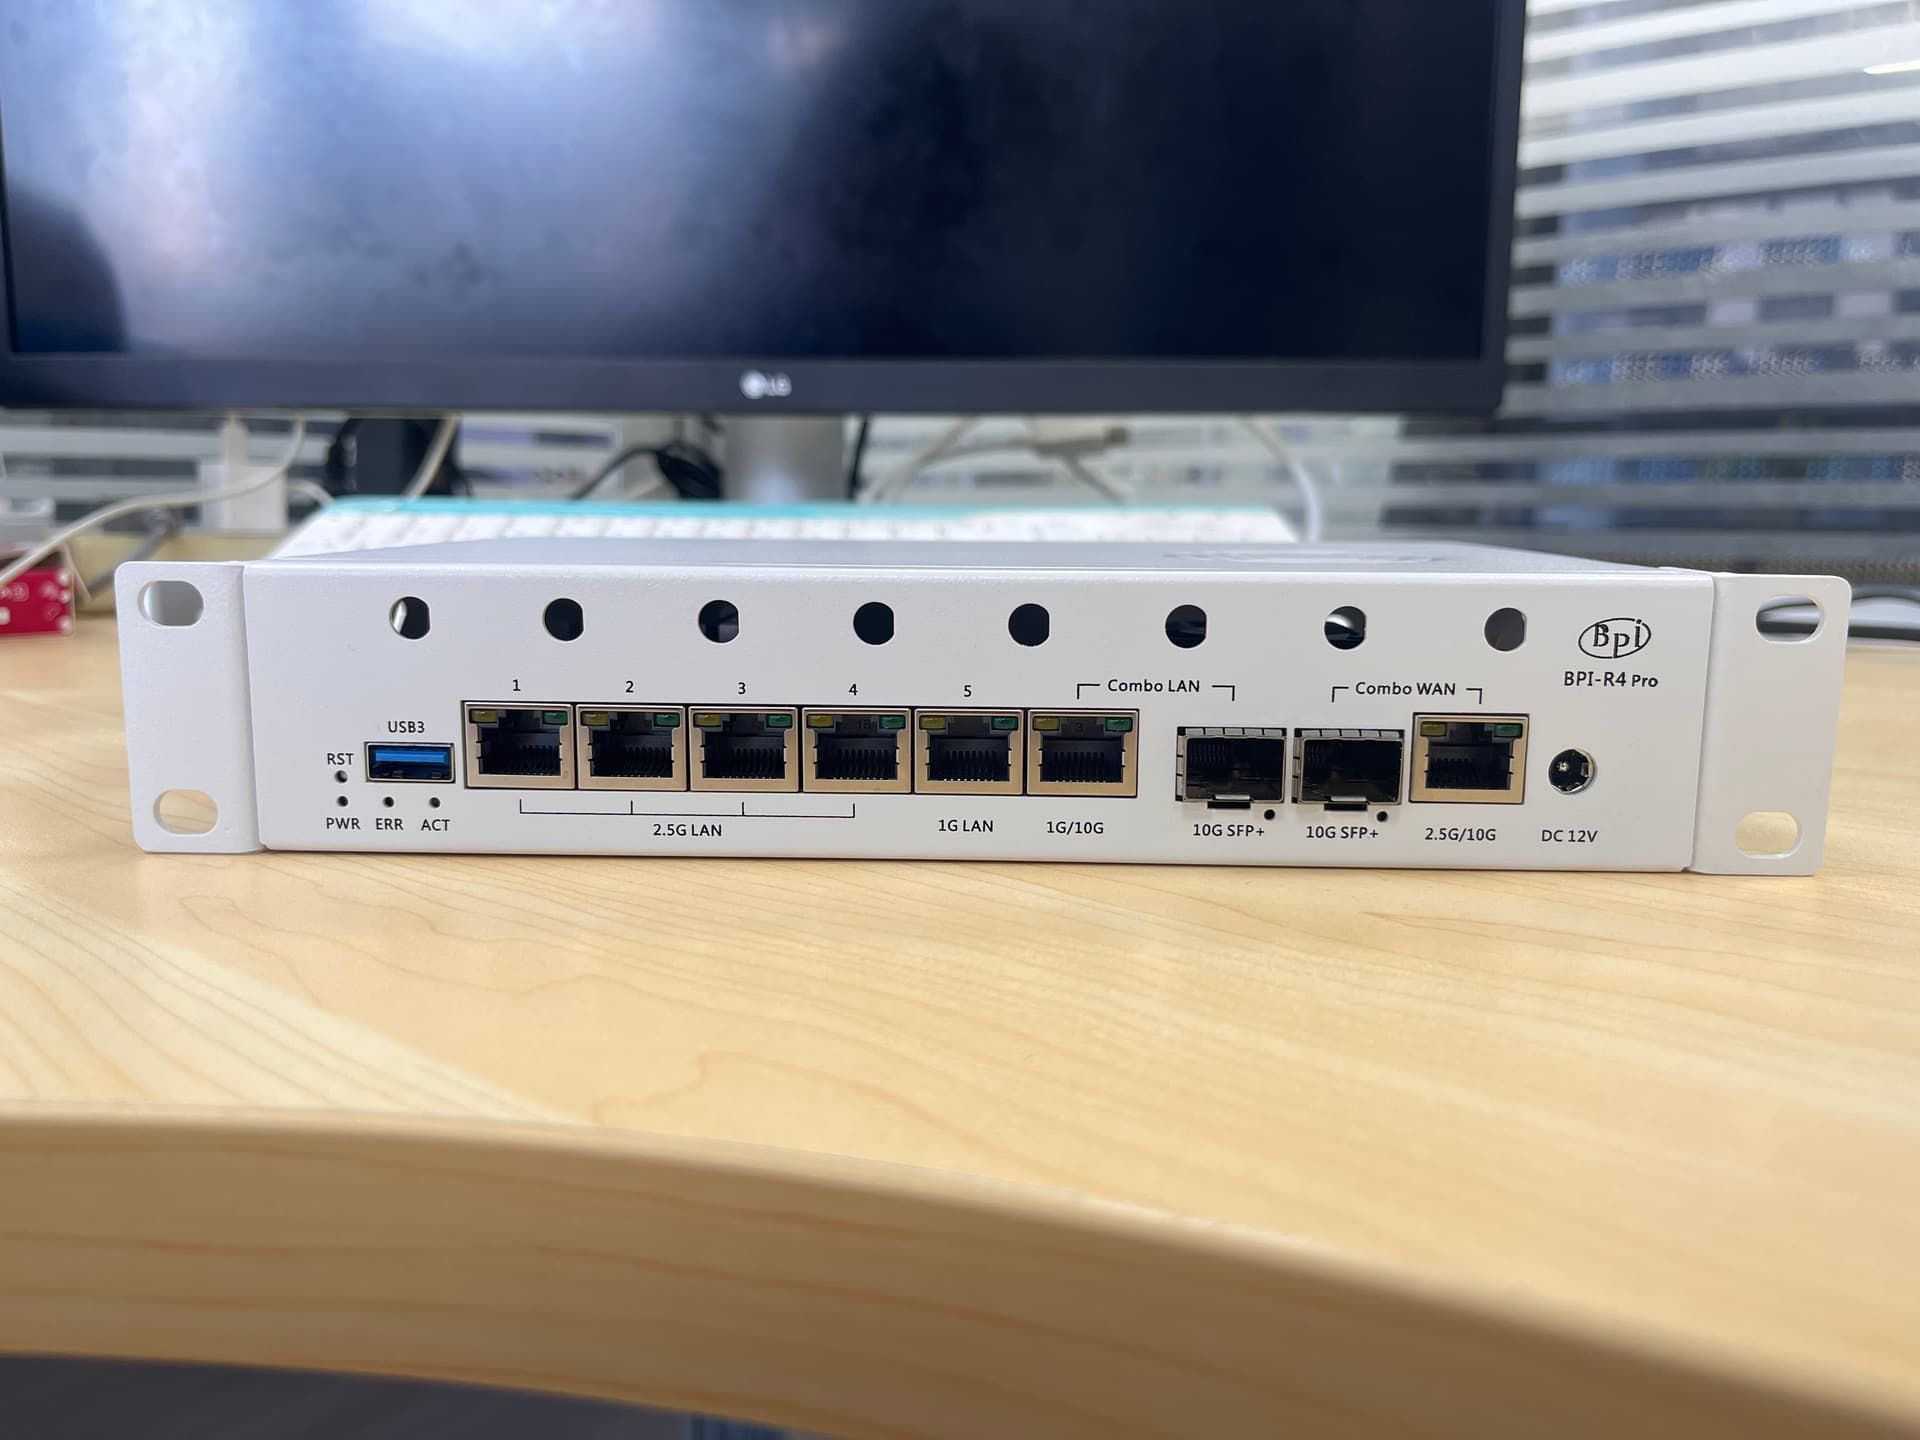
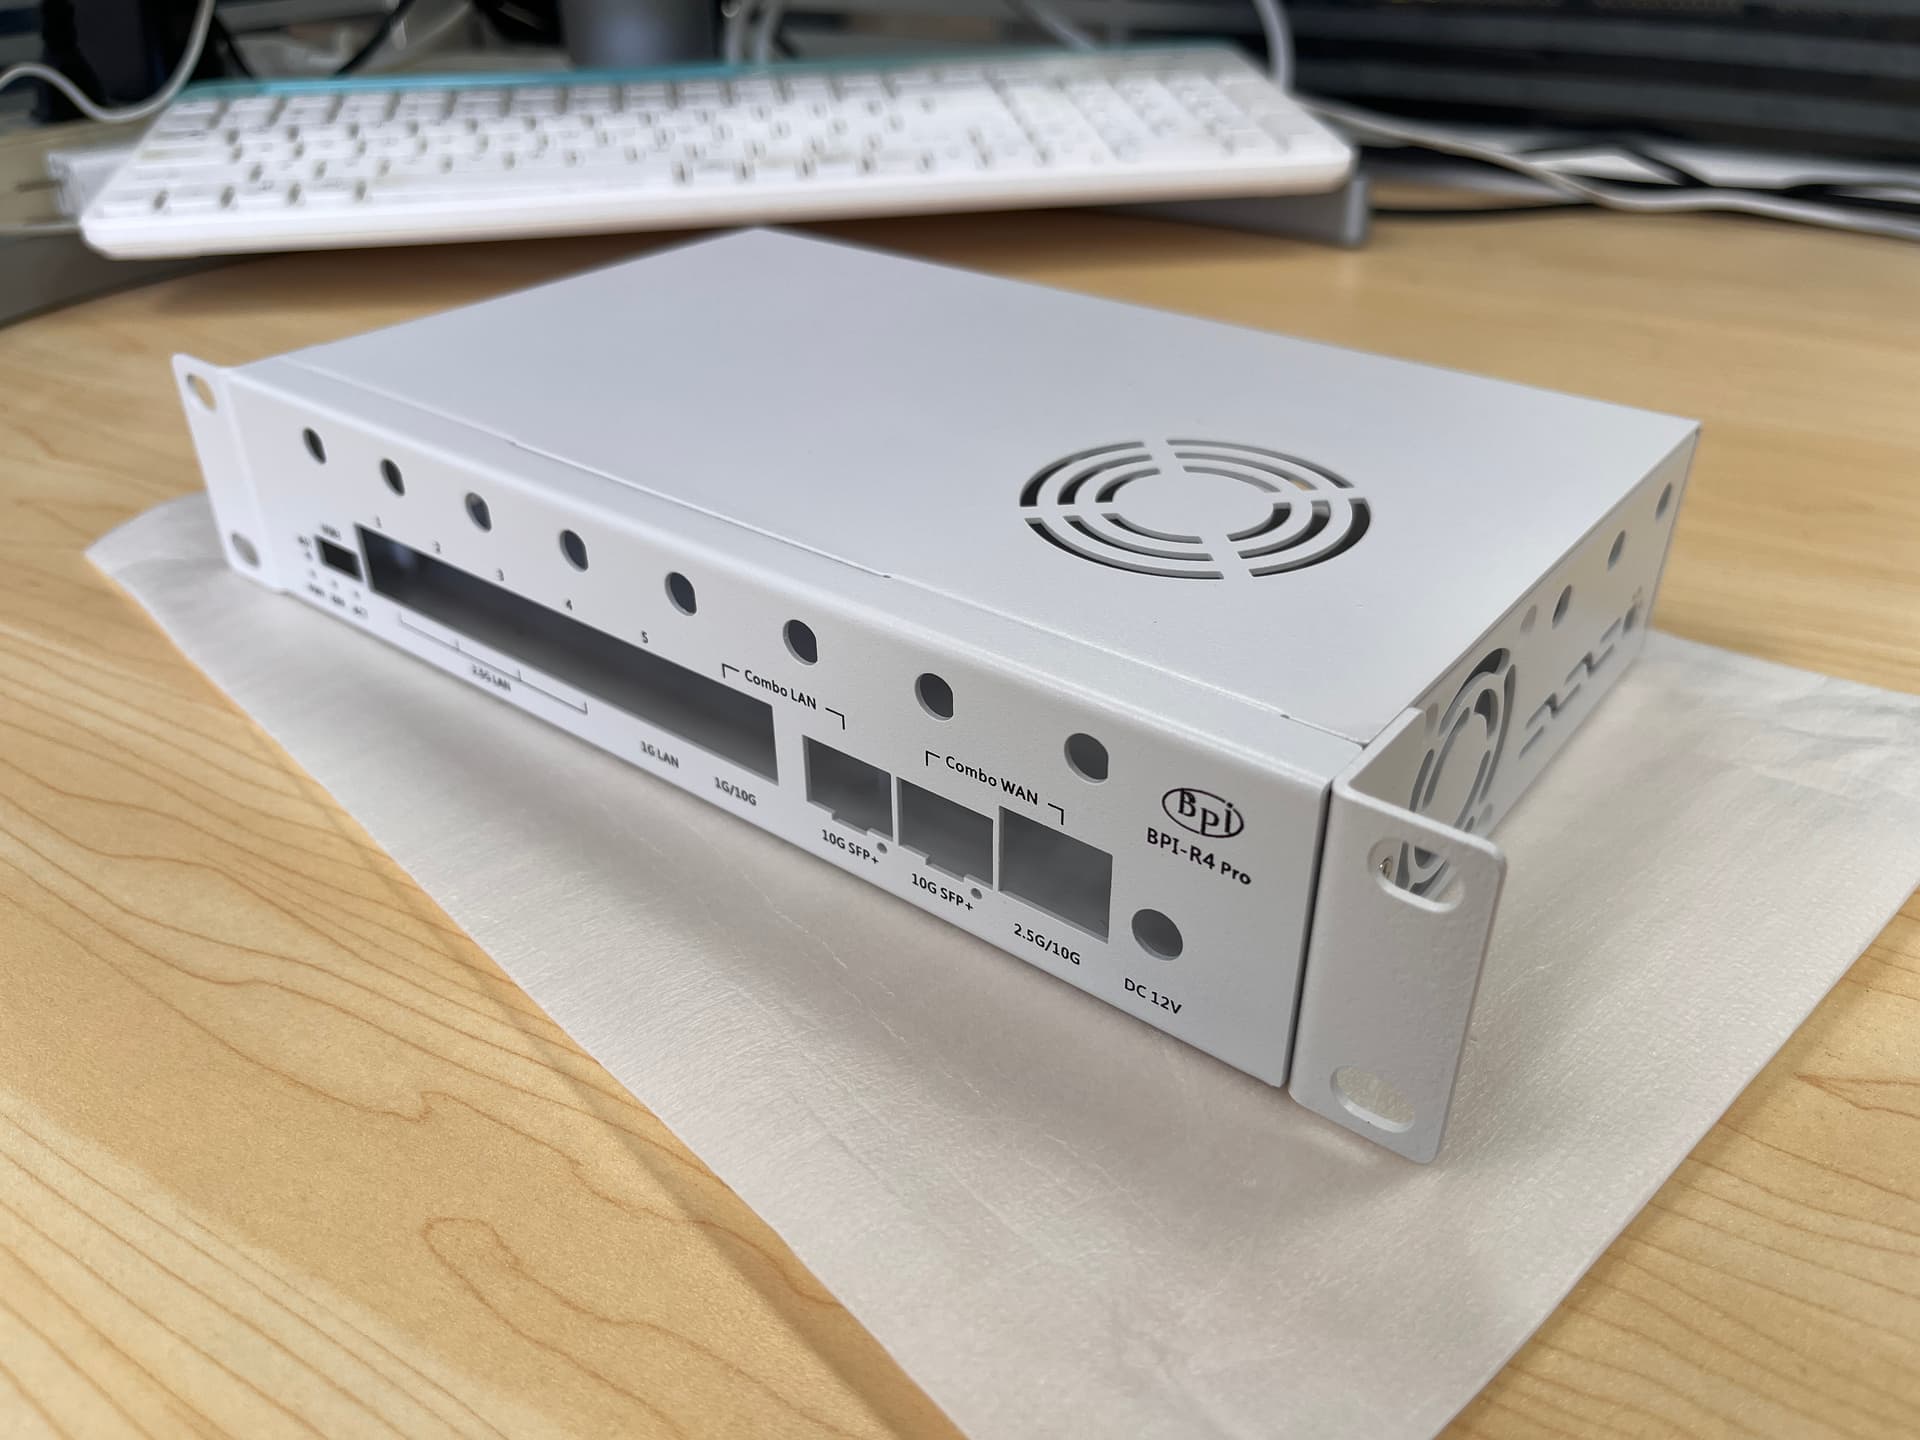
I am using this one ![]() with a 92 mm slim fan! This is perfect for ppl not willing to use be19 Wi-Fi cards or router only.
with a 92 mm slim fan! This is perfect for ppl not willing to use be19 Wi-Fi cards or router only.
Is this your design or somewhere available? Looks good so far. Only the access to nvme (bottom of board/case) could be made easier.
This is my design based on a couple of suggestion comes from other BPI users , not yet shared/posted on any “printables” portal.
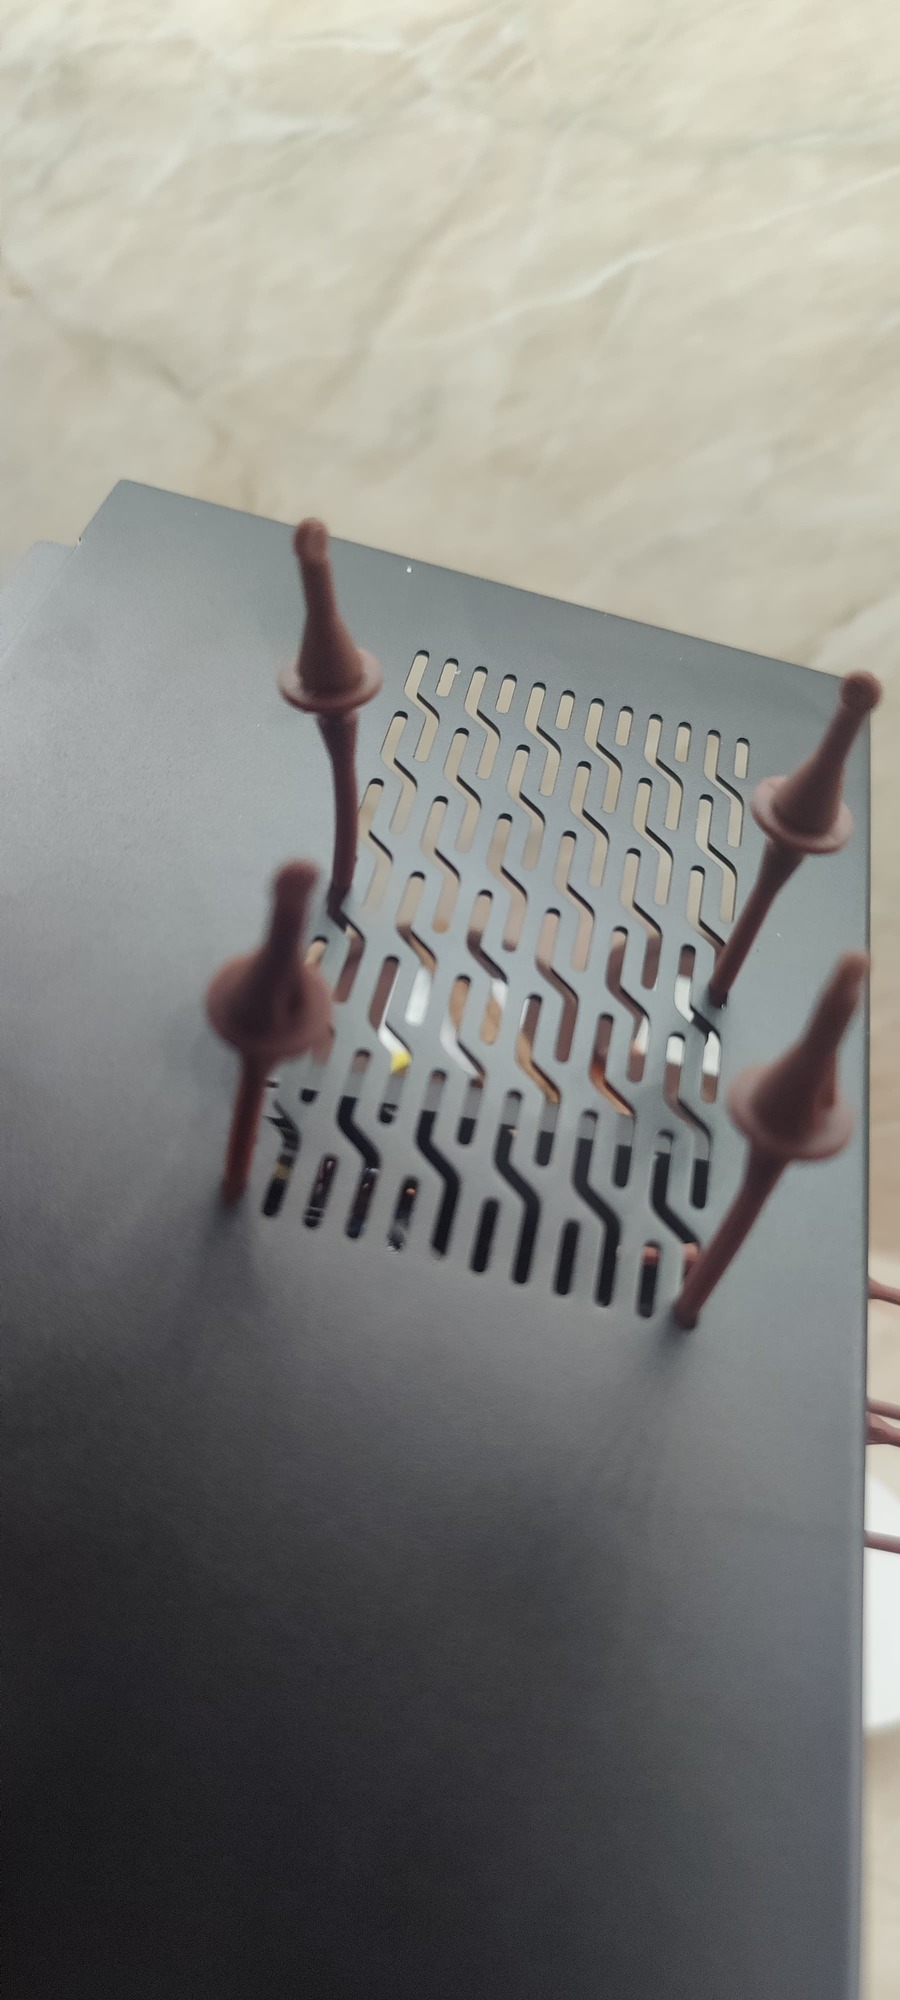
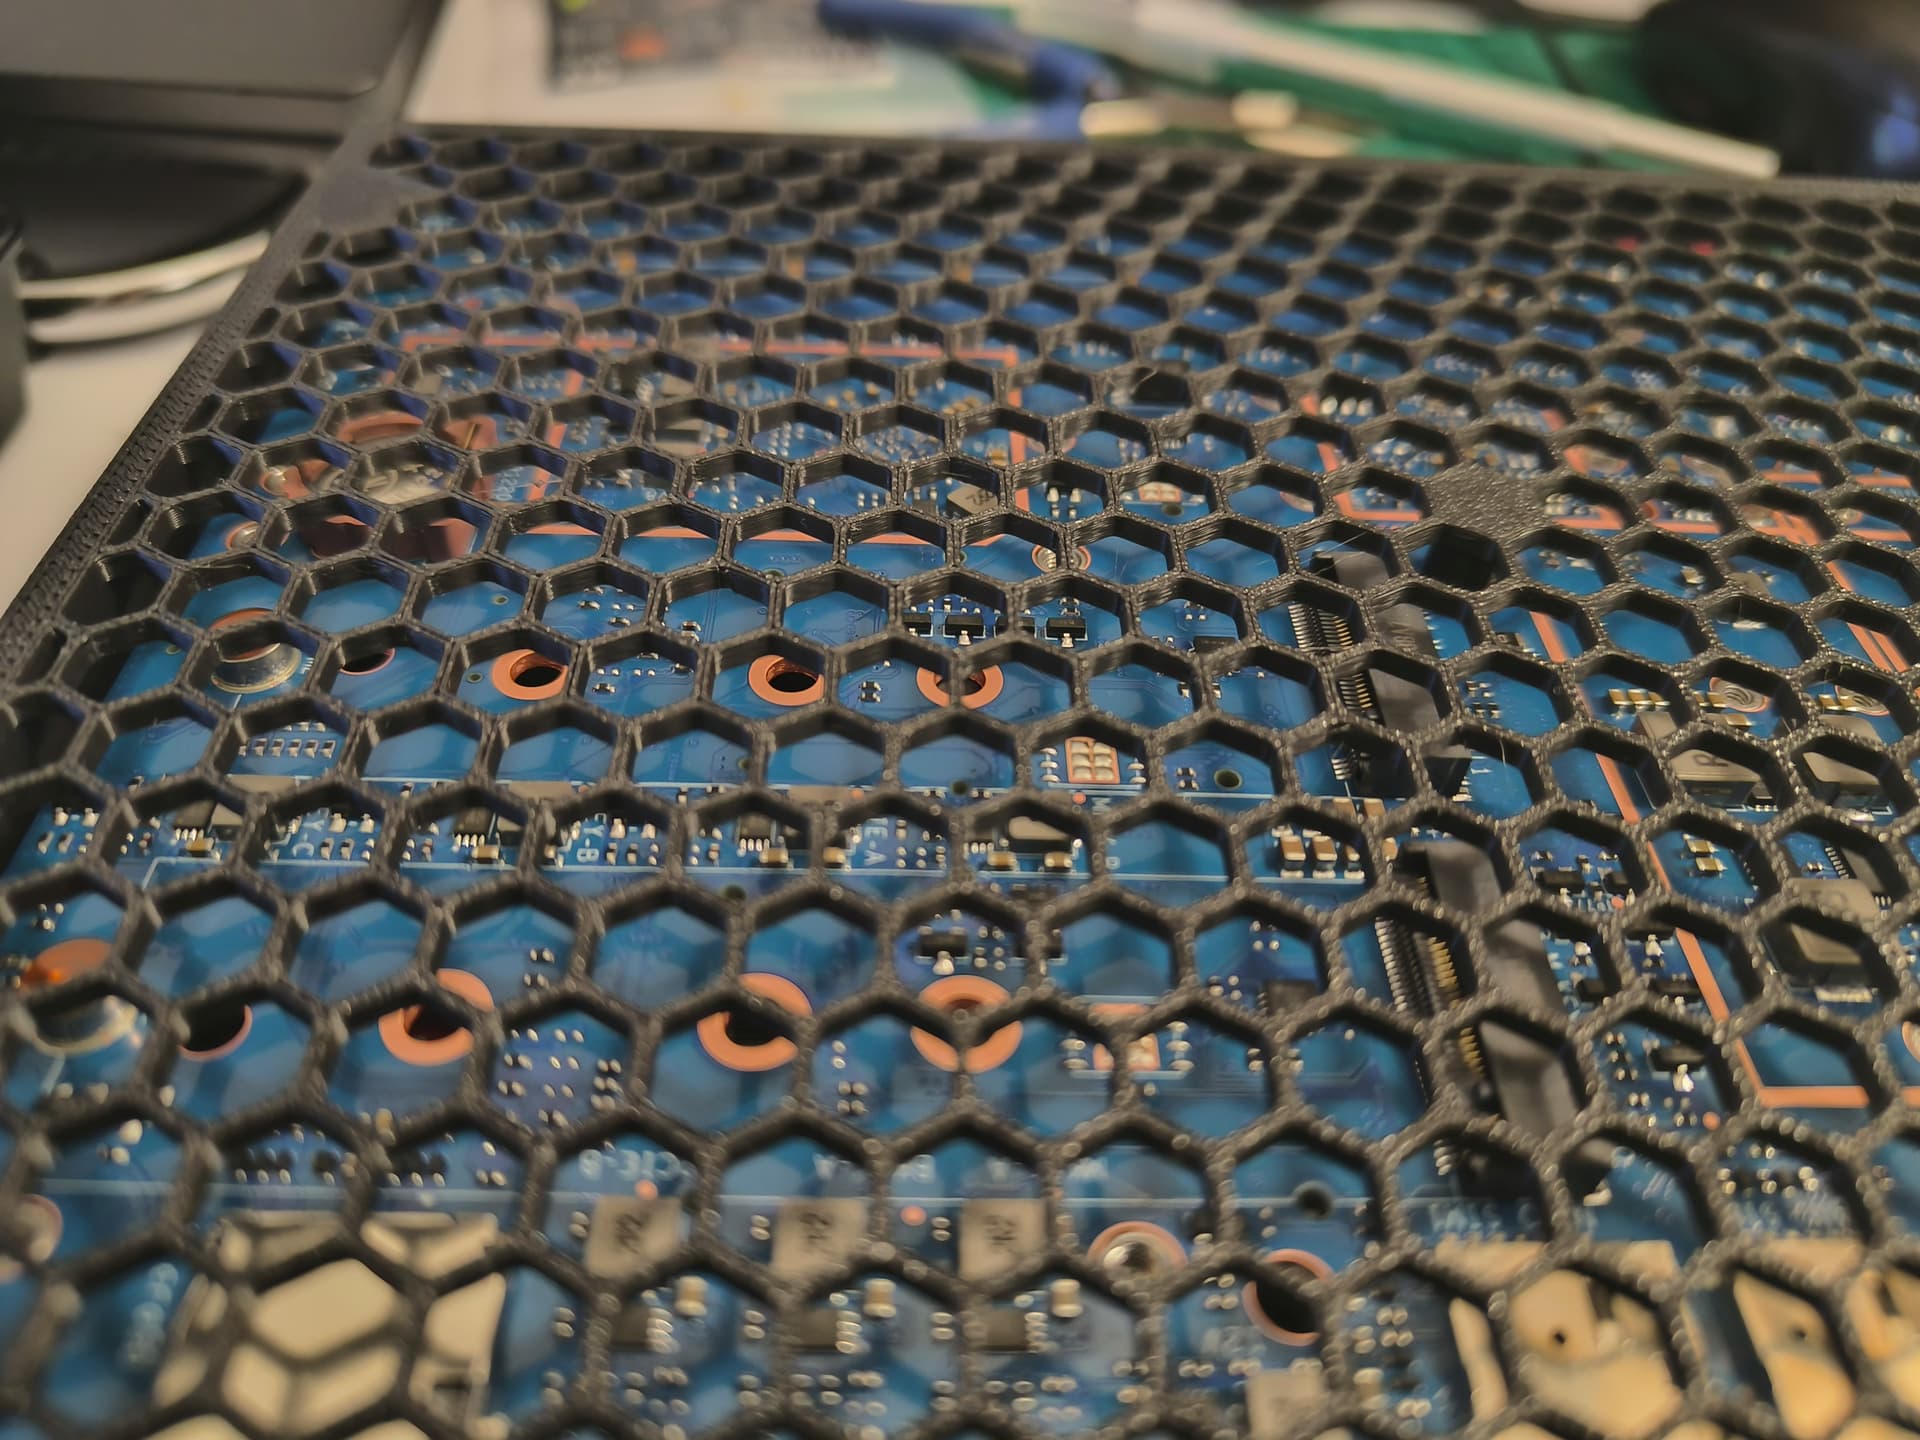
I’ll try to figure out how to make the nvme slot accessible keeping the concept of mesh bottom to dissipate heat (I noice that also the bottom part of the boards tend to becomes hot as well)
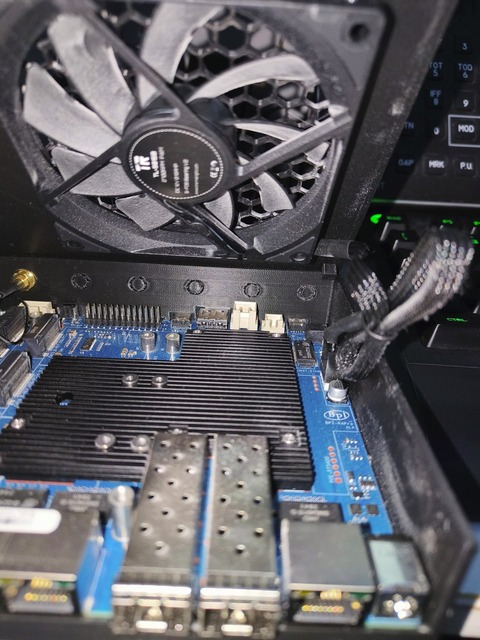
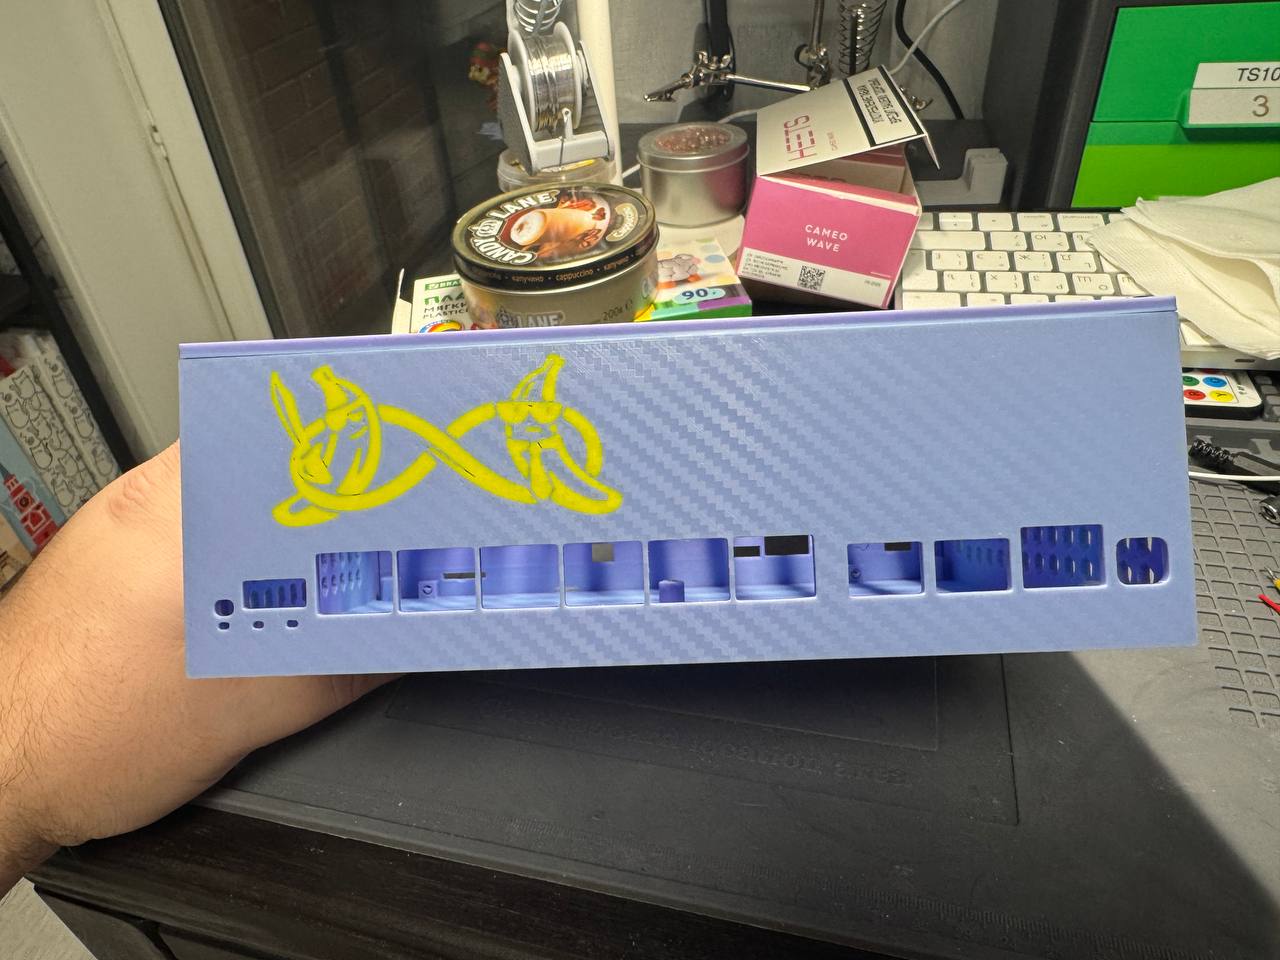
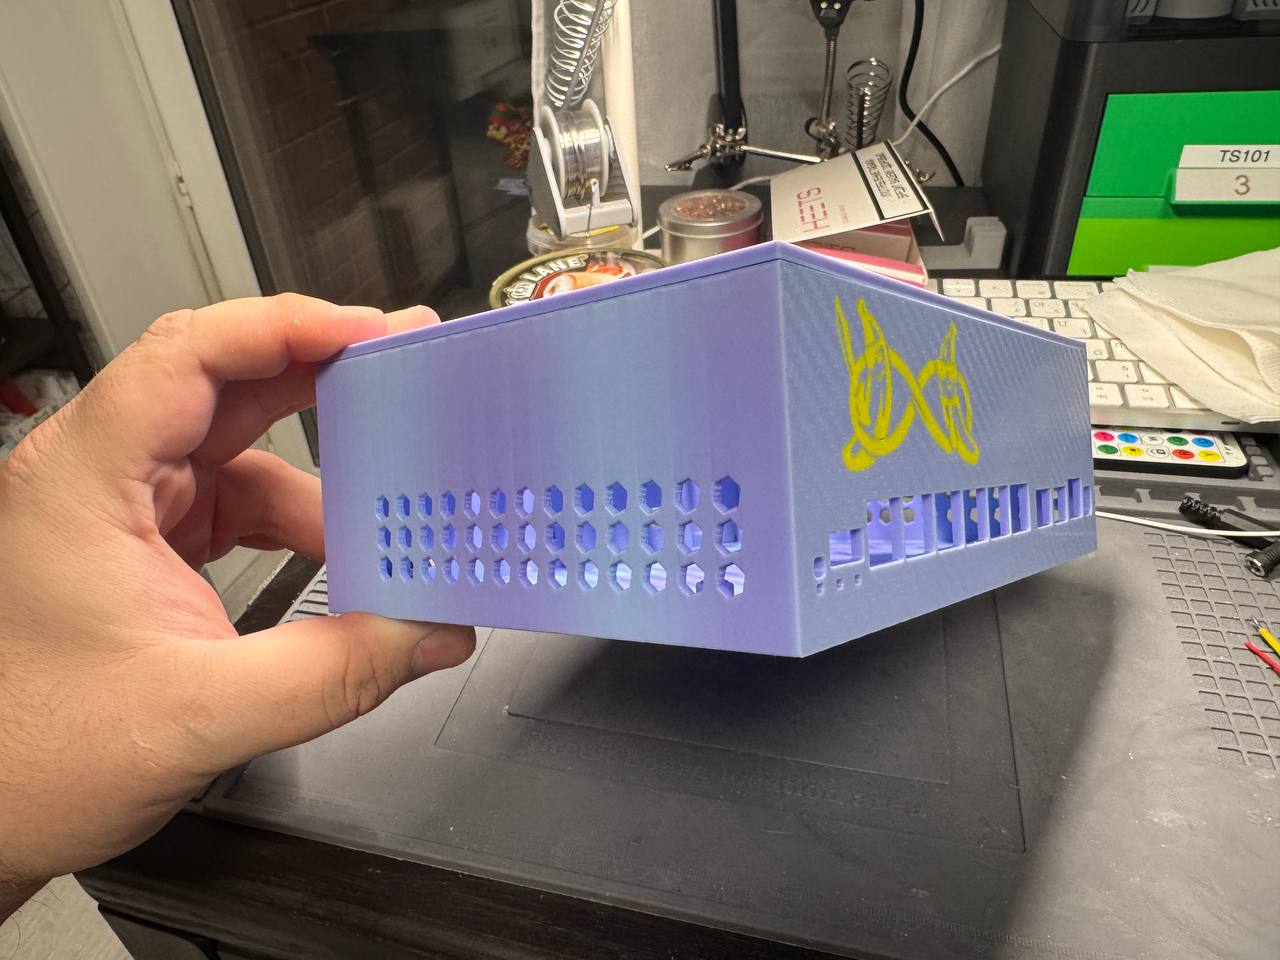
I also decided to make my own case — I printed a prototype yesterday, but since I plan to use SFP modules that generate a lot of heat, I decided to add two 80×80×25 fans.

1 Like
Looks really good, when will it go on sale?
can u make some more pictures, from the inside? is this metal?
i still don’t understand why you are not providing holes to attach a fan on the top cover.
1 Like
Unfortunately, I was refused the sale — apparently, you have different information about the possibility of purchasing this version of the case.
[email protected]: This case is new product, not on sell yet, and this case will use in the assembly kit, once it ready, we will let you know.
3 Likes
This match almost perfect my design and need. Please just make the mounting holes for the 92mm fan on top, and even not that circular cut out but something that allow more ariflow like a sqaure mesh pattern or hexagon style, since we we’ll put dust filter anyway, so more open space are welcome ![]()
Oh, that’s very cool, I just have a 10’ rack and I really need it so I don’t have to print on a 3D printer. Can you tell me the approximate release date?