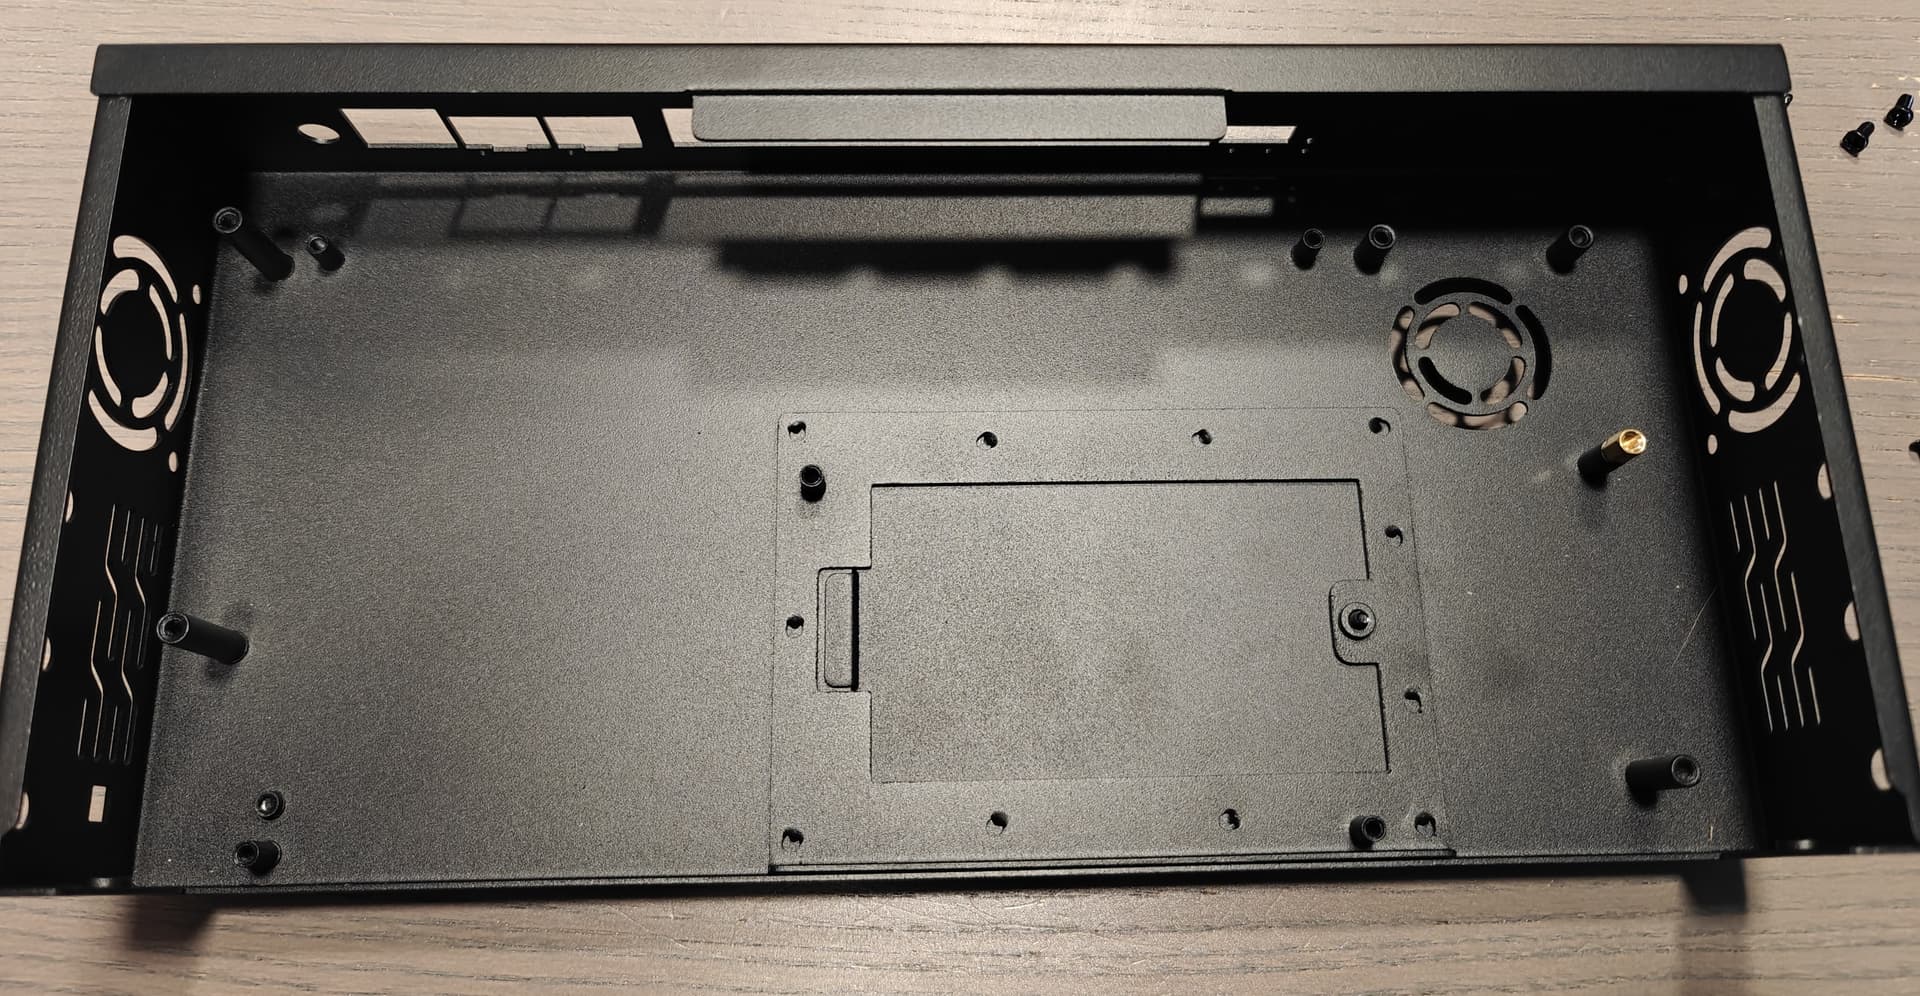
As for size…the case is big. Depth wise is just as deep as the bare motherboard.
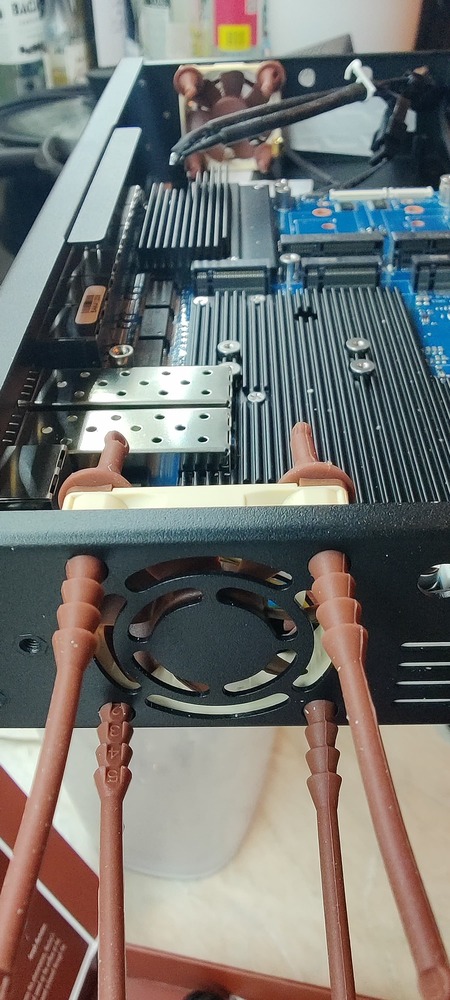
Lenght is supposed to be able to hold the BE19000 sticking out of the board and then… some more like 2-4cm that I’m plannig to use to mount the two 40x10 side fans designed in the case.
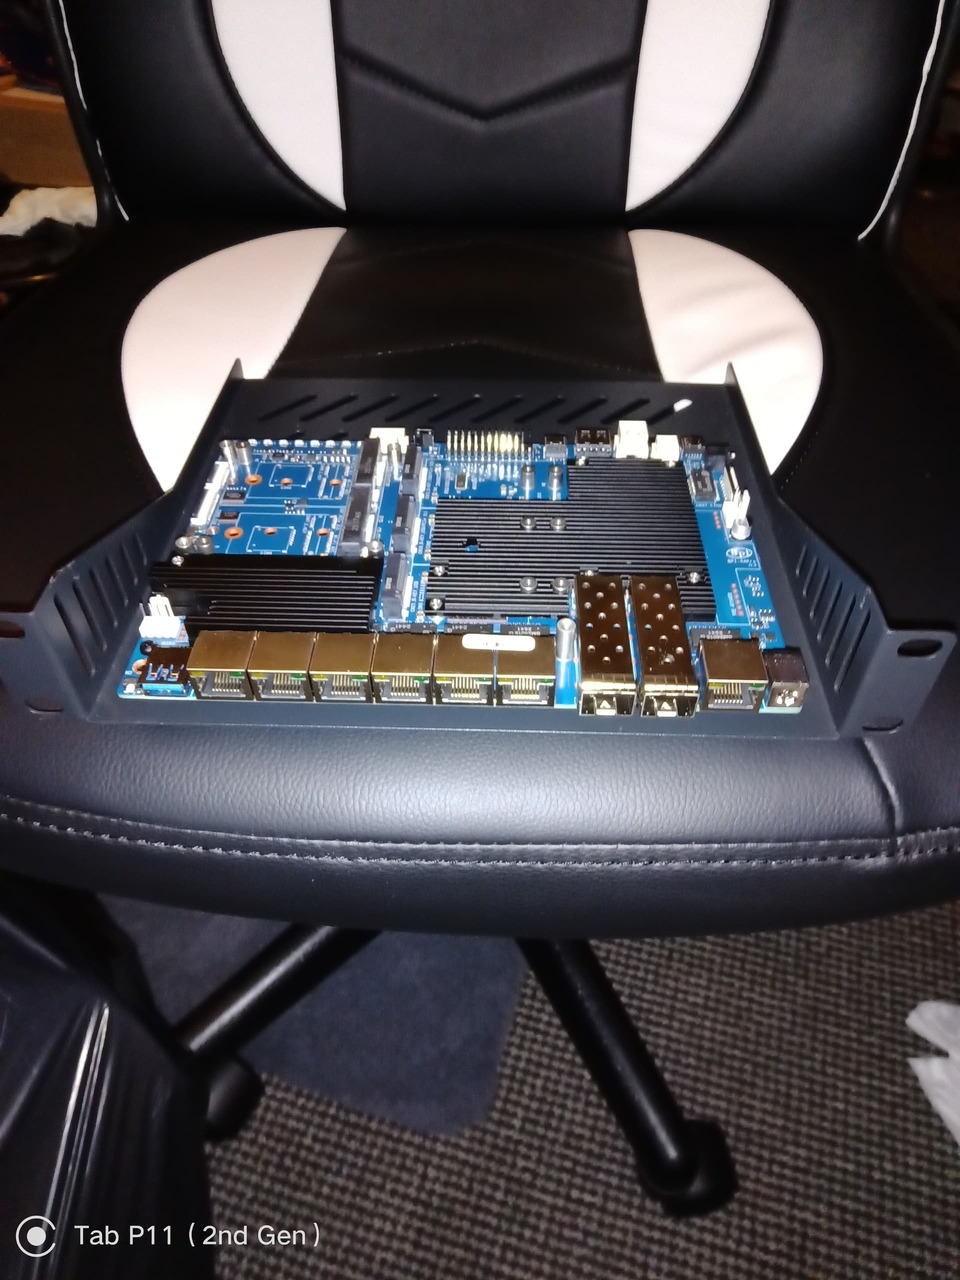
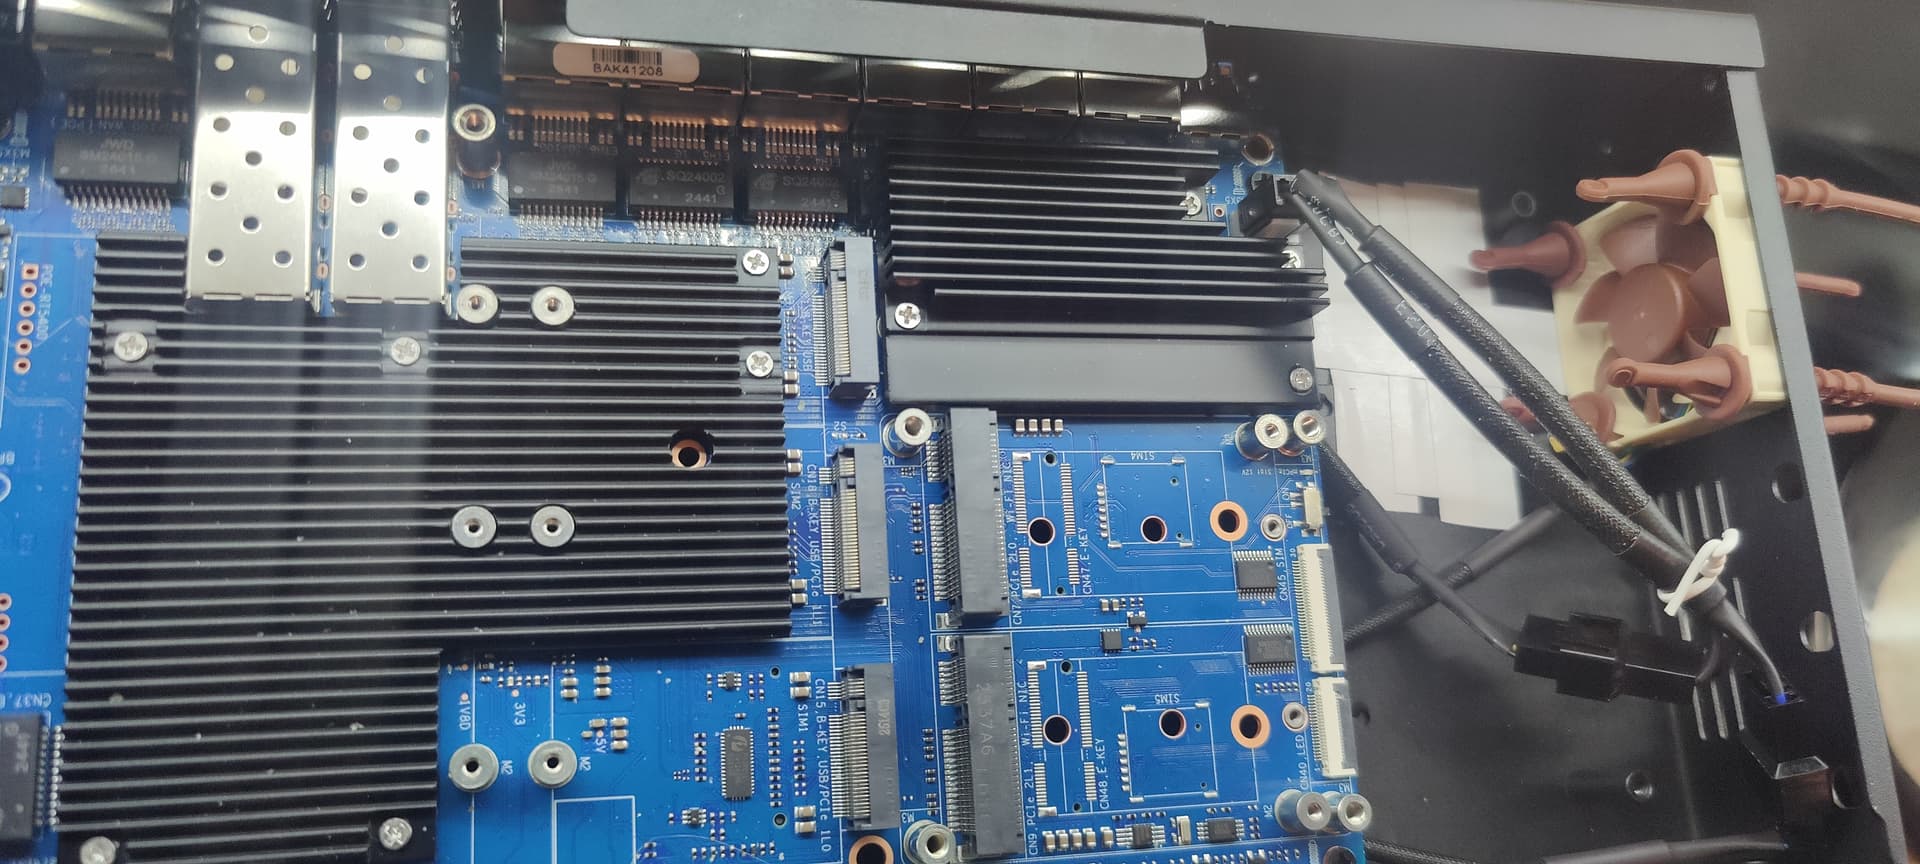
Very cool a bottom hatch that gives direct access to the SSDs slots below the board. That’s nice.
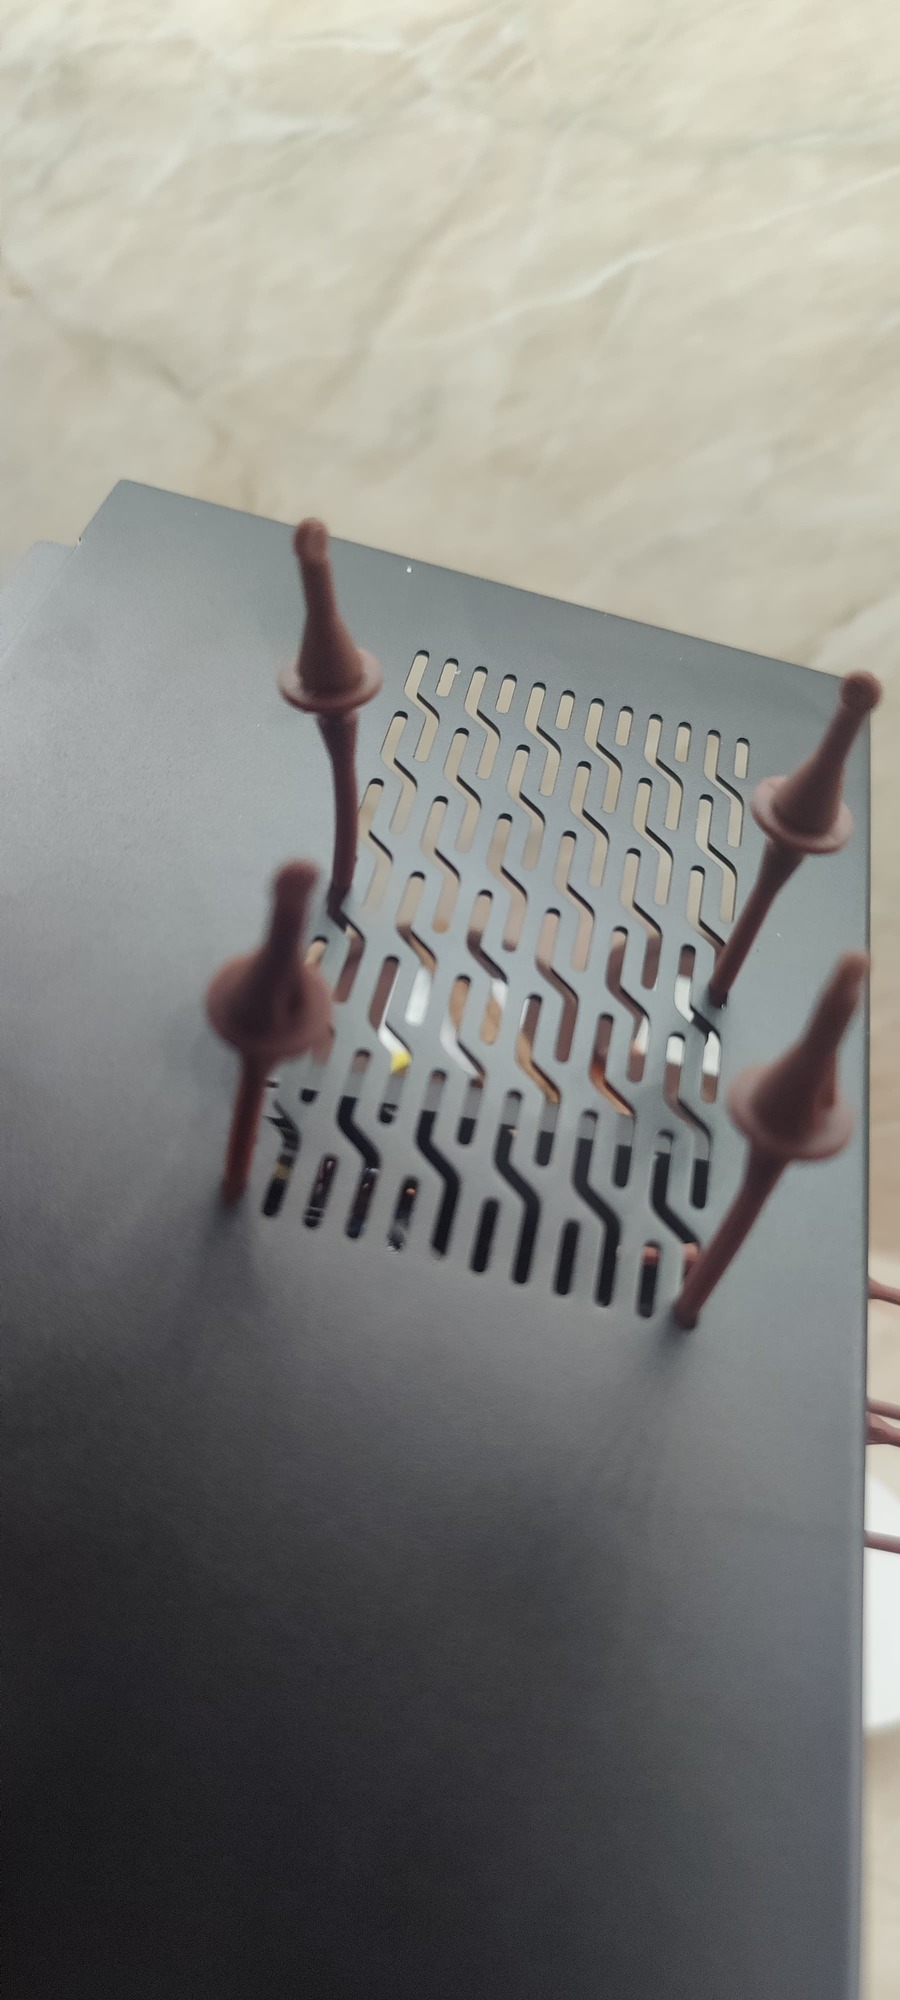
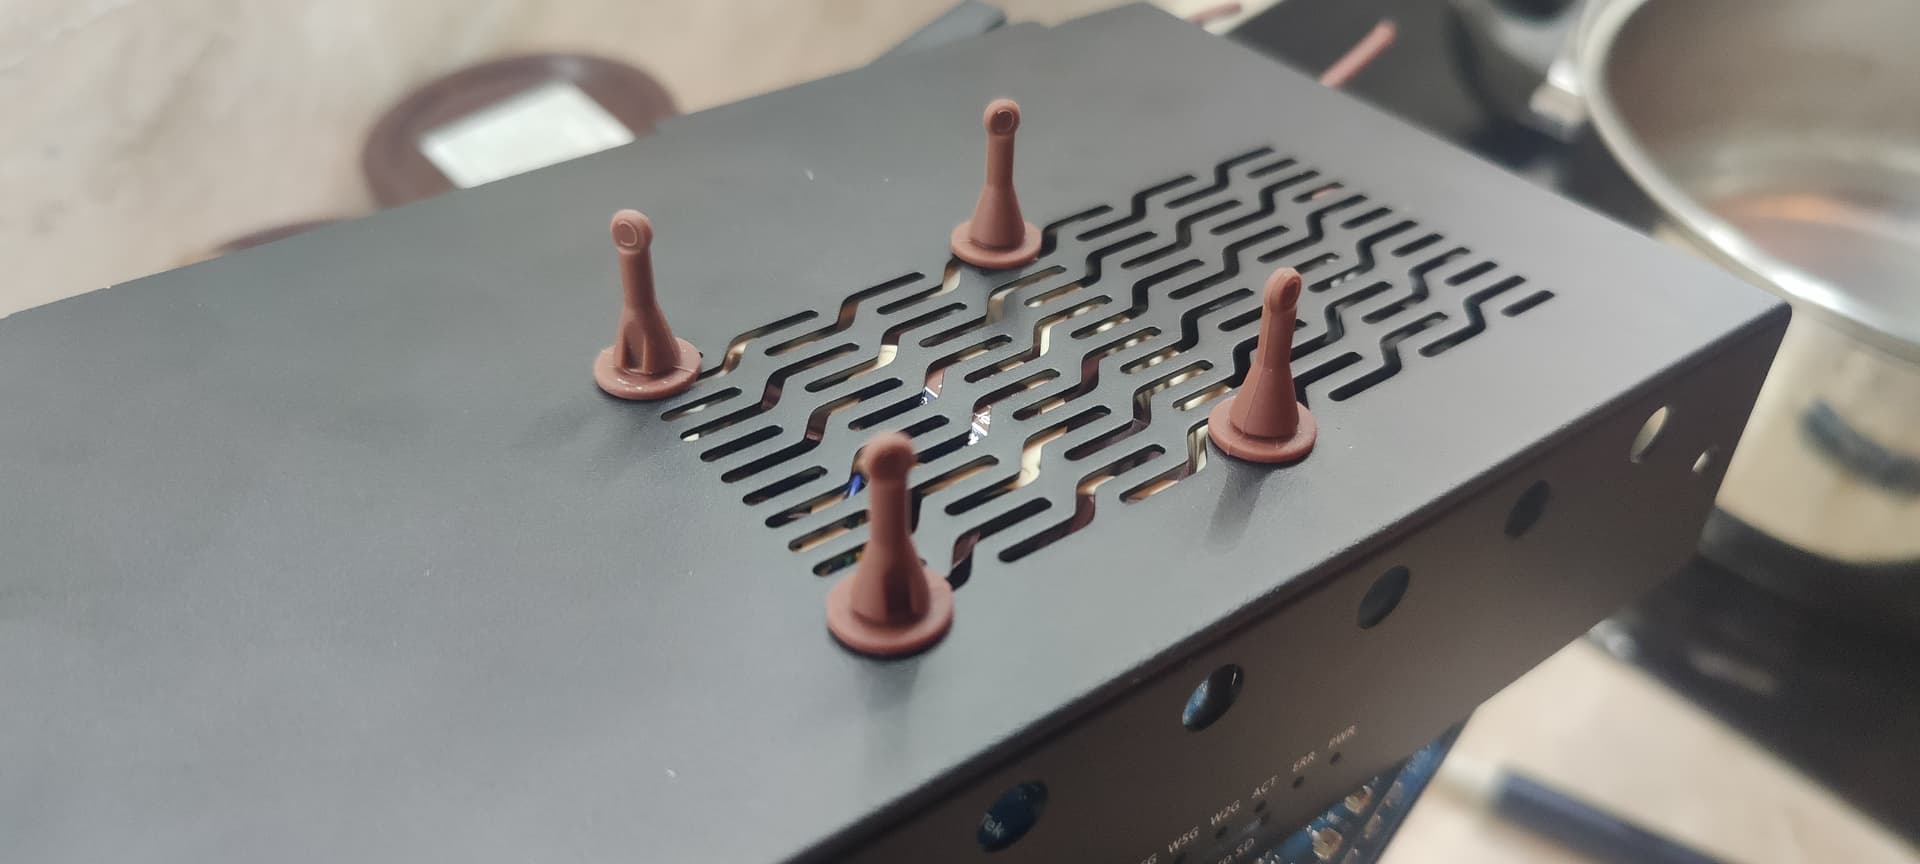
Took me a while to realize that the rail was to hold the front antenna’s connectors so that you can slide in the front but also operate the case open without going mad with short pigtails. Another nice touch.
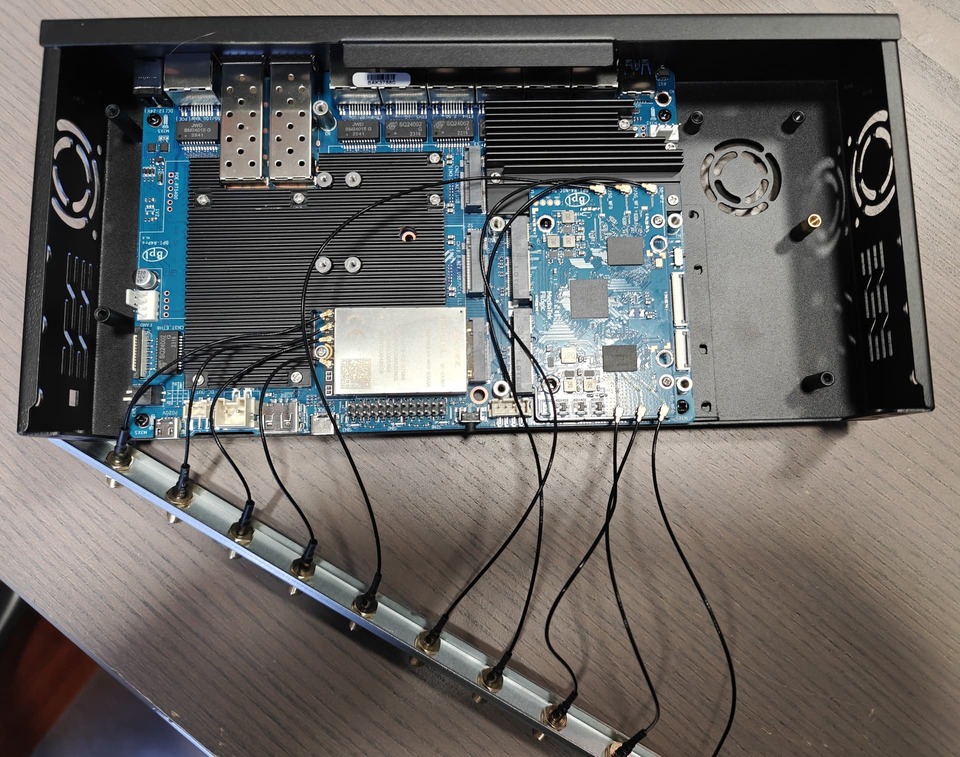
The BE14000 board I bought was not the v1.1 I was expecting but still has a different build from the ones I bought before. Nasty thing is that the BE14000 came with no heatsink and… more upsetting no (super annoyingly tiny) M2 screws to clamp it to the mainboard. Lucky me, I had a couple spare, if not… you’re in trouble. For the heatsink, I’m trying to find something that will fit, work in progress.
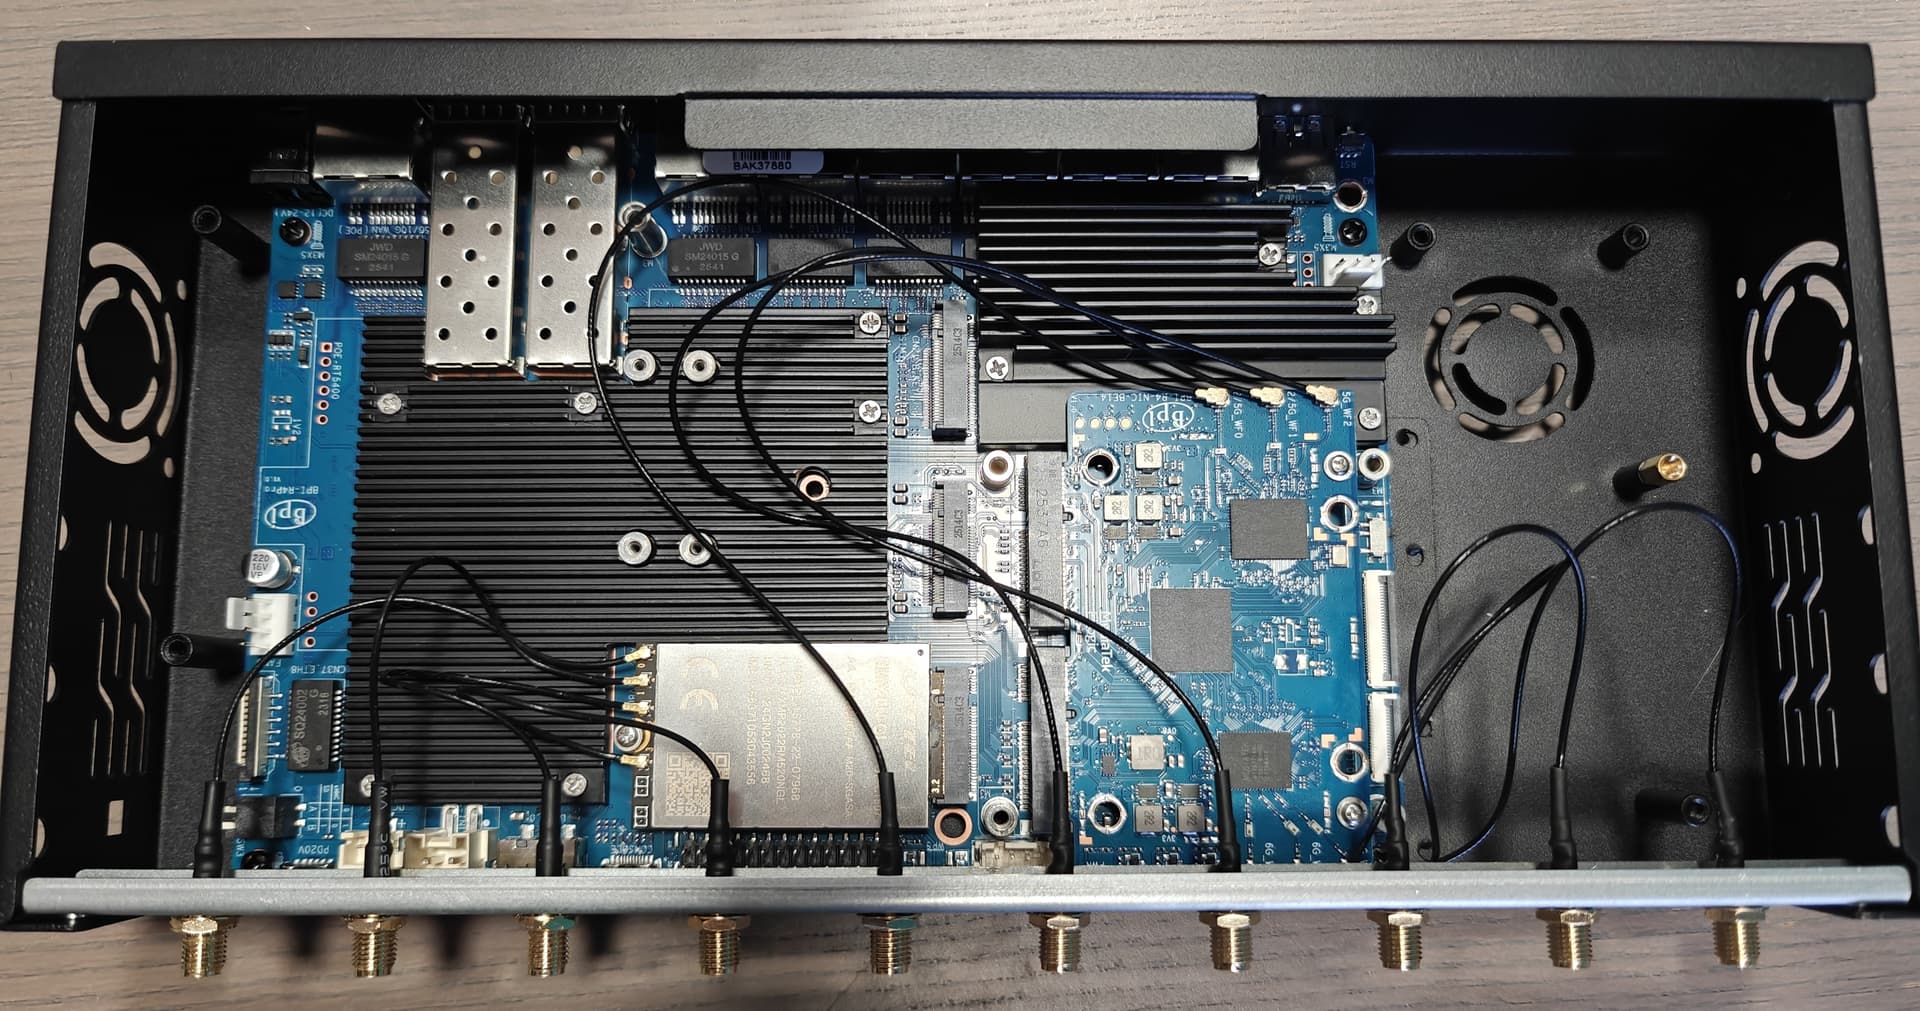
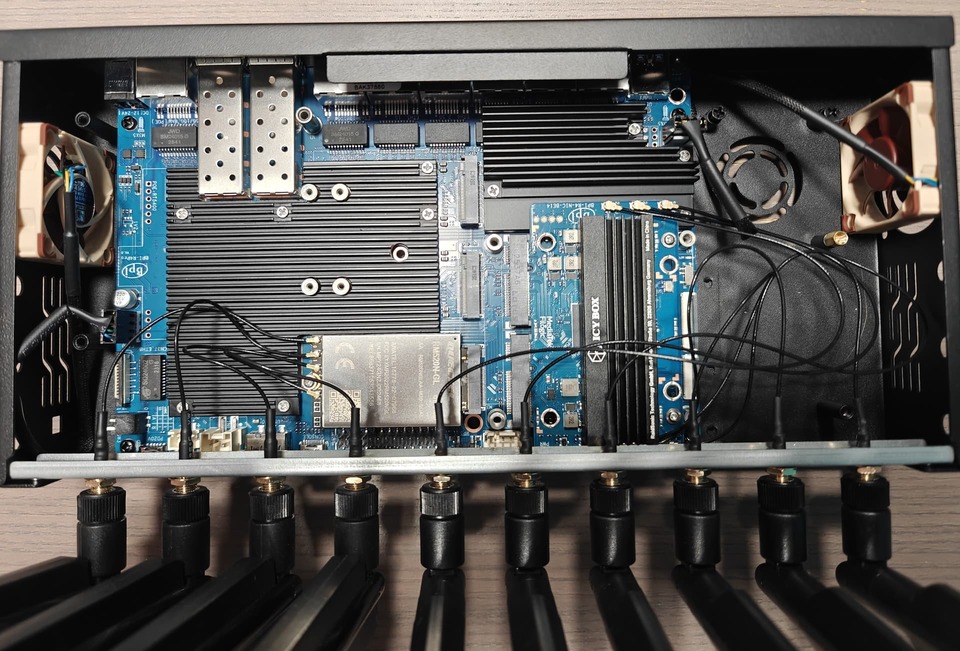
When you screw in the rail, it will look like this… nice to operate open, especially when developing/debugging stuff.
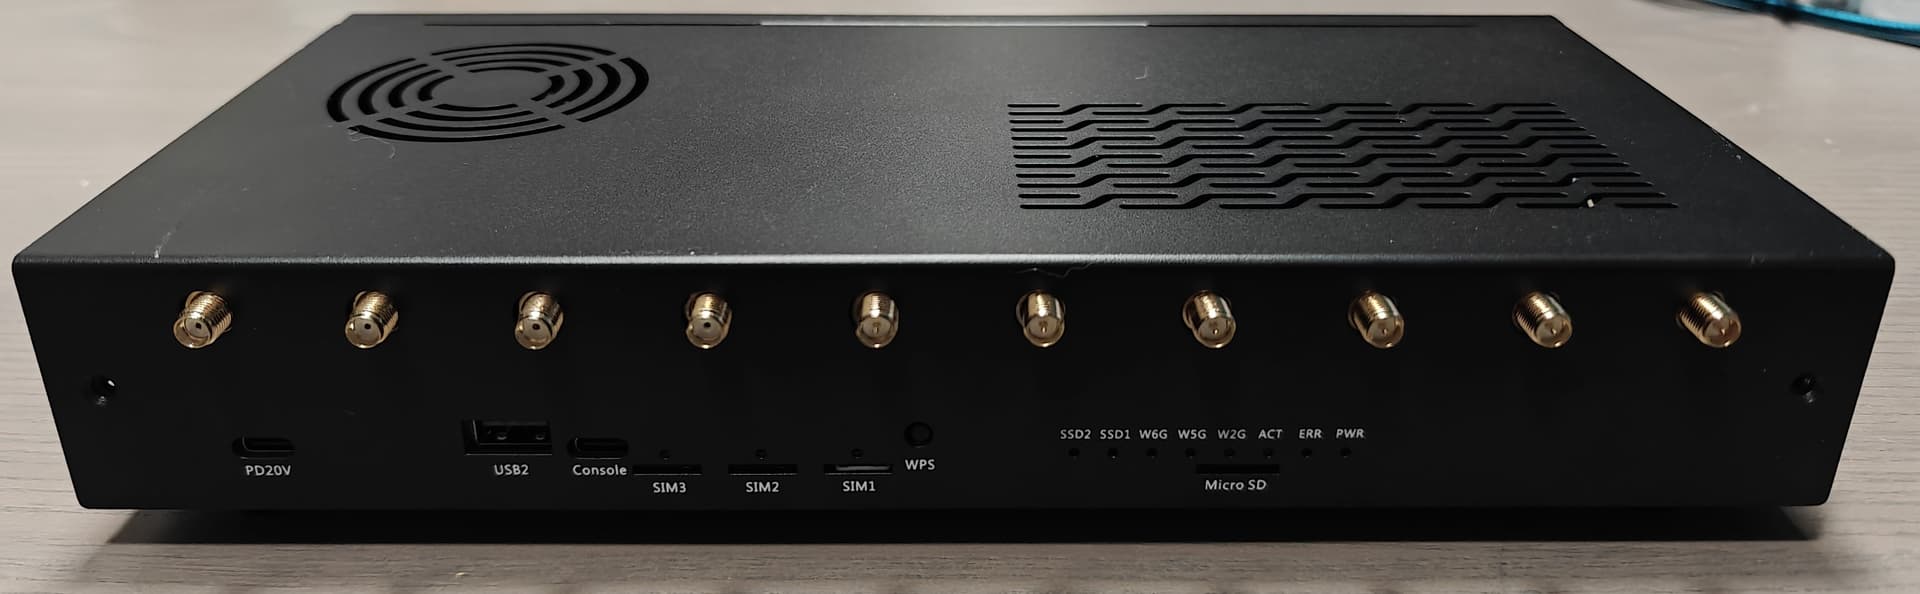
Since I mounted both the BE14000 and the RM-520N-GL LTE modem, I decided to mount all the antennas to the front and in order to minimize pigtails connections: the 4 for LTEs then the 3+3 for wifi are kind of a big array. We’ll have to see how that goes for SNR performance.
I’m now waiting for the 2 40x10 fans and a few heatsinks to arrive to close the build.
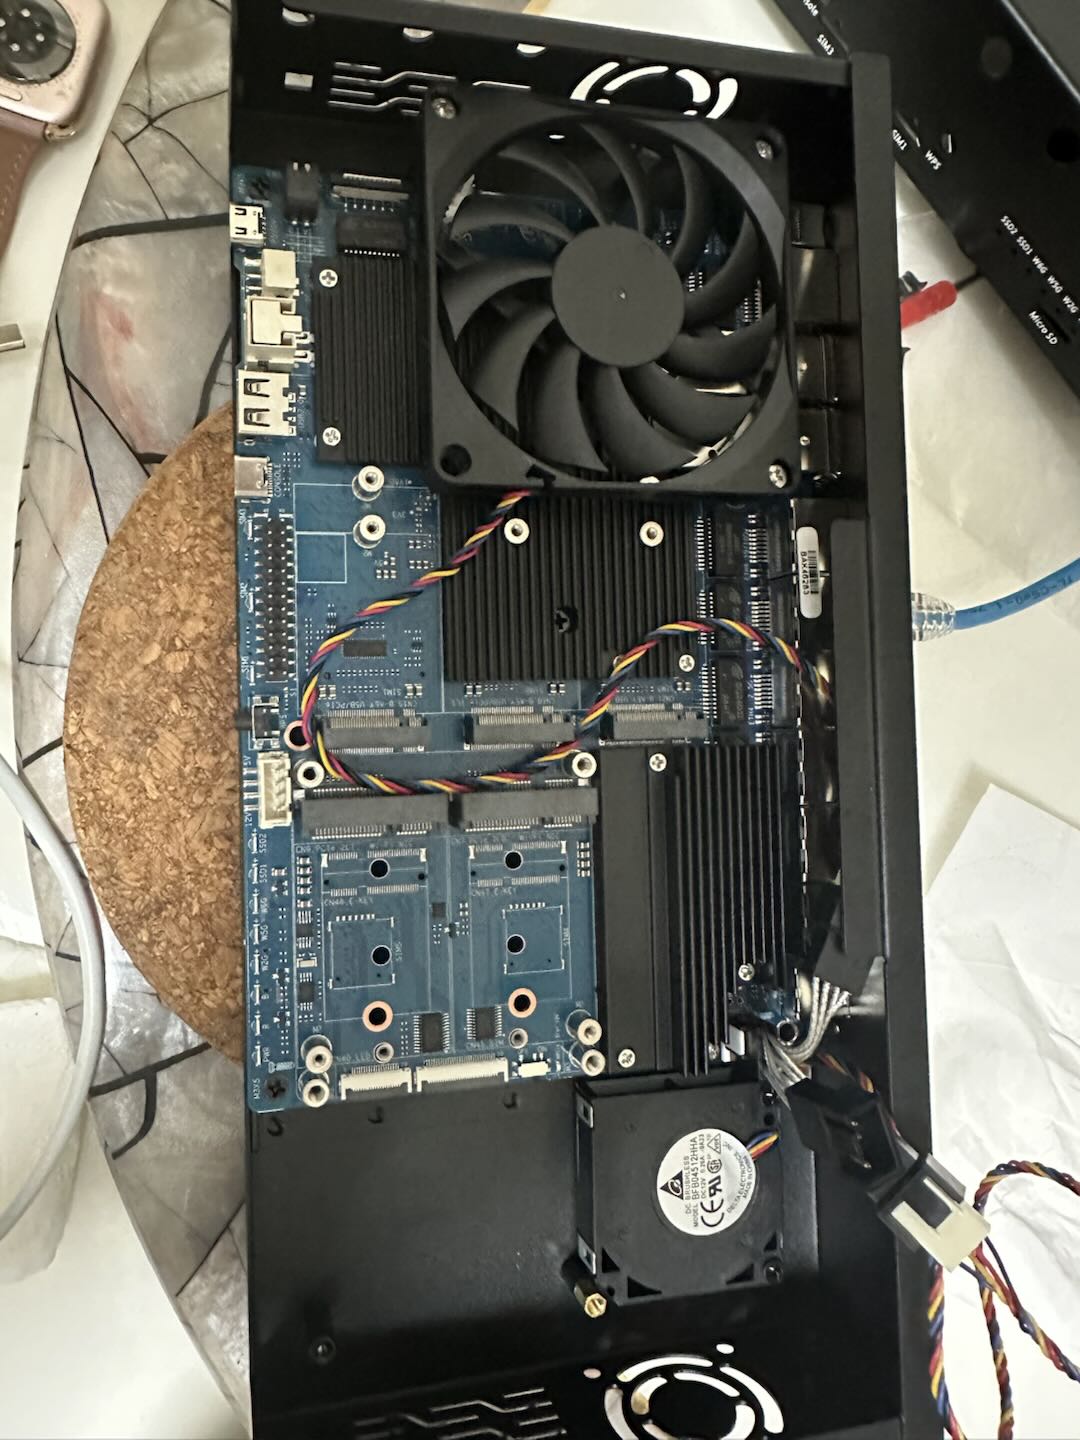
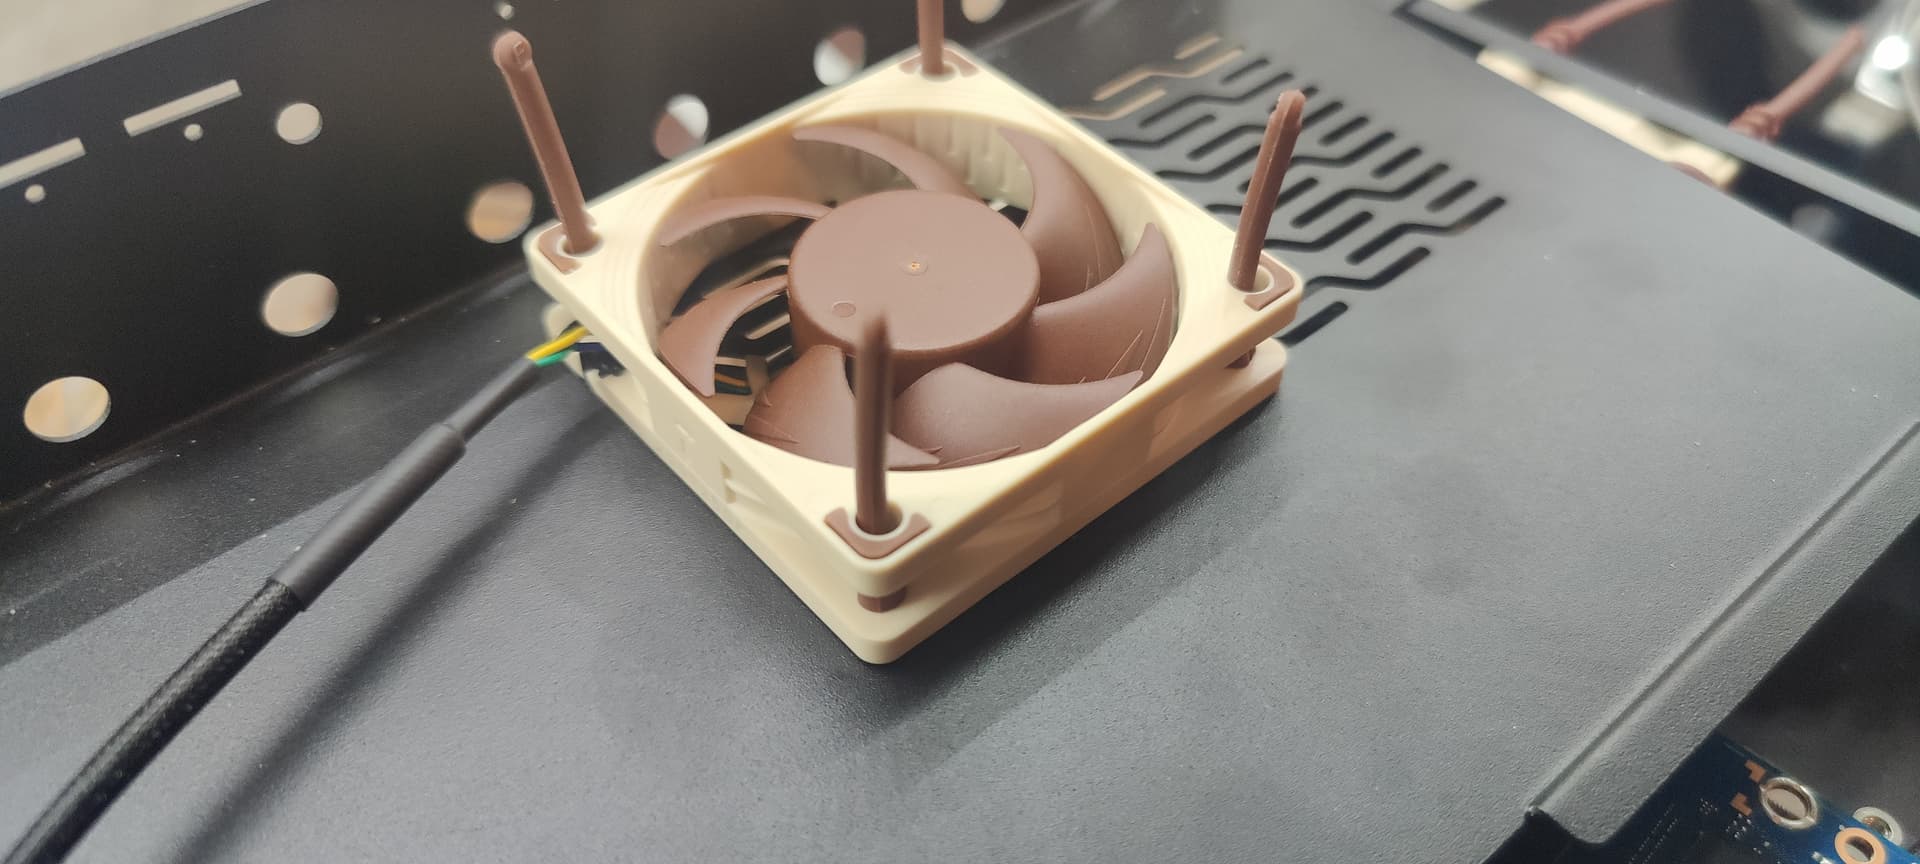
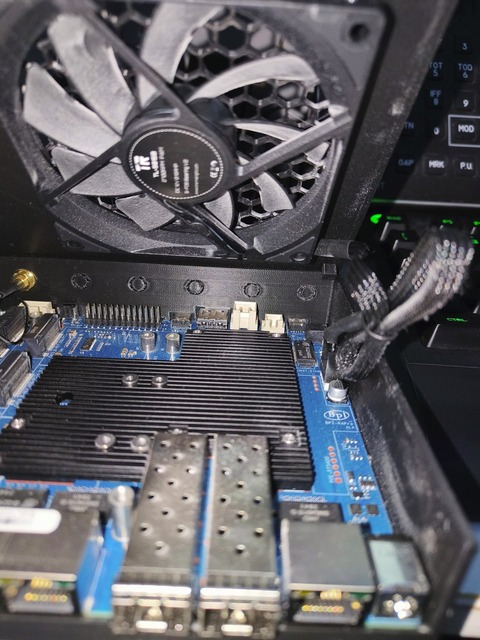
Oh! Cool! So that’s how the big top 80x10 fan was supposed to be anchored!
I guess you had to split the left fan connection beacuse the right one gets covered by the fan itself?
Very interesting also the the 45x10 fan you used is a blower for the bottom side.
The 70x10 fan screw’s, however, are below the surface of the BE14000 (and the PCI connector), maybe they need some form of raising?
unfortunately, the noctua that you picked are quiet but they nearly dont move any air around :-/
would recommend to at least put 80MM with the max CFM from noctua and if possible to put 2 of them so the air should the hell out of there from everywhere
Yeah, I noticed the same. And, yeah, will put a top 80mm one.
I’ll probably try to keep also both 40mm with a splitter and see if that gets me somewhere.
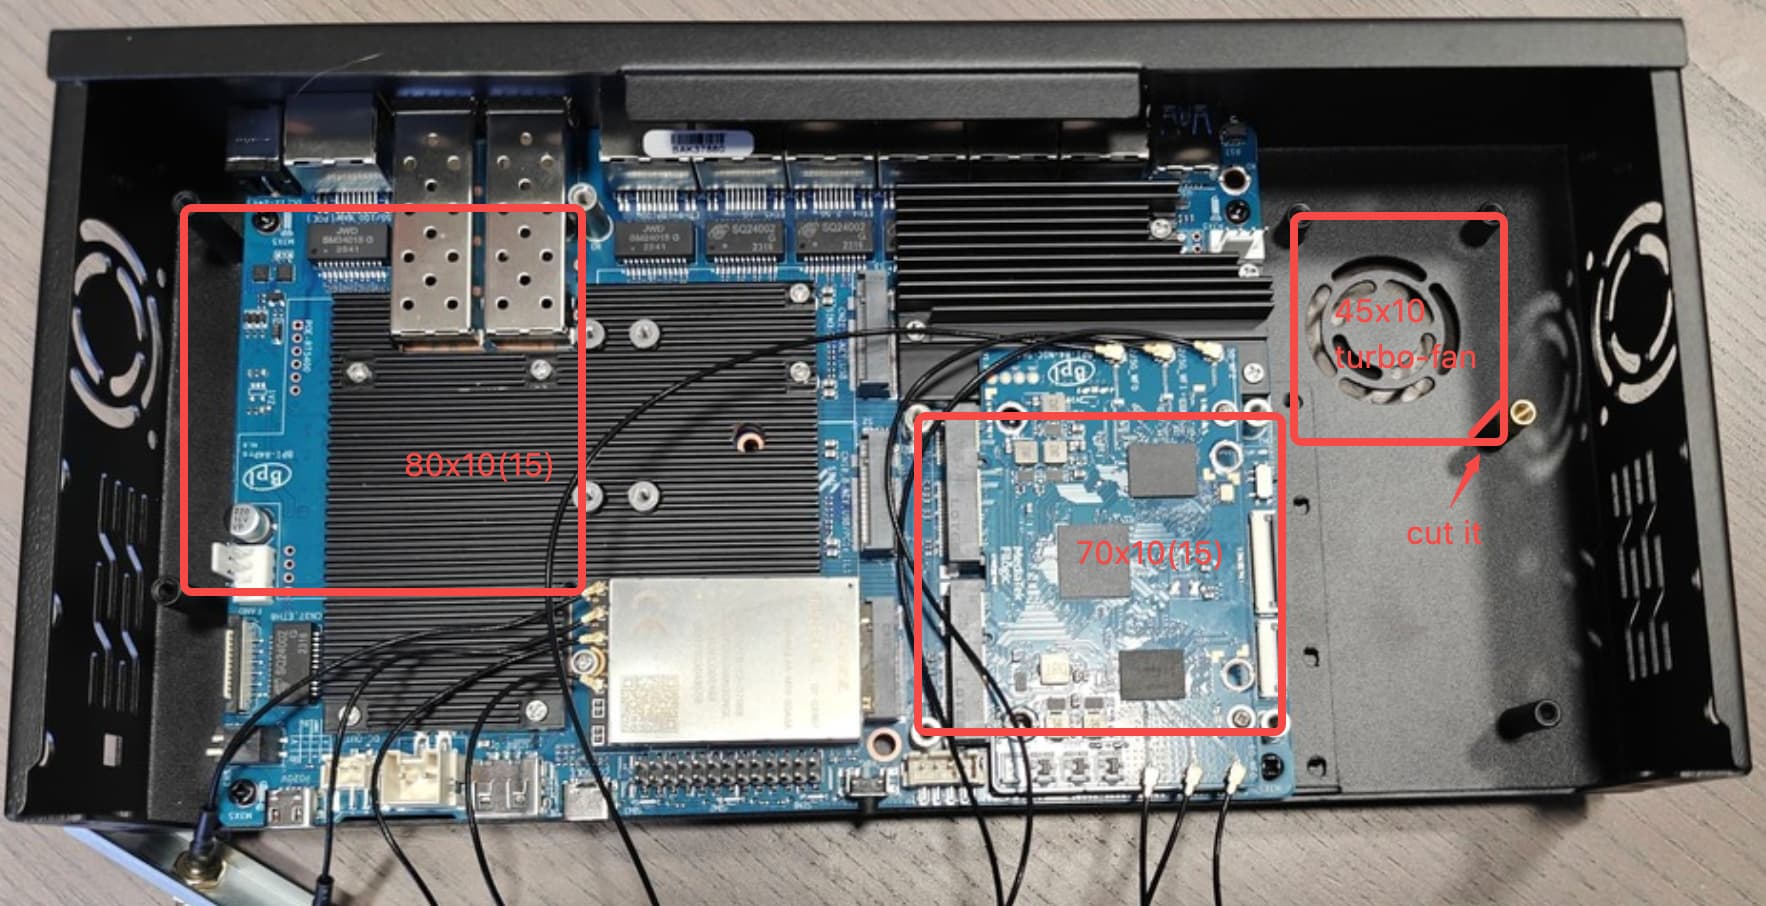
Anyone trying to use the top 80mm fan, be aware that a standard 80x80x25mm won’t fit in height, there’s about 20mm clearance between the stands and the top… (so no noctua… sic…). I’m now looking for a slimmer fan.
The 70x70 box on top of the BE14000 looks like a non standard size for a fan, maybe there’s something specific that is supposed to go there. Also, putting a fan there, will definitely create issues with the SMA connectors screwed on the rail.
I’m also looking at the 50x50 stands immediately on the right. They also looks to be dedicated for something specific (BE19000?) but maybe I can put a blower there that points to the BE14000 sink, once I figure out a decent heatsink to use. Still work in progress.
You can take a look here. The relevant power tests have already been conducted. However, the data is only for reference as the status of each person’s module used may vary. The cooling aspect is still under improvement.
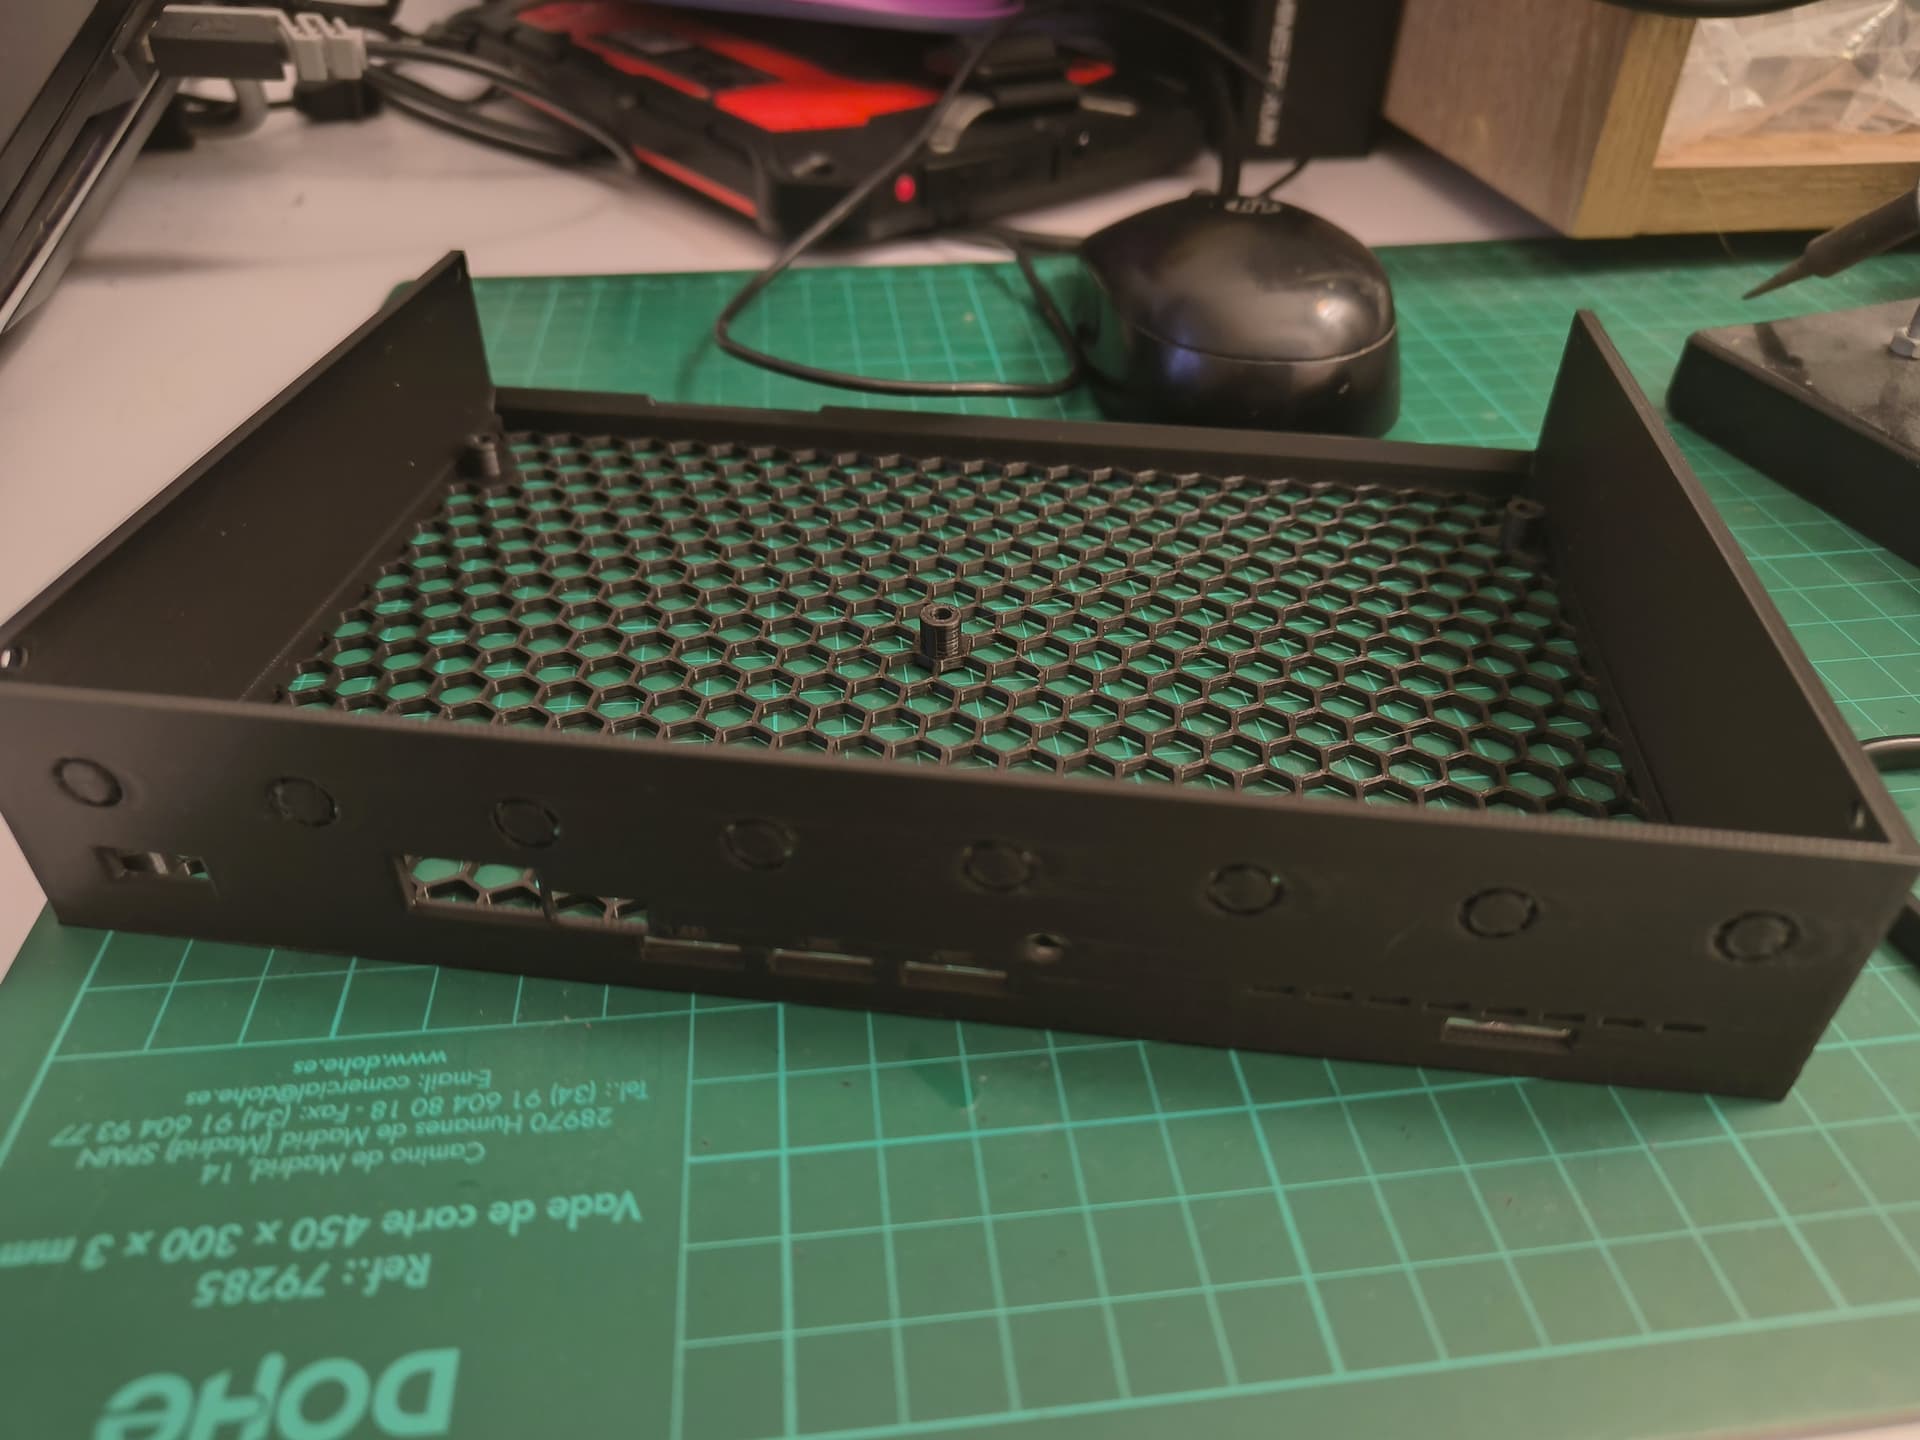
I’m not sure if this is the right place to share my experience, but since I won’t be using the new Wi-Fi 7 module anytime soon, I created a case with a 3D printer, just to house the router itself and perhaps a simple m2 Wi-Fi 6E module and a cellular module maybe.
The idea behind the design is to use a single 90mm fan to reduce noise (a larger fan = fewer RPMs to achieve same airflow).
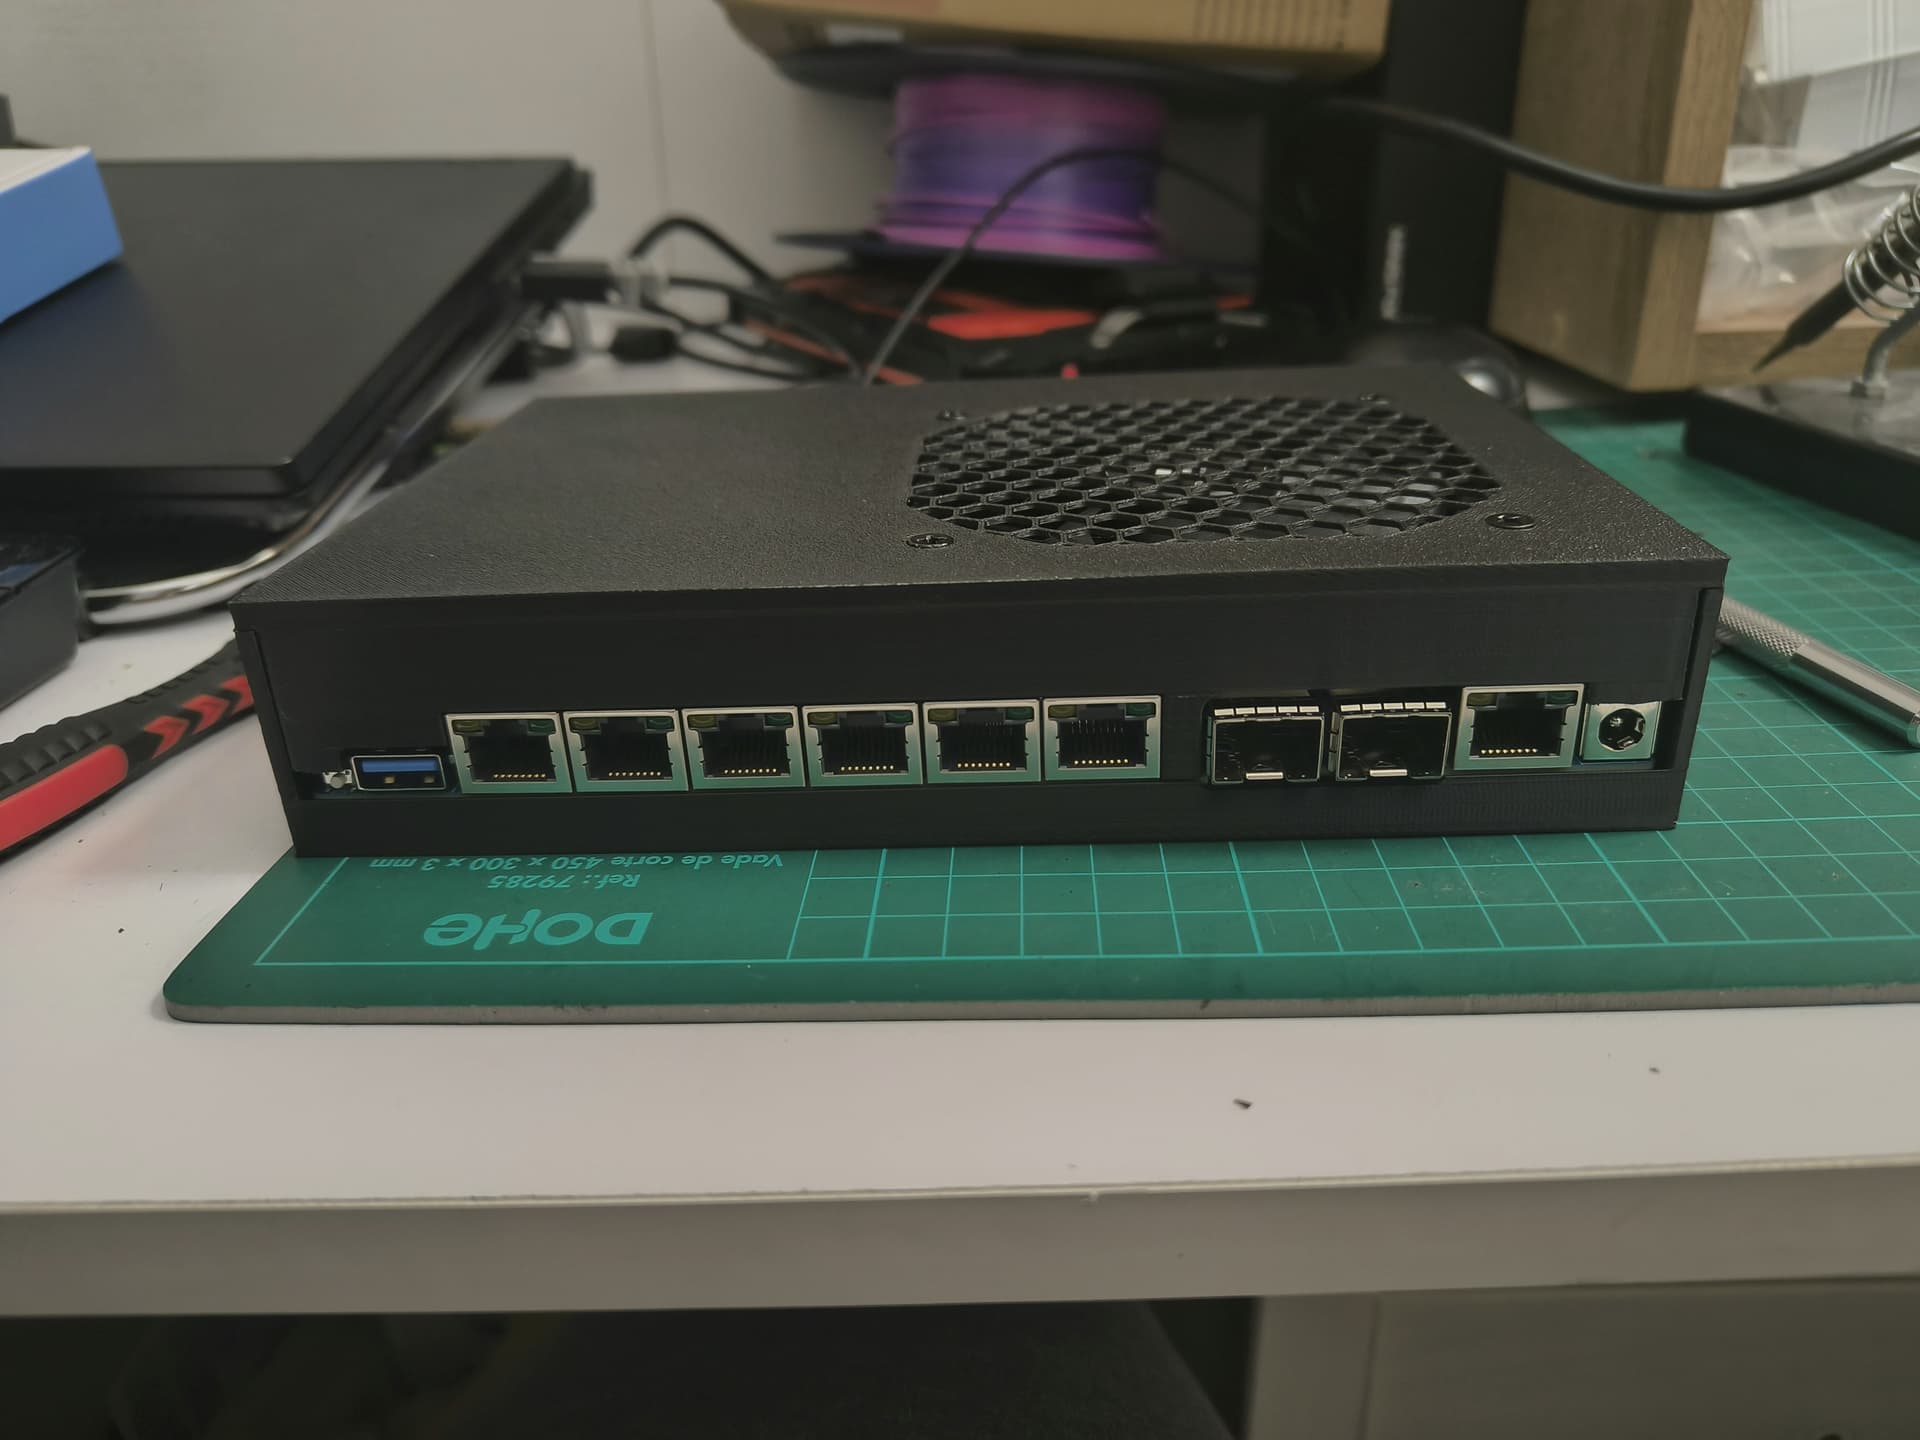
The fan blows directly onto the CPU heatsink and much of the SFP+ cage, leaving (intentionally) more space around the SFP+ cage for airflow to exit around the port, attempting to dissipate the heat from the SFP module.
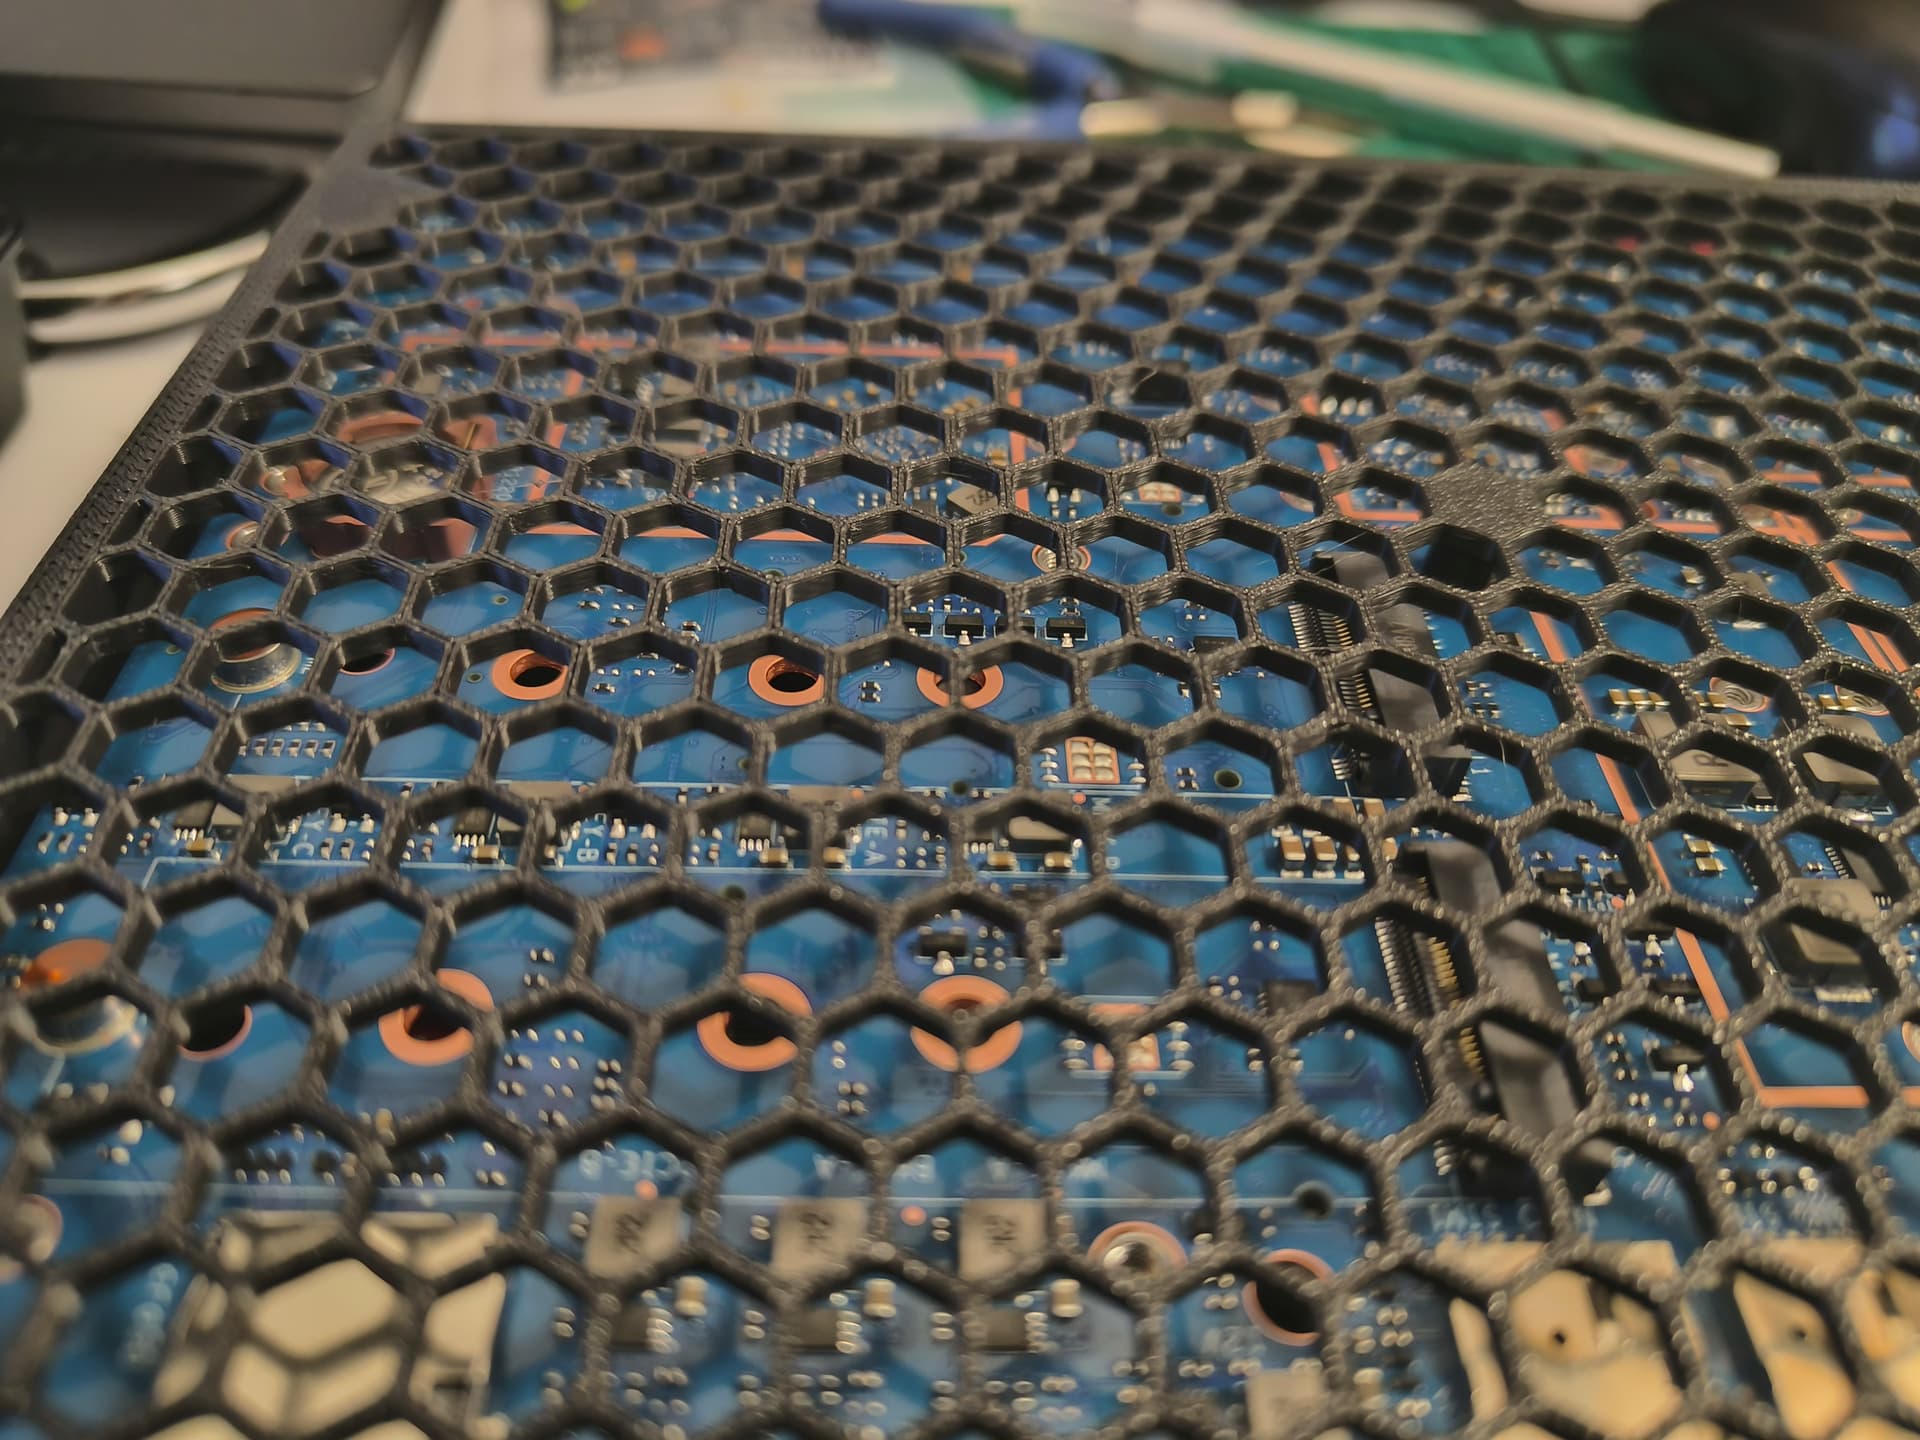
The only drawback I want to point out is that, with the current limitations of 3D printing and my design skills, I wasn’t able to gain direct access to the bottom M2 NVMe slot. So, you’ll need to disassemble it to add/replace storage, if you use it.
Here are some photos/videos of my work. Any comments/suggestions on how to improve are welcome
This is my design based on a couple of suggestion comes from other BPI users , not yet shared/posted on any “printables” portal.
I’ll try to figure out how to make the nvme slot accessible keeping the concept of mesh bottom to dissipate heat (I noice that also the bottom part of the boards tend to becomes hot as well)