Tried your Google Drive link. You still provide no MD5/SHA1 checksums which is a sign that you’re not able to learn. How should your users confirm that they downloaded an uncorrupted image?
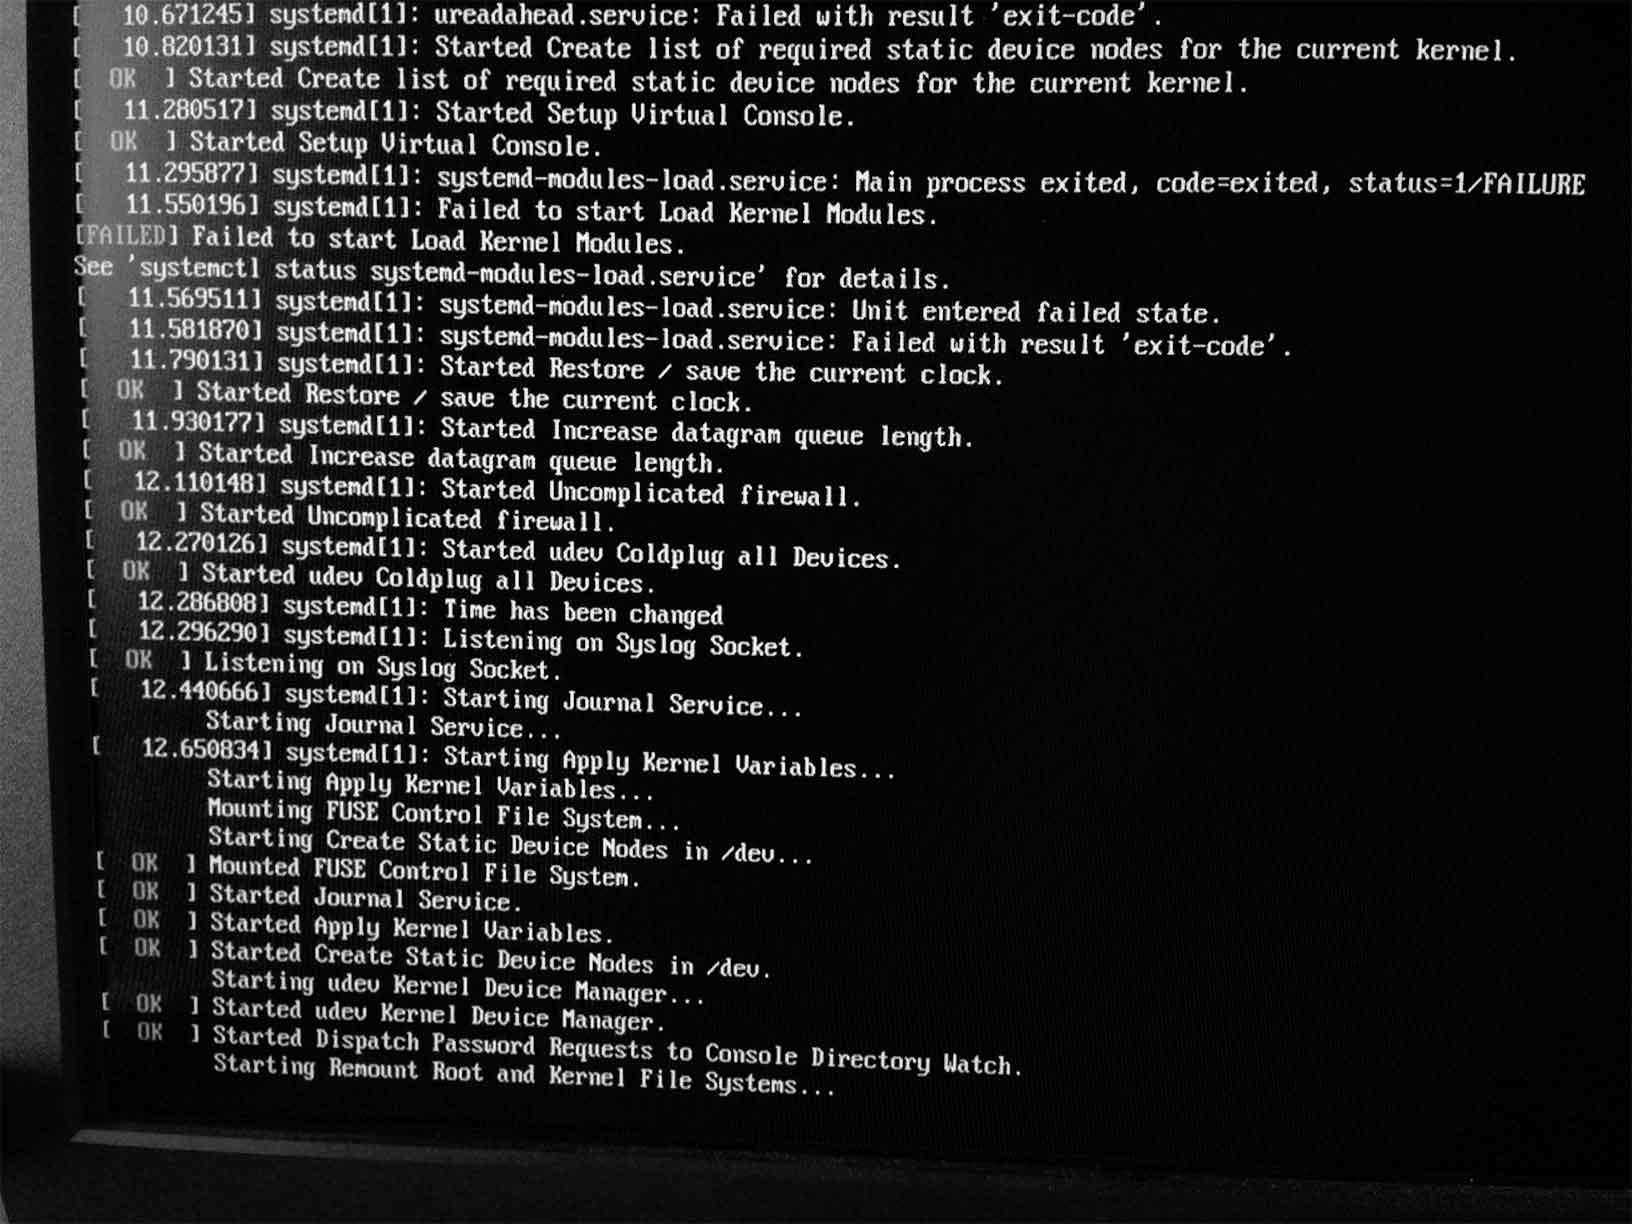
Booting stucks in early stage:
It’s unbelievable. I’ve never seen a vendor being such a loser regarding software and support.
Thx, but since you claim SHA1 and MD5 are the same, that’s useless. And it’s the manufacturer’s job to provide checksums together with their downloads. There’s no excuse for refraining from. But even that doesn’t help since they’re able to provide checksums with a corrupted image and simply don’t care: Android image for BPI-M1 is broken
I automated that (easy, just let the first sectors of eMMC/SD-card being overwritten after you rebuilt the BSP) since otherwise it’s impossible to test software progress for the M3. Taking this into account it’s totally moronic that they released a few OS images the last days since these do NOT contain the necessary fixes from their Github repo.
Is there a suitable guidance how to build our own image and integrate the latest changes from git? Or can you please provide us a short tutorial how you did this?
Don’t do it since Raspbian consists of slow ARMv6 code. It’s not even worth a try. But basically it’s just that: Choose any ARMv7 OS image you find that contains 2 partitions, build SinoVoip’s BSP (as usual the most important information is missing: this has to be done on a x86_64 machine) and you end up with two directories of importance:
output/BPI_M3_1080P
linux-sunxi/output/lib
The contents of these 2 dirs built this morning and including the 2 most recent fixes you’ll find here: http://kaiser-edv.de/tmp/TgVgxb/
And after unpacking BPI_M3_1080P.tar.7z, it’s just
to get most recent kernel, bootloader and hardware initialisation. I automated this through a script that rebuilds the BSP in a virtual x64 machine running Ubuntu, fetches the archives and then replaces the stuff on the BPi-M3 followed by a reboot. That’s the only way to get the most recent fixes unless SinoVoip does it right: Providing an apt repository at least for their Debian based images, package the above stuff as .debs and do the overwriting of the first sectors as a package postinstall routine. As an example how Armbian does it: https://github.com/igorpecovnik/lib/blob/second/common.sh#L52-L71
If SinoVoip would care they would provide something like that since otherwise you’re forced to reflash the whole image if you want the latest fixes when they release a new image in a few weeks (or do the stuff outlined above manually). It’s even necessary to do this if you just want to change the display resolution. It’s unbelievable that they don’t care because we’ve told them already so many times that they should care about user experience. But they seem to not care at all except of selling hardware.
EDIT: SinoVoip now provides now /usr/bin/bpi-bootsel to be able to choose between a few bootloader/initialisation combinations. So you can switch display resolutions but are still cut-off from updates. This stuff has to work online. It’s nearly 2016 and not 1999 any more…
It’s basically what I just described (and this is what I did and what worked for me). If you have a working rootfs it should also be possible to include that into the BSP and let it build a whole image.
If you do the whole stuff not from within the running image then you’ve to replace /dev/mmcblk0p1 with either mountpoint of the SD-card or the path to the image. On OS X I used prior to ‘full automatisation’ this manual approach:
bash-3.2# cat update-sd-card.sh
#!/bin/bash

MyDisk=$1

if [ "$(id -u)" != "0" ]; then
        echo "This script must be executed as root. Exiting" >&2
        exit 1
fi

case ${MyDisk} in
	disk*)
		:
		;;
	*)
		exit 1
		;;
esac

ssh $buildhost "/var/git/M3/BPI-M3-bsp/build-stuff.sh"
rm -rf BPI_M3_1080P
rsync -a $buildhost:/var/git/M3/BPI-M3-bsp/output/BPI_M3_1080P .
diskutil unmountDisk ${MyDisk} || exit 1
if [ ! -f BPI_M3_1080P/pack/boot0_sdcard.fex ]; then
	echo "Can't find the archive's contents. Giving up." >&2
	exit 1
fi

dd if=BPI_M3_1080P/pack/boot0_sdcard.fex of=/dev/r${MyDisk} bs=1k seek=8
dd if=BPI_M3_1080P/pack/u-boot.fex of=/dev/r${MyDisk} bs=1k seek=19096
dd if=BPI_M3_1080P/pack/boot-resource.fex of=/dev/r${MyDisk} bs=1k seek=36864
dd if=BPI_M3_1080P/pack/env.fex of=/dev/r${MyDisk} bs=1k seek=69632
dd if=BPI_M3_1080P/kernel/boot.img of=/dev/r${MyDisk} bs=1k seek=86016

sleep 0.2
diskutil eject ${MyDisk}
But since I also had to replace /lib/modules I chose to fully automate it from within the running image. It’s fire and forget
Is this the right sequence? @sinovoip, is it really that hard to write clear instructions?
At least I’ve had the chance to look at bpi-bootsel myself: It seems you picked up the idea to overwrite the 1st sectors to choose different display resolutions. At least a first step in the right direction. But the archives you provide are missing your latest fixes already:
root@BPiM3:/mnt/emmc/usr/lib/u-boot/bananapi/bpi-m3# ls -la
total 56056
drwxr-xr-x 2 root root    4096 Dec  3 02:43 .
drwxr-xr-x 4 root root    4096 Oct 22 10:04 ..
-rw-r--r-- 1 root root 9622875 Dec  2 02:30 BPI_M3_1080P.img.gz
-rw-r--r-- 1 root root 9532171 Dec  2 02:30 BPI_M3_720P.img.gz
-rw-r--r-- 1 root root 9532229 Dec  2 02:30 BPI_M3_LCD7.img.gz
-rw-r--r-- 1 root root 9622879 Dec  2 02:30 BPI_M3_USB_1080P.img.gz
-rw-r--r-- 1 root root 9532174 Dec  2 02:30 BPI_M3_USB_720P.img.gz
-rw-r--r-- 1 root root 9532237 Dec  2 02:30 BPI_M3_USB_LCD7.img.gz
This is useless given the state of your fixes: https://github.com/BPI-SINOVOIP/BPI-M3-bsp/commits/master (the last 5 are already NOT included). Fortunately my update method outlined above also works with your image running now from eMMC.
Is it right that you are now running from emmc?
What does the ‘| gzip -c" | gunzip -c |’ do? In my opinion it compresses and directly uncompresses the image…
I will get my BPI M3 this evening and i will try your update method mentioned above.
Yes, I flashed SinoVoip’s 15.10 image this way. I downloaded it on OS X and transferred it through the network using a gzip pipe to compress the data. It failed the first 3 times until I realized that’s something going wrong. I had to lower the maximum cpu clockspeed to be able to realibly write to eMMC (!!!). Just opened another Github issue: https://github.com/BPI-SINOVOIP/BPI-M3-bsp/issues/5 (I assume they will close it without taking notice as usual).
in /etc/rc.local. Will later have a look whether I can provoce eMMC corruption when clocking higher again.
The first part compresses the image on OS X and the 2nd uncompressed it on Linux.
First impressions: This bug is still unresolved even with SinoVoip’s own image: https://github.com/BPI-SINOVOIP/BPI-M3-bsp/issues/3 (already closed since ‘hey, why fixing a bug if you can simply ignore the bug report?!’). Compare with
LOL, I found another silly (and very very very well known) bug the image contains. But I won’t tell now. It’s too funny.
Everyone here running this image should report back in 2 days how sluggish the system behaves when it was running all the time. They installed the most useless and crappy piece of software by default