OS: BPI-M3 Ubuntu15.10 (Kernel3.4)
Version: 1.0 HDMI
Step 1: Download WiringPI
$ git clone https://github.com/BPI-SINOVOIP/BPI-WiringPi.git111 -b BPI_M3 $ cd BPI-WiringPi $ chmod +x ./build $ sudo ./build
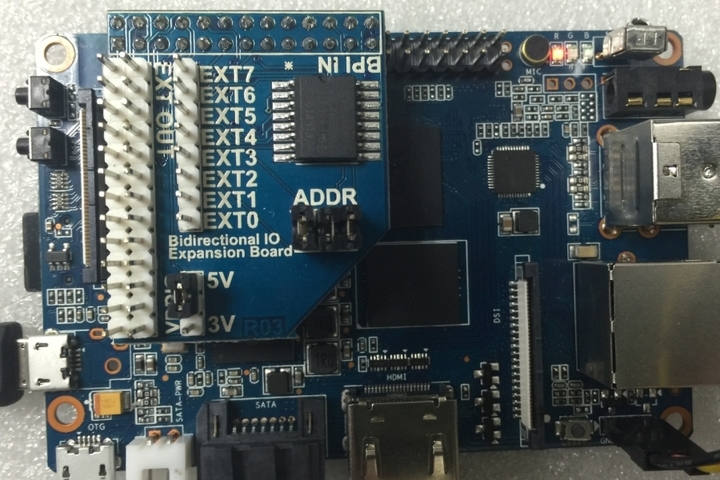
Step 2:Check the BPI I2C GPIO extend(PCF8574) device to see if it’s on track.(address 0x27) (I2c port number for M3: 2 )
sudo su i2cdetect -y 2
.0 1 2 3 4 5 6 7 8 9 a b c d e f 00: – -- – -- – -- – -- – -- – -- – 10: – -- – -- – -- – -- – -- – -- – -- – -- 20: – -- – -- – -- – 27 – -- – -- – -- – -- 30: – -- – -- – -- – -- – -- – -- – -- – -- 40: – -- – -- – -- – -- – -- – -- – -- – -- 50: – -- – -- – -- – -- – -- – -- – -- – -- 60: – -- – -- – -- – -- – -- – -- – -- – -- 70: – -- – -- – -- – --
Step 3 : Copy smaple code to i2c_pcf8574.c file
$ sudo vi i2c_pcf8574.c
Step 4 : Compile i2c_pcf8574.c
$ gcc -o i2c_pcf8574 i2c_pcf8574.c -l wiringPi
Step 5: Run i2c_pcf8574
$ sudo ./i2c_pcf8574
Video Demo:
Sample Code:
#include <wiringPi.h>
#include <pcf8574.h>
#include <stdio.h>
int main()
{
        int i;
        pcf8574Setup(100,0x27);
        for(i=0;i<8;i++) pinMode(100+i,OUTPUT);
        while(1)
        {
                i = 0;
                for(i=0;i<=8;i++)
                {
                        printf("Current LED = %d\n",100+i);
                        digitalWrite((100+i),HIGH);
                        delay(500);
                        digitalWrite((100+i),0);
                        delay(500);
                }
        }

}
Schematic diagram:
https://bananapi.gitbooks.io/bpi-accessories/content/i2cgpiomodule.html