1.First, check whether the USB flash drive’s file system is FAT32 or FAT16.
If not, you can use the following command to convert it. If it is FAT32 or FAT16, you can skip this step.
sudo umount /dev/sdb1 sudo mkfs.vfat -F 32 -n “DATA” /dev/sdb1
2.Extract the downloaded emmc image file to a USB flash drive
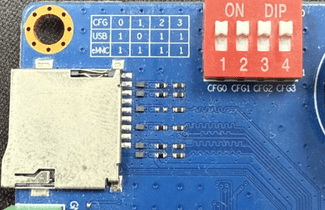
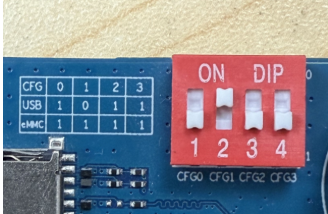
switch the key to USB
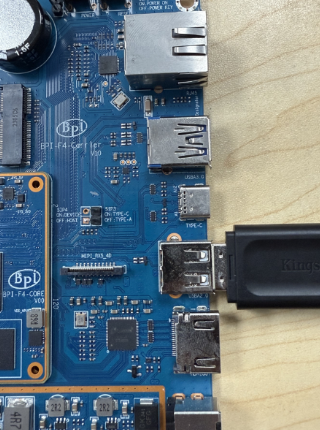
3.The USB flash drive can be used for upgrading when inserted into USB3 TYPE-A, TYPE-C, and USB2 TYPE-A ports.
Insert the USB flash drive into the USB3 TYPE-A port (no need to short-circuit the jumper).
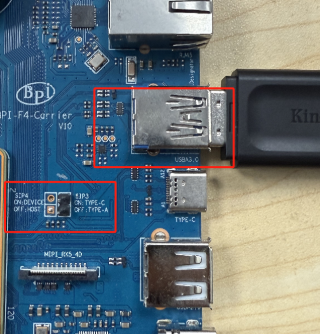
Insert the USB flash drive into the USB3 Type-C port (use the TYPE-C port; the jumper must be short-circuited here)
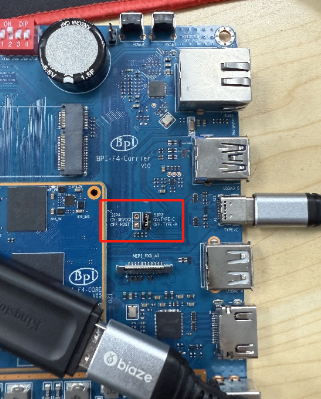
Insert the USB flash drive into the USB 2.0 Type-A port.
4.After power-on, it will automatically enter the upgrade process. The log after the upgrade is complete is as follows:
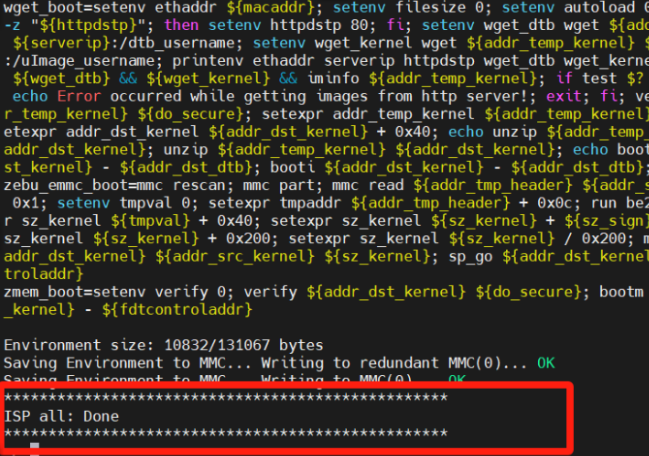
5.After the burning is completed, turn off the power, change the dip switch to 1111, and power on again to boot from eMMC.