banana pi BPI-M3 Android 5.1.1 V3 GPIO control Demo
Hi,
How do you even burn Android? i have burned it like other images and it always give me that it need to be formated after i have burned it into sd card. I anyway try to test it, no leds blink it wont load anyway…
please read this documents:
https://bananapi.gitbooks.io/bpi-m3/content/how_to_burn_android_image_to_emmc.html
sinovoip i’m sure you are trying to do you best to make me and others happy. But maybe if you make full video step by step on how it should be done on windows and ubuntu then no one can mistake anything and run into problems. I hope you will consider making videos becouse i really need help for this and try to keep the videos up to date.
OK ,we will record some video,and update to youtube:)
but all is same to burn kali linux:
 Thanks for your replay. But i already did like that in the video with the same software. When i insert the sd card inside the BPI-M3 it stay red and hdmi dont connect. When i insert the sd inside windows/ubuntu or mac it says that i have to format the sd card. it only happens with andriod image this problem
how to burn android image ,maybe check this documents:
https://bananapi.gitbooks.io/bpi-m3/content/bpi-m3_quick_start.html
how to burn android image to EMMC:
THe video show how to burn andriod to EMMC so BPI-M3 most already have working andriod installed
if you want burn image to EMMC ,you can use this way.
or just burn android image to SD card.
I want to burn android image to SD card. I did so, but not working. Only red led on and not display of screen.
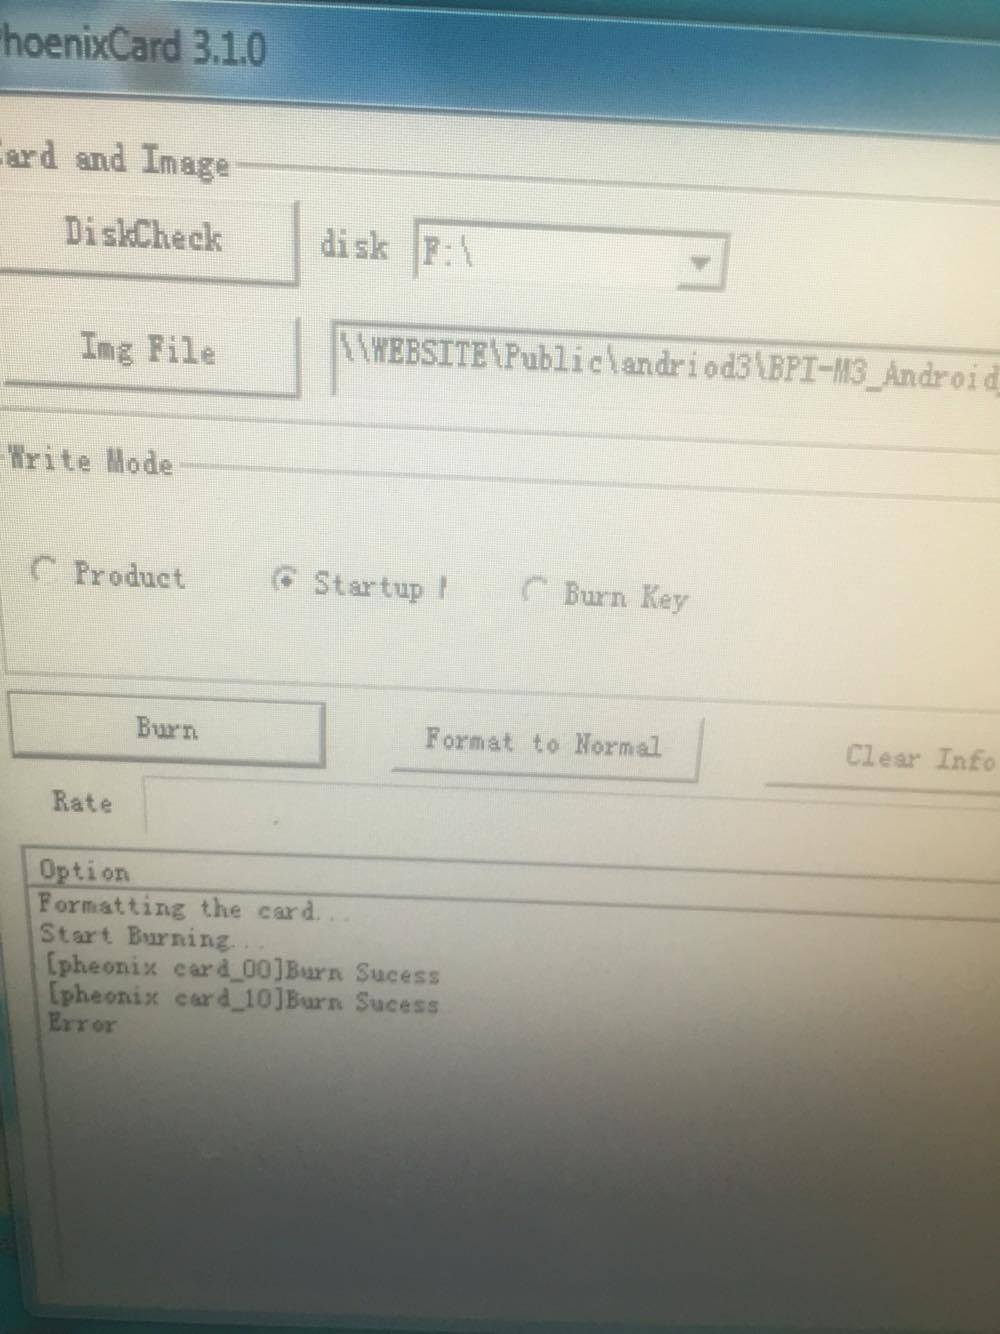
it not same as linux image , You need to use PhoenixCard tooling to make the SD card. Download the Phoenix Card from
I have tried many times always get error:

HI: Please use PhoenixSuit.zip tools.
Only support Android Image PhoenixCard: Android images to SDCard PhoenixSuit : Android images to Emmc
https://bananapi.gitbooks.io/bpi-m3/content/how_to_burn_android_image_to_emmc.html
Hi,
Please confirm the steps down below if correct or not:
- install PhonenixSuit
- go to the burn menu in PhonenixSuit
- choose the android image file
- press down on the BPI-M3 uboot button and keep doing that while you plug in micro USB data line
- press on the Power button to boot BPI-M3 while your finger still is down on the uboot button
- PhonenixSuit will popup a window asking you something
If not correct then please edit the wrong one to become correct.
He already uses this software as can be seen above. What’s really sad is that all you ‘Team BPi’ people really don’t understand what’s so annoying with your ‘level’ of software and support.
Anyone looking from the outside at this thread immediately knows what’s wrong. You get not even the idea that something might be wrong.
It’s really not that hard to put a link to every individual download location that EXPLAINS how to use the software (link to PhoenixCrap, link to instructions). Saves users time, saves you time to explain the same stuff over and over (if you get the problem – see above), keeps customers happy… But no, you simply don’t care.
But given the countless crappy OS images you produce every few days maybe it’s really too hard to add proper release notes to them…
So many (vanished) users already tried to tell you what’s wrong with your approach… and you neither listen nor care.
@annax: Every time you want to use PhoenixCard test the burn process using H2testw before! PhoenixCard works with checksums and some combinations of writers and cards start to overheat and corrupt data. Since burning Android to an Allwinner device is everywhere the same you can read through these threads what’s also to consider when you want to combine Android + SD cards (high random IO write numbers!):
HI tkaiser Thank you for your prompt reply.
Hi, one thing worked for me is to eject the sd card after the error then try again. In fact, I have left aside this software because it bugs often. I burnt the android image (also the raspbian one) with the help of Win32DiskImager
