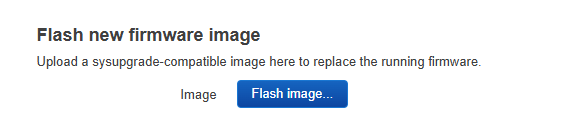
If for some reason you’re unable to flash the NAND image to the mtdblock0 partition and you’re getting errors,no worries, that’s actually pretty common after messing with the original partition layout. It happened to me earlier today, since my partition setup was different from the stock one after spending days testing various BL2s, OpenWRT builds, preloaders, and so on.
There are several ways to restore the partition layout to its original state so you can flash the NAND back onto it, but the simplest method is to flash the official 8GB image for the BPI-R4 onto the SD card using Rufus. During the first booting, the layout will be restored to one compatible with the steps for flashing the NAND with the commands described.
Also, make sure to keep the NAND image (the one already downloaded + copy&pasted earlier) you want to flash stored on a USB drive plugged into the device, as we’ll be using it later to write back to the NAND.
Before we get started, I strongly recommend connecting the debug UART cable. It’s the only reliable way to monitor what’s happening during the installation process otherwise, it’s really hard to know what stage you’re in or if anything has gone wrong.
Choose the 8GB image prepared for flashing to SD
Once you’ve flashed the image to the SD card using Rufus (or similar), boot the BPI-R4 from it and wait. Since it’s the first time, it will detect that the NAND partitions aren’t in the expected format and will automatically update the layout. After that, you’ll be able to write the image from the USB drive back to the NAND.
Don’t worry if it seems to hang at this message:
kmodloader: done loading kernel modules from blah blah blah
It can take 10 minutes or more to move past that, this is totally normal. Just be patient. In my case, I left it running for about 20 minutes while I did other things, and when I came back, it had already finished.
Also, don’t forget to press ENTER once it’s done booting so the OpenWRT splash screen appears, if I remember correctly, it won’t show unless you press a key.
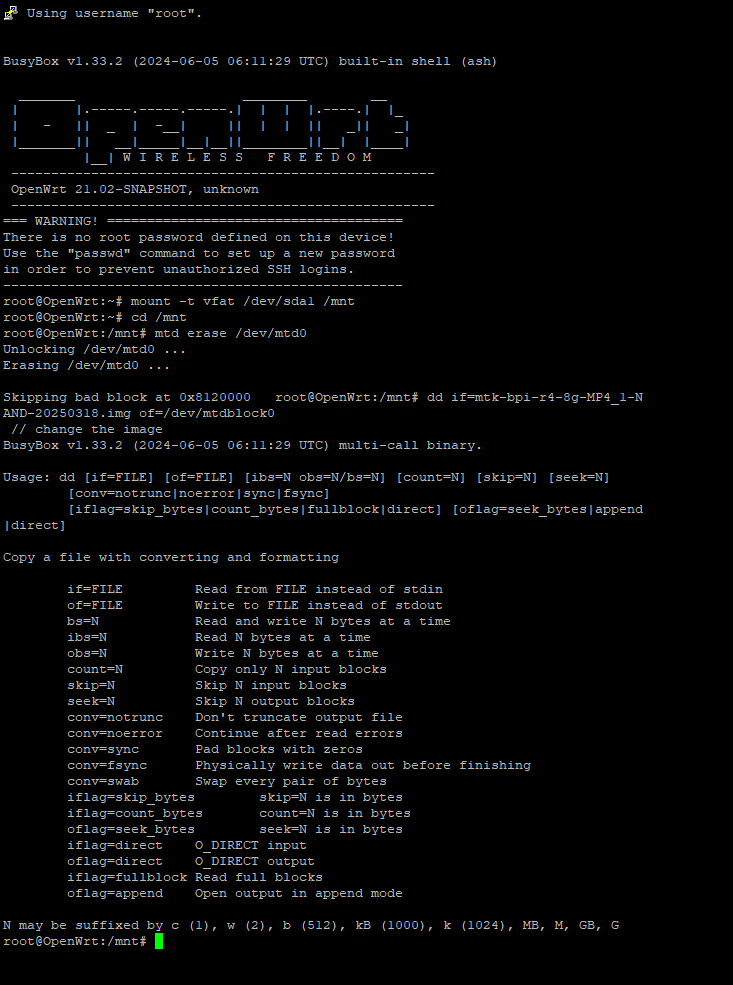
Once OpenWRT is fully loaded, mount the USB drive and flash the image to the NAND using the following commands:
mount -t vfat /dev/sda1 /mnt
cd /mnt

mtd erase /dev/mtd0
dd if=name_of_the_NAND_image.img of=/dev/mtdblock0
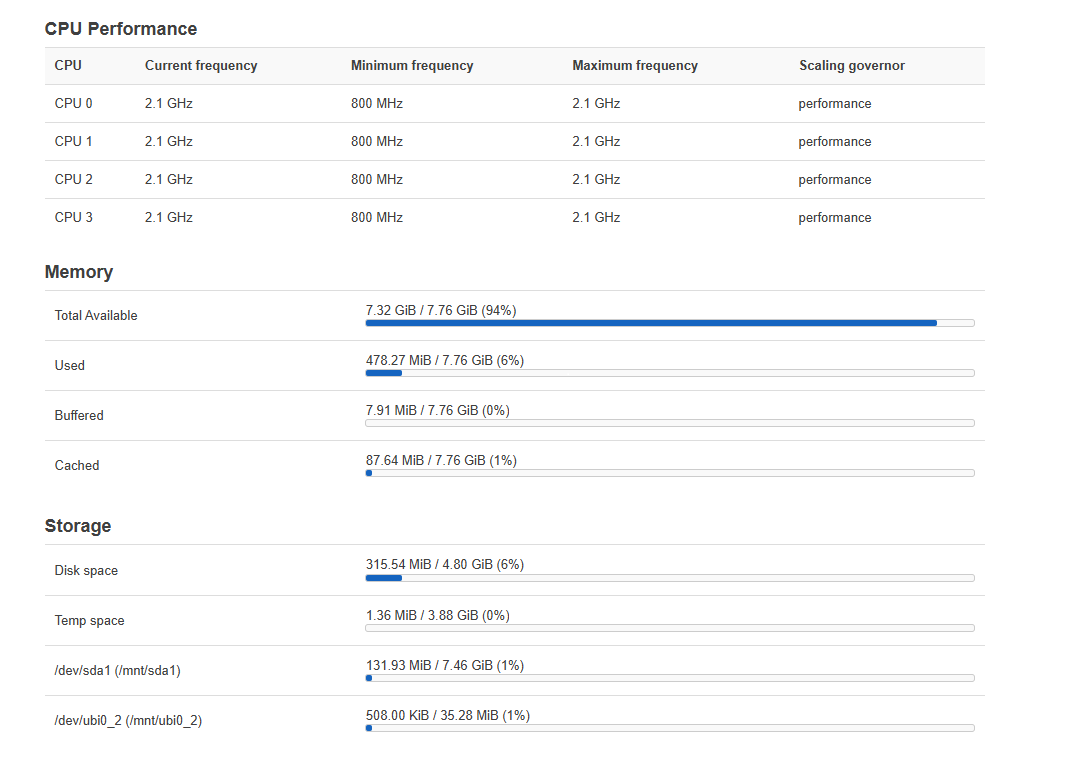
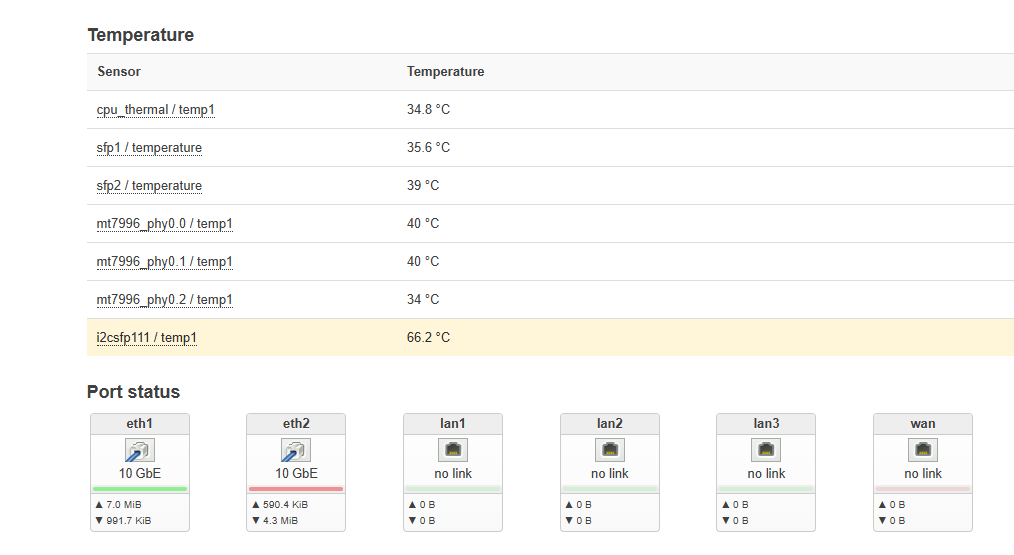
After running the above commands, wait for one or two minutes for the NAND image to be written. Once it’s done, try booting from the NAND and check if the errors are gone (also check if it recognizes the full 8GB of RAM).
I went through this process myself earlier today, and I also had a bunch of defective sectors (only when booting from the NAND) like many people here, but now with the stock 8GB image, I don’t have any issues.
Once you’ve fixed the NAND, you can go ahead and reinstall the OpenWRT build of your choice on the SD card.