BPI-Leaf-S3 has 8MB Flash ROM on board. After installing the micropython firmware, the available capacity is still about 5MB, which can store a large number of python script files or a small amount of multimedia content.
If there is a demand of more than 5MB, or if you want to save the read and write life of Flash, using an SD card to expand the storage capacity is the most economical choice, and the SD card SPI interface module is also very cheap.
##Video demo:
Prepare
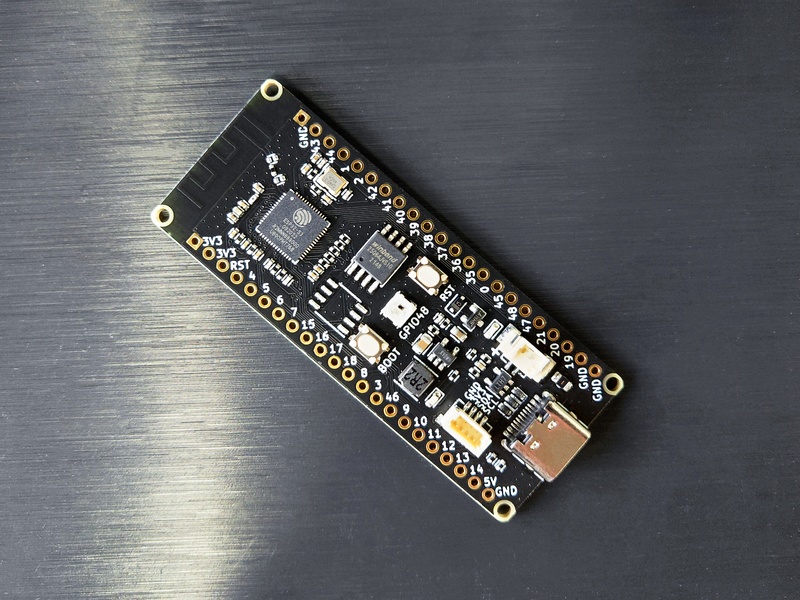
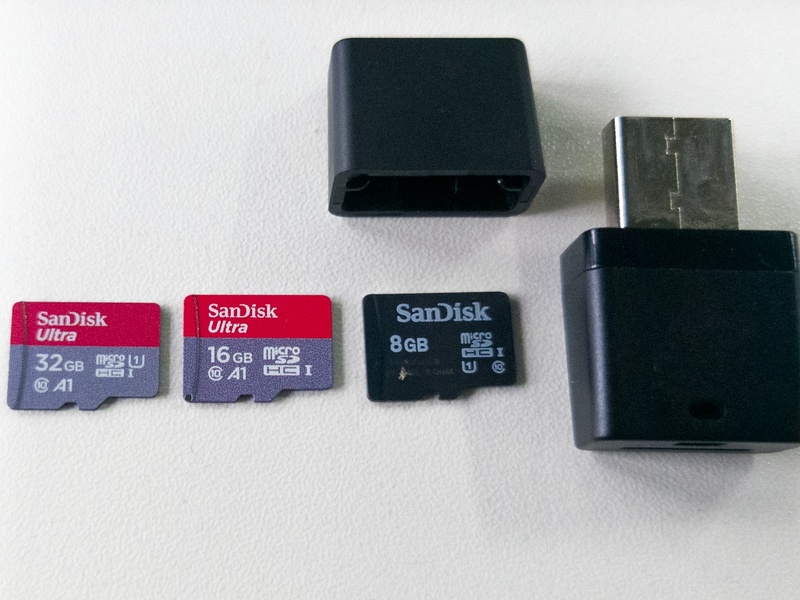
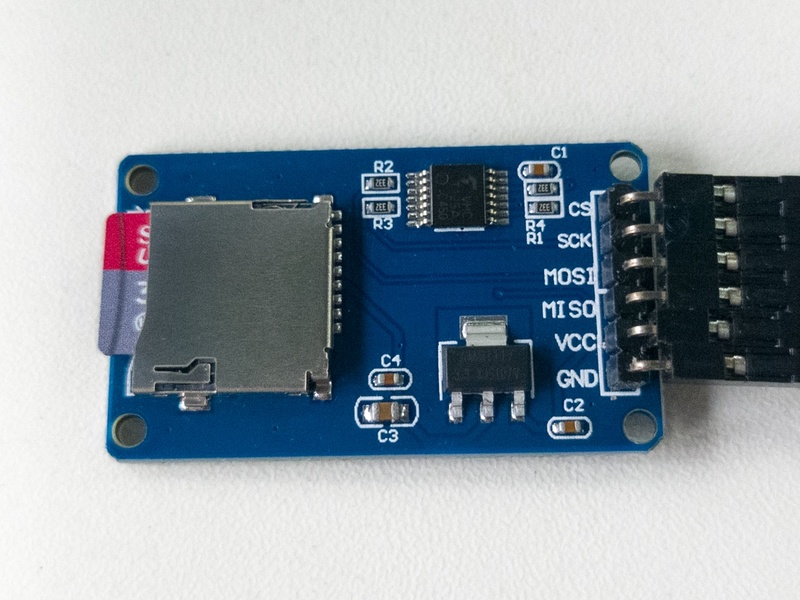
The following routines need to use a micro SDCard and a Micro SD card SPI interface module, a development board with MicroPython firmware installed, such as BPI-Leaf-S3.
Python environment, mpremote installation, VScode opens the terminal, mpremote connects to the development board, refer to this post for basic file operations:
Python environment, mpremote installation, VScode opens the terminal, mpremote connects to the development board, refer to this post for basic file operations:
BPI-Leaf-S3 Program in VS code with mpremote tool
It is recommended to also try PyCharm Community, which is a community version and can be used for free.
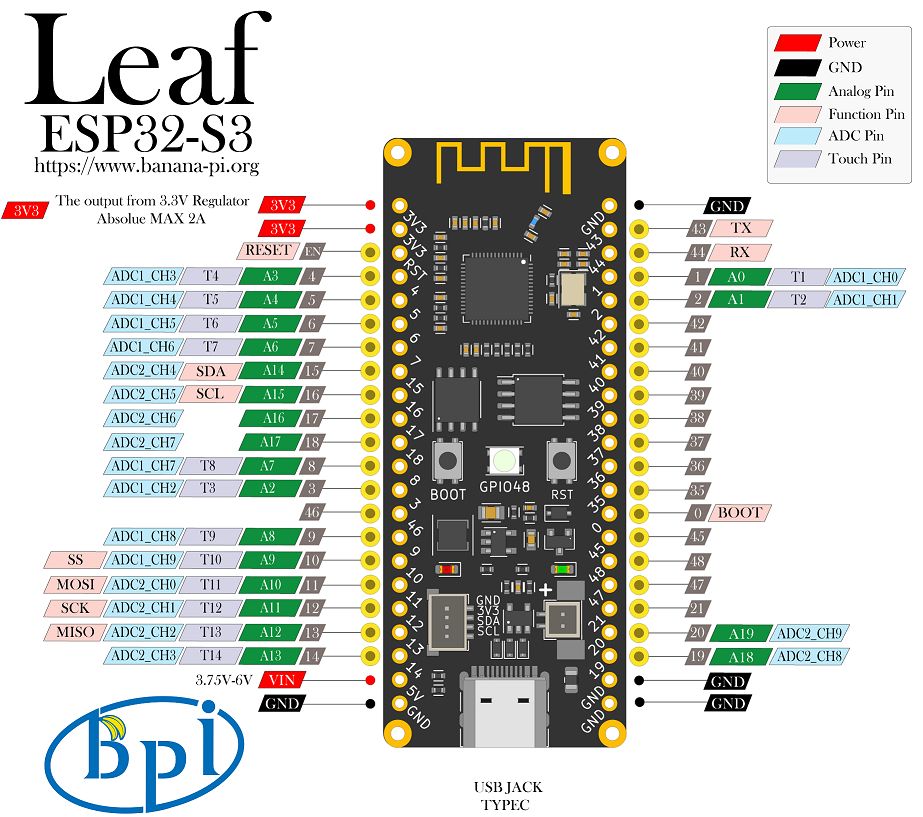
Wiring reference
| SD card SPI module | BPI-Leaf-S3 board |
|---|---|
| GND | GND |
| VCC | 3.3V |
| MISO | 15 |
| MOSI | 16 |
| SCK | 17 |
| CS | 18 |
The wiring corresponds to the code in the following routine, and the GPIO can be modified as needed.
MicroPython
class SDCard
machine.SDCard(slot=1, width=1, cd=None, wp=None, sck=None, miso=None, mosi=None, cs=None, freq=20000000)
- slot is used to select the interface, 0 and 1 use the built-in SD/MMC hardware, while 2 and 3 use the SPI interface.
- sck, miso, mosi, cs are used to set the GPIO used by the SPI interface.
- freq is used to set the communication frequency. The default 20Mhz may not be suitable for all SD cards. If it cannot be used normally, you can try to lower the frequency, for example, use 15Mhz.
For more information, refer to MicroPython DOCs: machine.SDCard.
-
Create a new folder locally on the PC, and create a new boot.py file with the following code.
import os import machine try: sd = machine.SDCard(slot=2, miso=15, mosi=16, sck=17, cs=18, freq=15000000) vfs = os.VfsFat(sd) os.mount(vfs, "/sd") except OSError as e: print("OSError:", e) print("SDCard failed.") else: print("/sd:", os.listdir('/sd')) finally: print("/:", os.listdir('/')) -
In the terminal, enter the path where this folder is located, use mpremote to copy the file to the flash of the development board, the command is as follows.
mpremote connect COM21 cp boot.py : -
Enter the REPL, use the shortcut key ctrl+D to soft reset the development board, if the SD card works normally, you will see the following content.
MPY: soft reboot /sd: [] /: ['sd','boot.py'] -
If an error message is prompted, you need to confirm whether the wiring is correct and whether the SD card is formatted in FAT32 format. If you have checked and confirmed that there are no wiring problems and format problems, you can try to reduce the SPI communication frequency, such as the following code.
sd = machine.SDCard(slot=2, miso=15, mosi=16, sck=17, cs=18, freq=1320000) -
After confirming that the SD card is working normally, create a new test.py file, the code is as follows.
import time from machine import Pin from neopixel import NeoPixel pin_48 = Pin(48, Pin.OUT) np = NeoPixel(pin_48, 1, bpp=3, timing=1) RED = (255, 0, 0) ORANGE = (255, 100, 0) YELLOW = (255, 255, 0) GREEN = (0, 255, 0) CYAN = (0, 255, 255) BLUE = (0, 0, 255) PURPLE = (180, 0, 255) WHITE = (255, 255, 255) OFF = (0, 0, 0) color_list = [RED, ORANGE, YELLOW, GREEN, CYAN, BLUE, PURPLE, WHITE, OFF] brightness = 0.1 while True: for i in color_list: color = (round(i[0] * brightness), round(i[1] * brightness), round(i[2] * brightness)) np[0] = color np.write() print(color) time.sleep(1) -
Copy it to the sd card, the command is as follows.
mpremote connect COM21 cp test.py :sd/test.py -
Create a new main.py file, the code is as follows. After copying to the development board, this program will read and execute the program code in the sd/test.py file.
with open('sd/test.py', 'r') as file: exec(file.read()) -
Copy it to the flash of the development board, the command is as follows:
mpremote connect COM21 cp main.py : -
Reset the development board, the onboard RGB LED should be blinking, open the REPL, and you can see the output RGB information.
- Banana Pi BPI-Leaf-S3 wiki page
- Aliexpress shop link
- Taobao shop link
- OEM&OEM customized service : [email protected]