BPI-Centi-S3 , Display JPG with MicroPython Code
BPI-Centi-S3 is our new small size ESP32-S3 development board with 1.9-inch TFT-LCD on board!
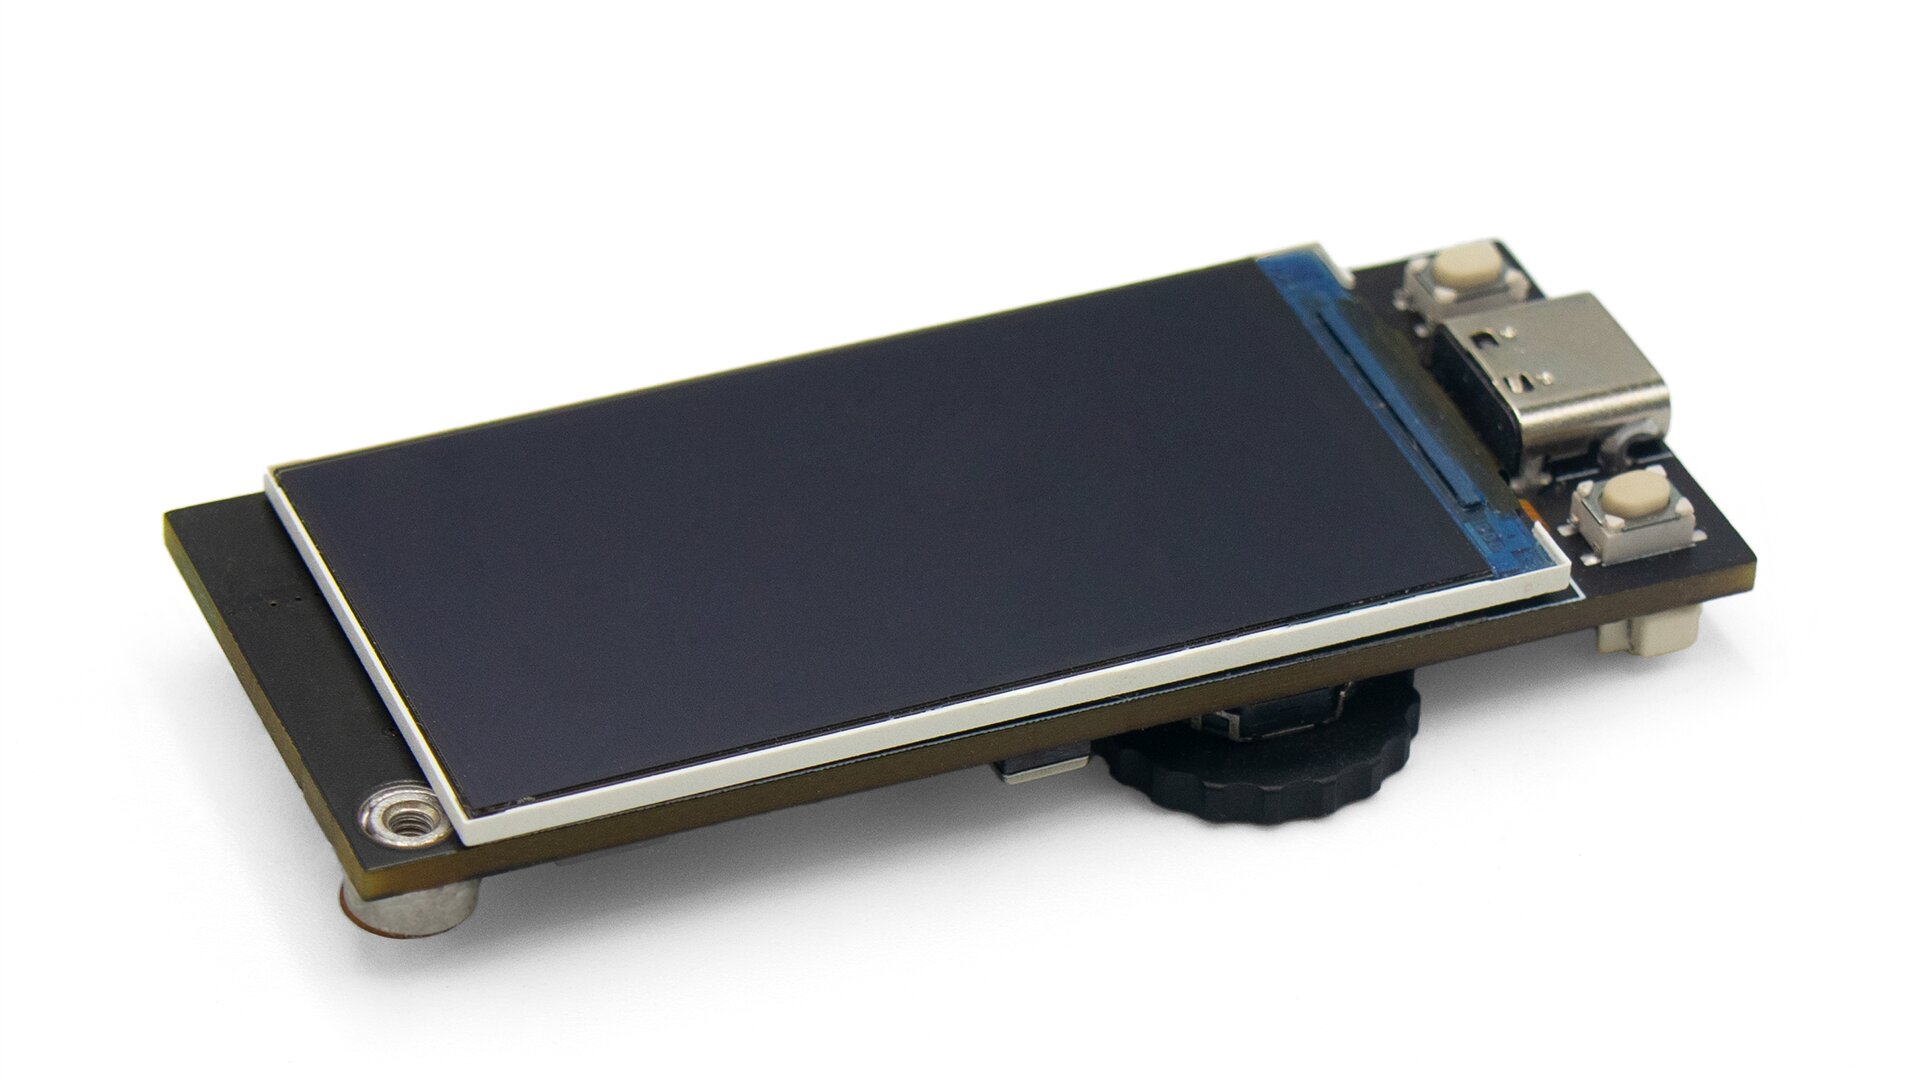
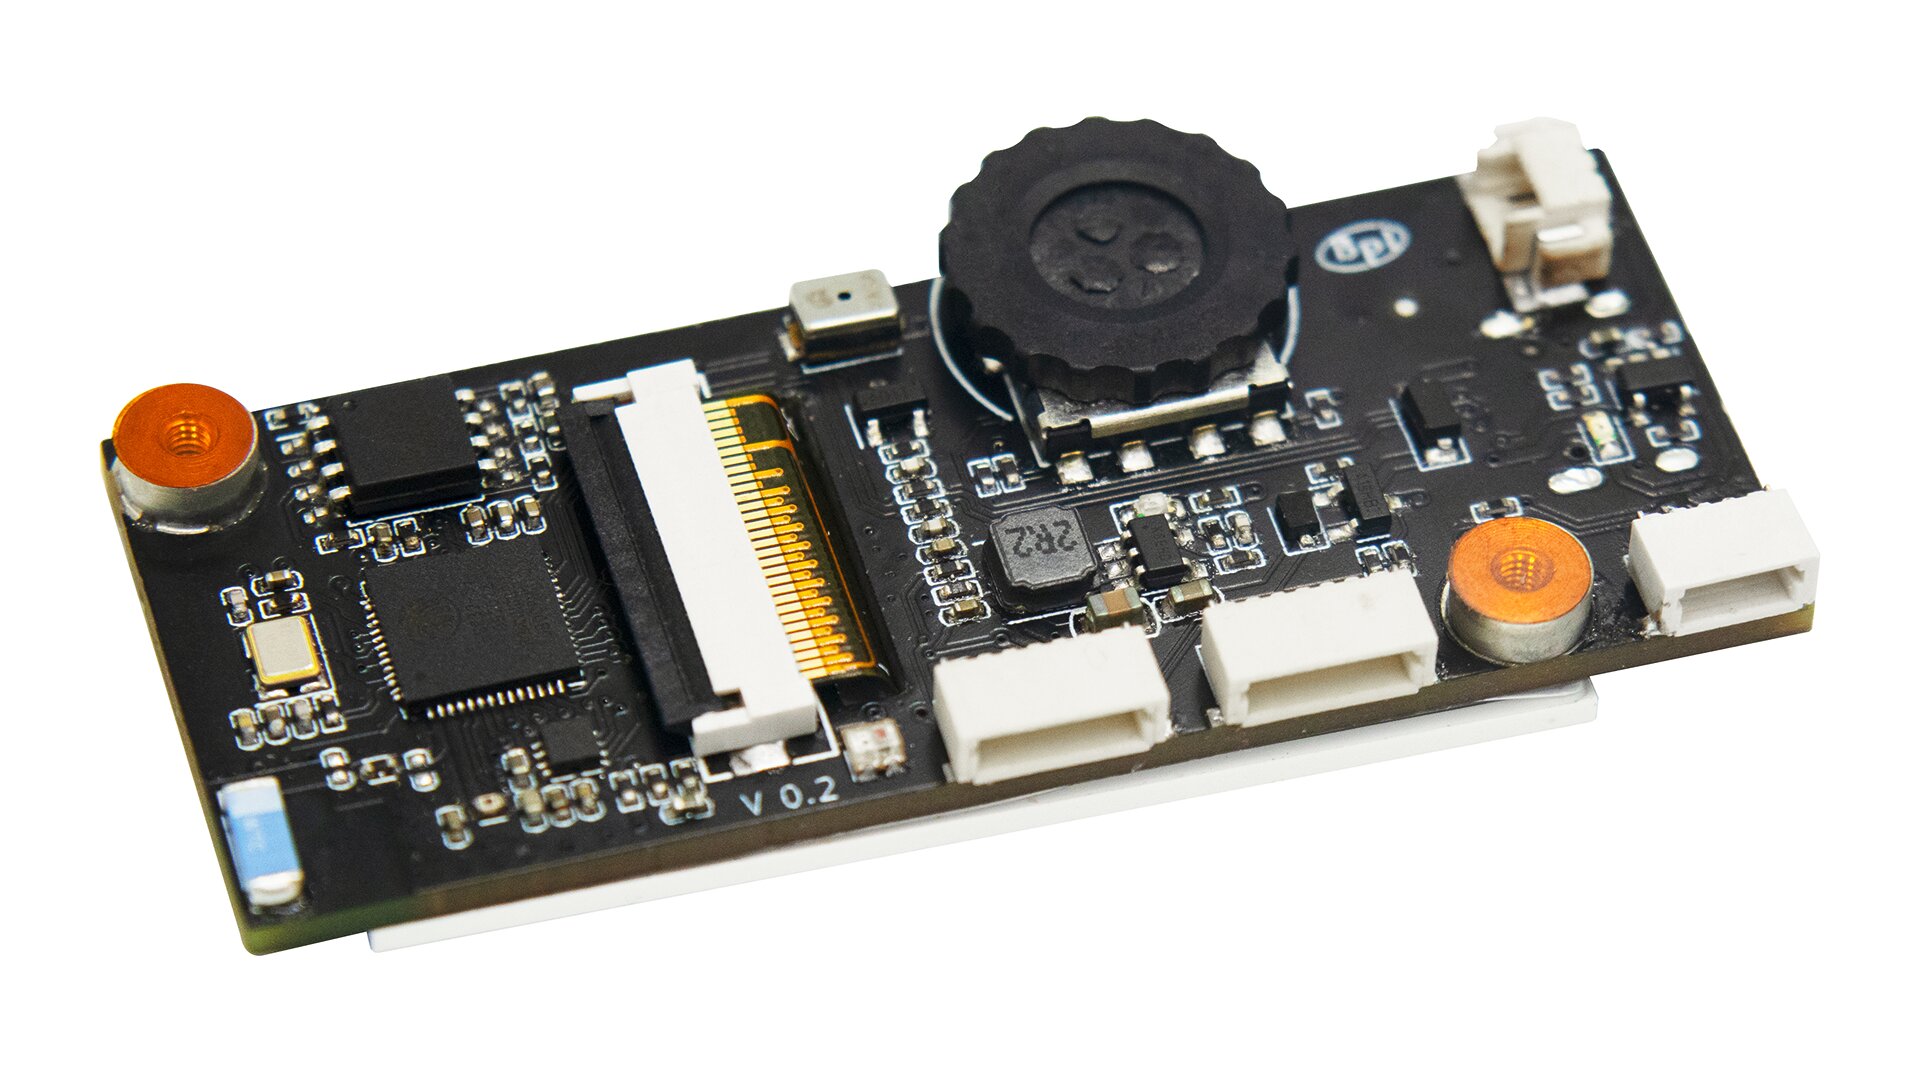
Key Features
- ESP32-S3, Xtensa® 32 bit LX7
- 2M PSRAM, 8M FLASH
- 2.4G WIFI, Bluetooth 5, Bluetooth mesh
- GPIO, PWM, I2C, SPI, RMT, I2S, UART, USB, JTAG
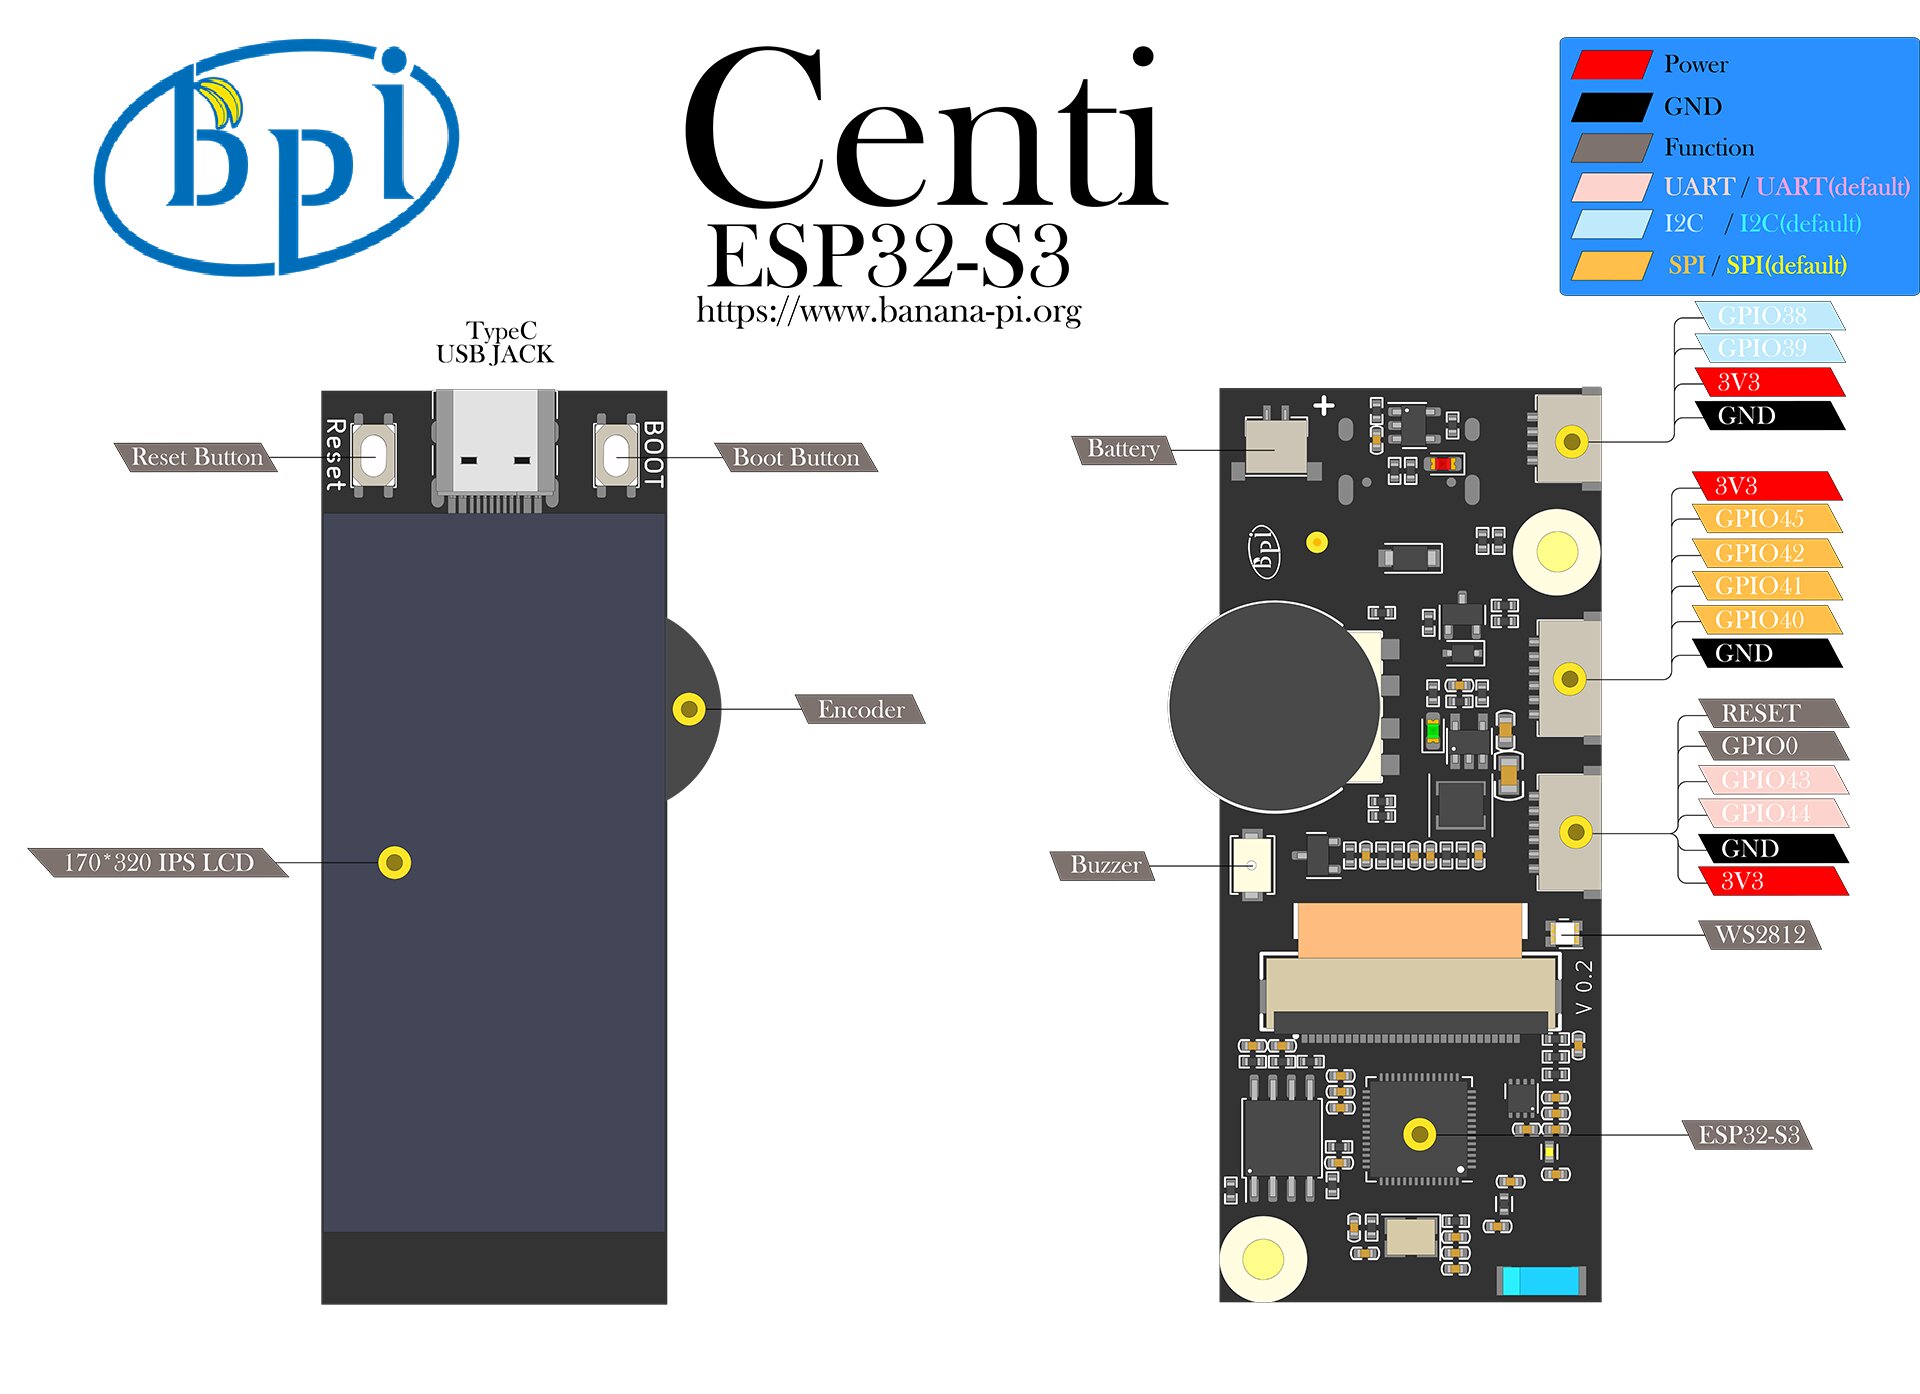
- 1 * ST7789 TFT LCD, 1.9-inch, 170*320 resolution, 8bit 8080 parallel port
- 1 * Rotary Encoder
- 1 * Buzzer
- 1 * full color LED
- 1 * JST SH 1mm 4-Pin I2C connector
- 2 * JST SH 1mm 6-Pin
- 1 * USB Type-C
- 1 * MX 1.25mm 2-Pin battery connector, support charging
- 2 * M3 Screw Holes
LCD Screen
There is a 1.9-inch TFT LCD color screen on the front of BPI-Centi-S3 with a resolution of 170*320. The driver chip is ST7789V3, which is connected to the ESP32S3 chip through an 8-bit parallel interface.
The ST7789 C module driver has been integrated in the factory firmware, from:
russhughes/st7789s3_esp_lcd, The MIT License
Thanks to russhughes for the open source, you can check the compilation method and all API interfaces in his GitHub README.
Pre preparation
Display jpg images
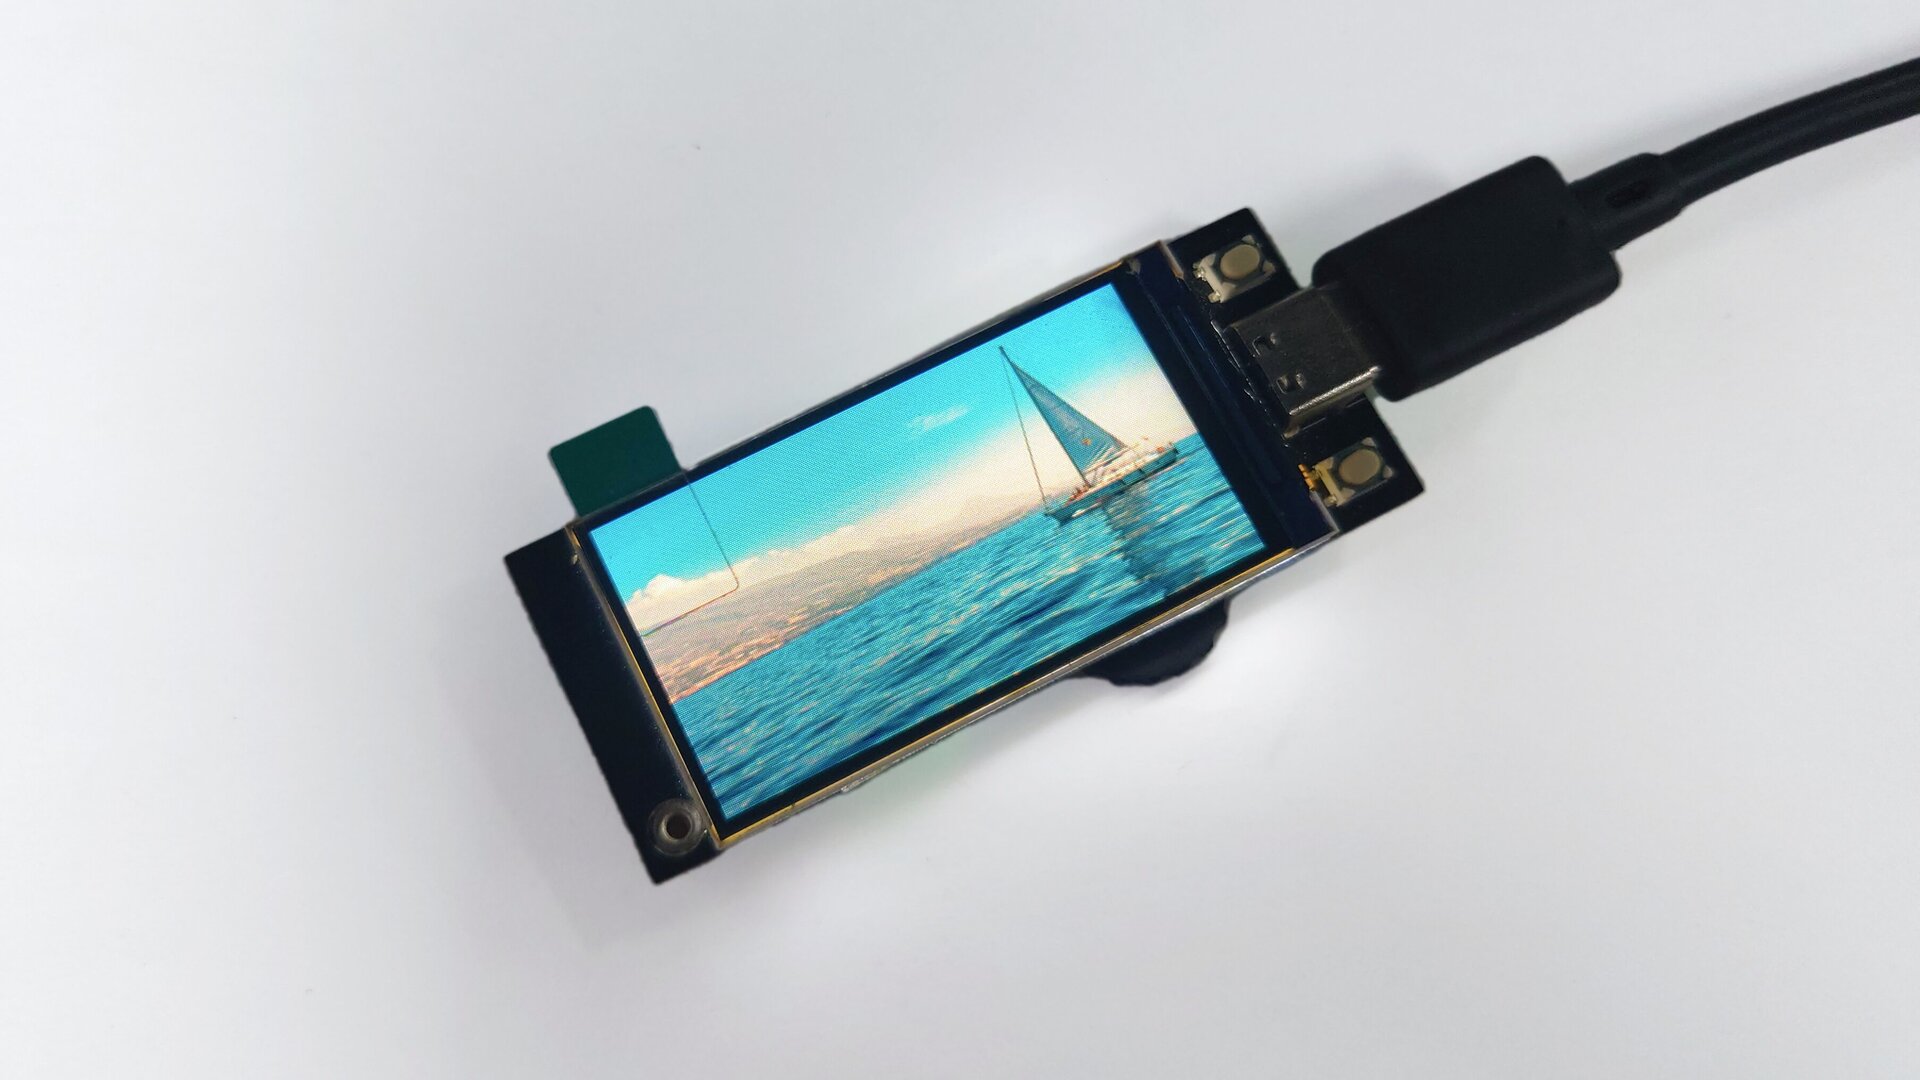
The sst7789 driver library has a method to display pictures in jpg format, which is very friendly to us who are learning for the first time.
jpg method
jpg(jpg_filename, x, y)
Draws a JPG file at the given x and y coordinates, which are the upper left corner of the image.
This method requires an additional 3100 bytes of memory for its working buffer.
Prepare jpg files of appropriate size
Choose any picture you like, and crop it to a picture with a length of 320 pixels and a width of 170 pixels, or a picture smaller than this size.
There are a large number of optional picture editing tools in various smart terminal devices and various operating systems, and you can use your favorite tools for editing.
Here is a random web online image editing tool that can be used for free, Pixlr X.
Put the cropped picture into our local MicroPython working folder, rename it to pic_1.jpg, and refer to the method of uploading the picture to the MicroPython device Use mpbridge in the terminal .
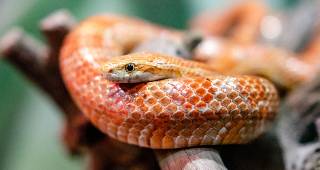
A cropped image is prepared here.
jpg method use case
Use the jpg method in the main.py script.
""" BPI-Centi-S3 170x320 ST7789 display """

import st7789
import tft_config
import gc

def main():
     try:
         tft = tft_config.config(rotation=1)
         tft.init()
         tft.jpg("pic_1.jpg", 0, 0)
         tft. show()
         gc. collect()

     except BaseException as err:
         err_type = err.__class__.__name__
         print('Err type:', err_type)
         from sys import print_exception
         print_exception(err)

     finally:
         tft.deinit()
         print("tft deinit")


main()
After uploading main.py, reset the device and you can see the picture on the screen.
Let’s prepare a few more jpg files of appropriate size, and then we can design a loop, and play the pictures on the screen of BPI-Centi-S3 in a loop like a slide show.




""" BPI-Centi-S3 170x320 ST7789 display """

import st7789
import tft_config
import gc
import time

pic_list = ["pic_1.jpg", "pic_2.jpg", "pic_3.jpg", "pic_4.jpg", "pic_5.jpg"]


def main():
    try:
        tft = tft_config.config(rotation=1)
        tft.init()
        while True:
            for pic in pic_list:
                tft.jpg(pic, 0, 0)
                tft.show()
                gc.collect()
                time.sleep(1)

    except BaseException as err:
        err_type = err.__class__.__name__
        print('Err type:', err_type)
        from sys import print_exception
        print_exception(err)

    finally:
        tft.deinit()
        print("tft deinit")


main()