We triggered 2 times but get no response…what should we do?
just add “echo 1 > /sys/class/thermal/cooling_device0/cur_state” to the file /etc/rc.local before the “exit 0” statement
1 Like
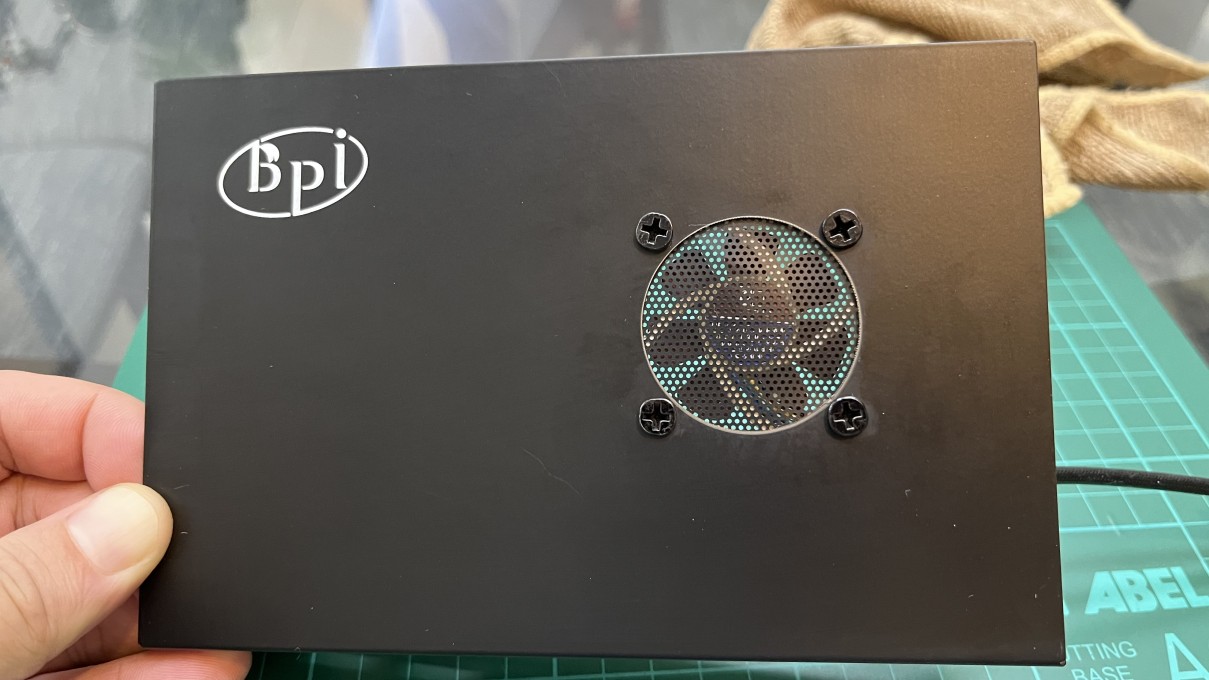
Thank you all for share your insights on how to make use of PWM fan header, with your guide I was able to install an exhaust fan.
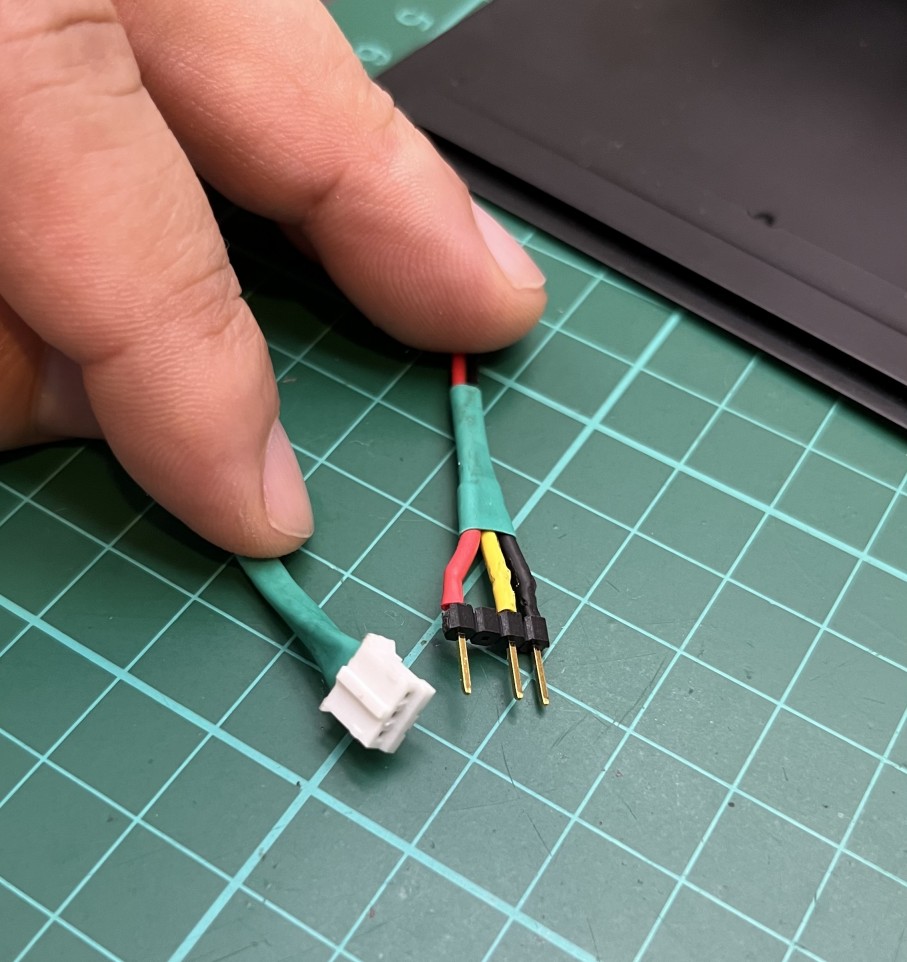
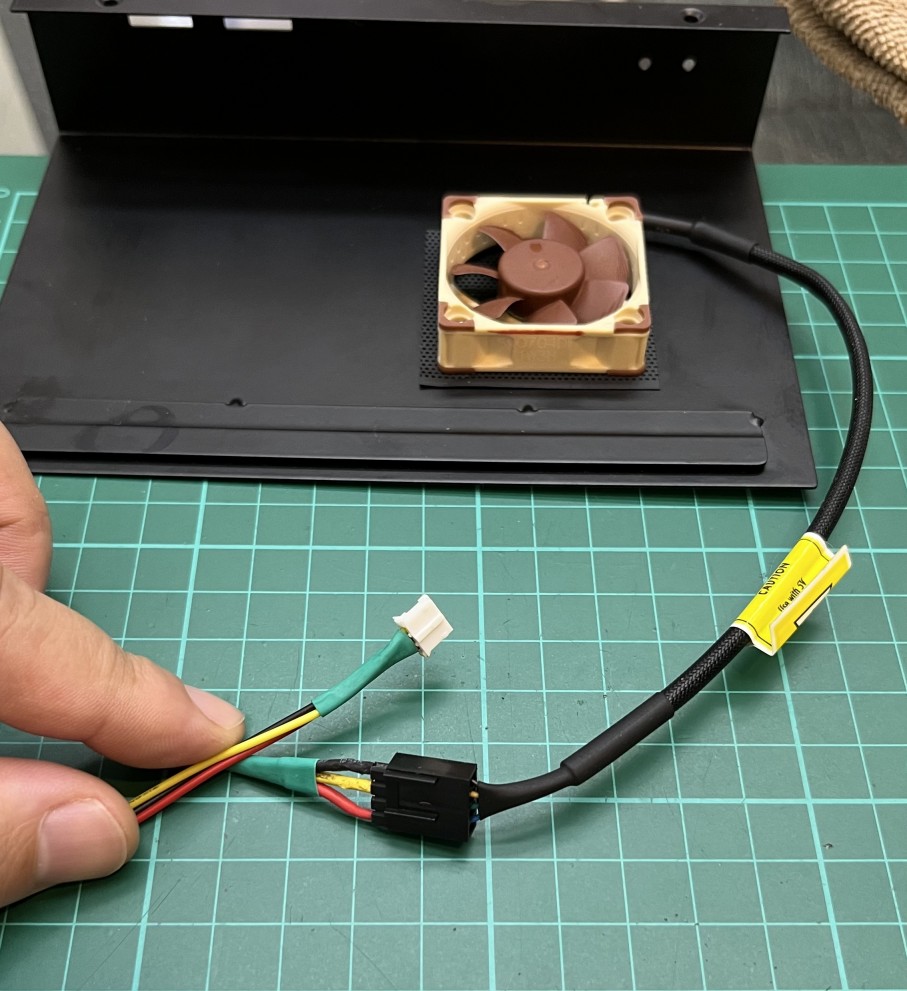
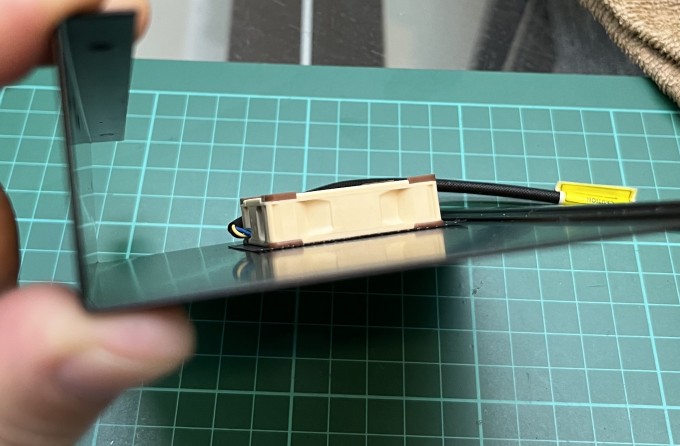
Parts used:
- Noctua NF-A4x10 5V (4 pin)
- Micro JST PH connector (3 pin)
- Terminal pin header
- Plastic mesh
- Ordinary PC fan screw

1 Like
Hi Dale,
could you please give me a detailed description of how to apply your solution? How can you get 12V from SATA power? Which one is gnd, +, etc…
I’ve ordered a 4pin and 2pin fan also…
You can find a detailed description, including my scripts on androidpimp
1 Like
For pwm mode: in my setup the problem is that on 3pin-header the pwm signal is only 3v3 and my fan seems to need 5v pwm (and constant 5v). Near full duty cycle the fan spins but slowly. So i will try to move to the 2pin socket and a non-pwm fan.
Well the SATA interface has a 5v pin as well, it might be useful for you. I don’t remember if there are any other 5v controllable pins, the kernel module I wrote can generate a PWM signal on any pin. I need to find time to publish the source code.
The 3pin fan socket has 5v too,but pwm-pin is 3v3. Basicly i could use a levelshifter to raise the pwm to 5v. No need to use any other pin,but imho this should be fixed. Same for 12v as most pwm fans are 12v…it would be better to allow voltage selection for these instead of using a userspace script (which consumes cpu load and may fail when temp raises or by other causes).
Yes I know, you can keep using the 5v for for vsupply and another 5v like the SATA for pwm signal. That’s if you are only looking for a SW solution, obv you can use a shifter. I use a kernel-space module, not userspace. A PC compatible fan connector would be the best
Thank you Dale! 
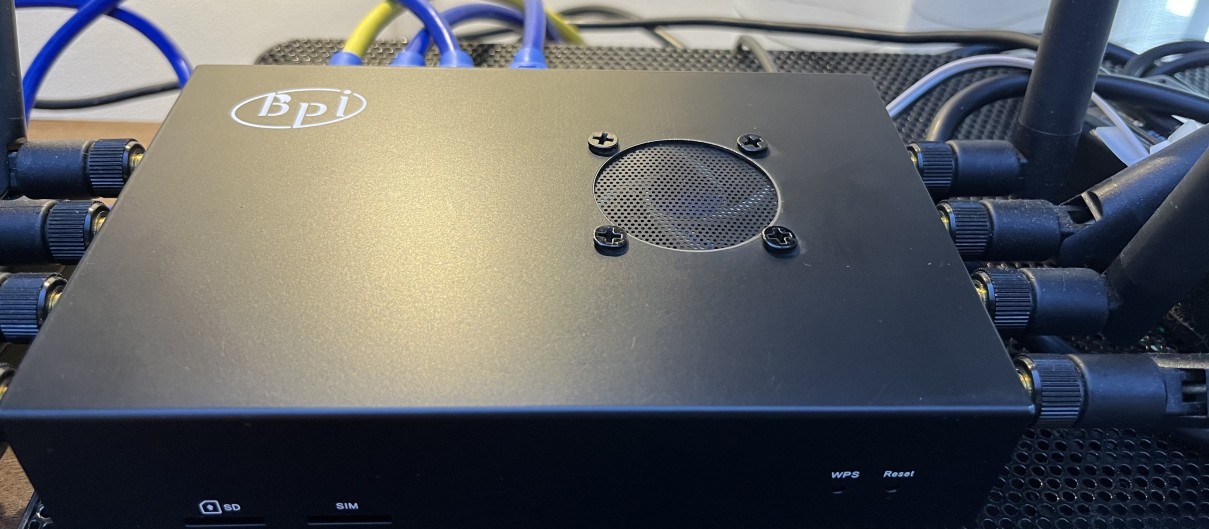
Hey, i see there is an official Heat sink from Sinovoip …
But it is too late for me. I build my own HeatSink with fan by cutting a double Heat sink into two parts. It was very difficult and I will never do this again!
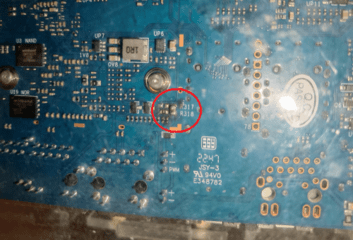
The fan is a PLD06010B12HH 12V 0.40A 55mm. After resolder the 0Ω resistor the fan runs at booting very fast. I can feel that fan! It is may a mistake to make no holes on the back of the Heat Sink.

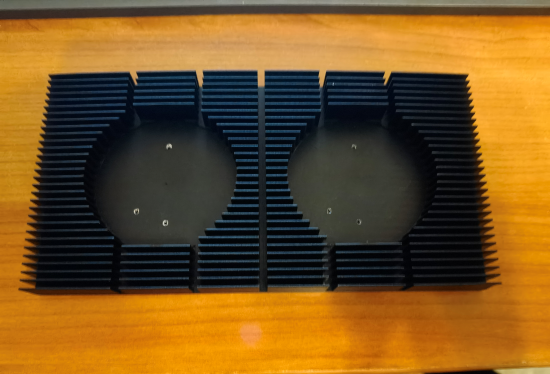
It is not finished, but a good start … .
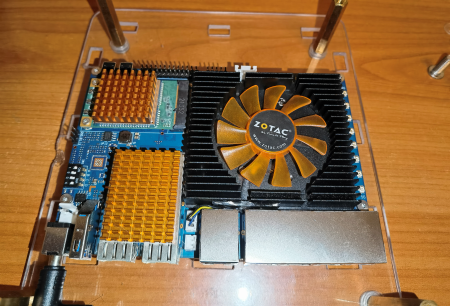
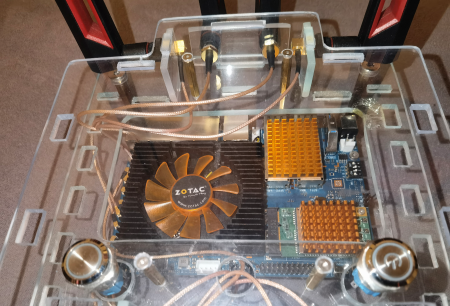
There is now a 5 Volt fan on Aliexpress that will fit in most of these heatsinks meant for video cards:
Has a 4 Pin connector but I built an adapter using this:
You could also just pop the pins out of the 4-pin connector and put them in a 3-pin connector, but then have to tape off the green wire to avoid shorts.
Ultimately I have the official RPI version on order, as it is wide enough to cover all the chips on the board, but this will do for now.
Hey @dangowrt , you recently synced the dts file with the upstream version, among that the thermal trip points config, but the previous definition you made was much more reasonable. Can you please change it back? Maybe a patch?
I only sync’ed the DTS for BPi-R4 (MT7988), BPi-R3 (MT7986) should be unchanged.
I’m referring this commit Maybe not that recently
Can you make a diff between both versions? I took daniels version for upstreaming trip points so there should be no differences.
That’s weird… you can see a diff on the github commit page I added
The diff removes the previous version completely because the dts exists in upstream,so not usable for compare changes. I want a diff between the previous openwrt version and the new upstream one.
Of course i can do the diff myself,but currently i have less time so you can help here.
-			trips {
-				cpu_trip_crit: crit {
-					temperature = <125000>;
-					hysteresis = <2000>;
-					type = "critical";
-				};
-
-				cpu_trip_hot: hot {
-					temperature = <120000>;
-					hysteresis = <2000>;
-					type = "hot";
-				};

+			trips {
 				cpu_trip_active_high: active-high {
 					temperature = <115000>;
 					hysteresis = <2000>;
 					type = "active";
 				};

-				cpu_trip_active_med: active-med {
+				cpu_trip_active_low: active-low {
 					temperature = <85000>;
 					hysteresis = <2000>;
 					type = "active";
 				};

-				cpu_trip_active_low: active-low {
-					temperature = <60000>;
+				cpu_trip_passive: passive {
+					temperature = <40000>;
 					hysteresis = <2000>;
 					type = "passive";
 				};
 			};
so upstream has no crit and hot trip point and the lowest one is 40°C instead of 60°C, i guess last one is your problem? do you always hit the first trip? of course we can increase this if needed