thanks, can you also recommend antennas with their connectors? also, i am not sure about the wifi 7 card, will it have 6 or 10 connectors?
the current card has 6 connectors, 10 is planned and maybe the 14 connector card is produced again later
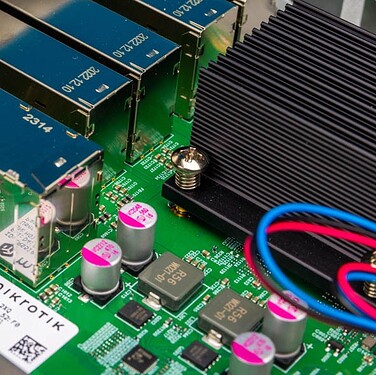
Have people seen “screw and nut” for heatsinks like in this setup?
What are the keywords to search?
These chrome plated screws look sexy and seem to do an excellent job than plastic push-pins.
Got to home finaly, had today time to play with case i’ve got from ali, the quality is very good, need to find some oled display for it now and make some measurments for my rack 1u project ![]()
After some digging, seems they’re called “shoulder screws with spring” according to this company:
The LPDH50S looks like a fit for R4. I’m afraid it’s hard to source on Ali without a bulk order. Perhaps I’ll just postpone the idea or live with plastic push-pins for now
Once you know the keywords, you open the door to abundant info. Our fellow member actually had gone through some research and even bought a piece from Alphanovatech. This post could have received a bit more attention:
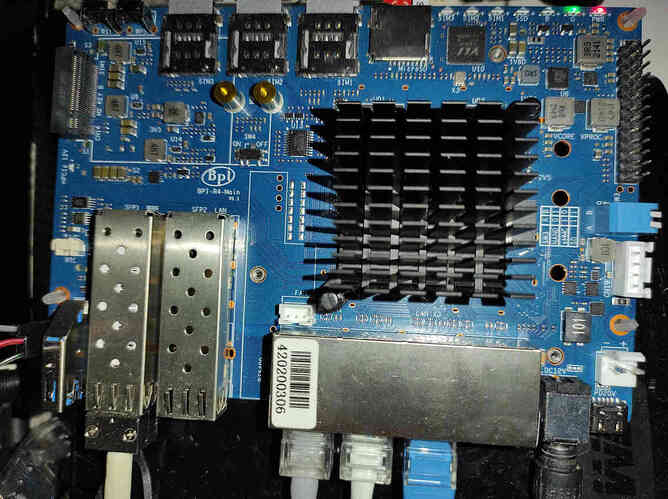
The heatsink comes with brass push-pins. The manufacturer laser prints the model and company name on the edge of the heatsink. Gosh. It’s yelling…quality make. LoL
@russelltg did file a tiny corner off to better adapt to the 1.8mm high inductor “2R2” aka L1. I believe it’s not necessary with proper thickness of thermal pads.
I do wonder those push-pins can properly apply pressure. They often look weak to me but in reality could be quite different. Especially he got the brass ones.
The brass push-pins should be capable of applying adequate pressure if they are designed for the heatsink. Alpha Novatech offers a variety of push pins and springs designed to work with their heatsinks, ensuring proper contact pressure for optimal thermal performance. Best Autodesk Civil 3D 2023 price offer. If you’re concerned about the pressure applied by the push-pins, you might consider checking if the heatsink manufacturer provides specifications for the optimal mounting pressure or if there are alternative mounting options available.
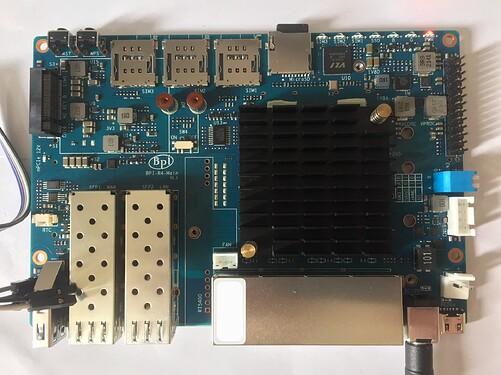
My R4 with a 50x10x50 heatsink. Running OpenWrt June 9’s snapshot. Performed some temperature test.
The stress test that I ran for 10 mins:
$ while (true); do openssl speed -multi 4 -evp aes-256-cbc; done
Result
- ambient room temp: 29.4C with mild airflow
- idle temp: 43.6C (800MHz)
- peak temp: 58.2C (1.8GHz)
- peak power: 6.7W
(idle temp without heatsink 51C)
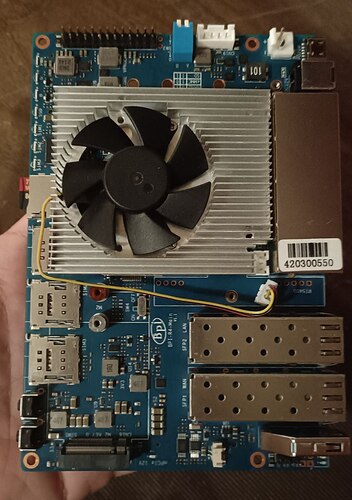
My longer plan is to add a frameless fan from scrapped GPUs. But seems without a fan is perfectly fine for my planned usage.
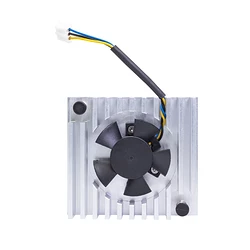
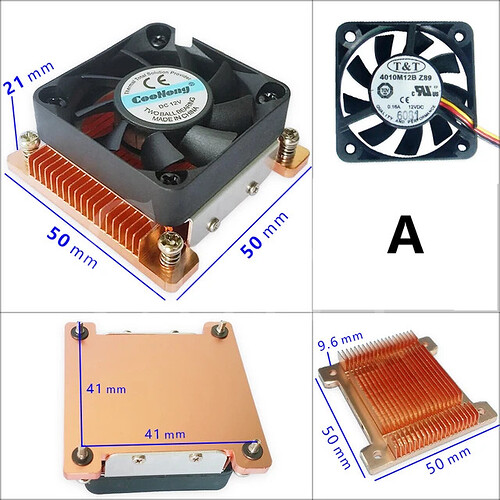
I am interested in the copper heatsink without fan. Any idea where i can buy one like those? The one from sinovoip will be replaced and i’ll add two noctua fan’s in the case (one for SoC and one for SFP+)
Hi @kvic where did you find that heatsink because all the 50x50mm heatsinks that I have found have 4 holes.
Hello,
As my cheap heatsink arrived, I did the same test as you with pretty “same” results:
- ambient room temp: ~29˚C
- idle temp: 50.4˚C
- peak temp: 58˚C
- peak power: did not measured
The main difference is, that my heatsing is smaller 38x38mm but with 30mm in height:
I am wondering if anyone tried something like https://de.aliexpress.com/item/1005006281231245.html ? Will this stay on the CPU if i use thermal tape? Or is it possible to somehow get those push pins, create the holes and create a “DIY” heatsink?
Do you have a link to aliexpress or a full product name?
I am not big fan of thermal tapes, and I used them only when ther is not any other option. I used them only on SATA multipliers where was not any heatsing on the chip. It looks ok, but the heatsink is very small. As I prefer fan-less sollution, i try the heatsing with 30mm of height and used thermal grease with about 15W/mK on cpu and the ram chips.
I forgot to add link to @kvic post. Please take a look, it is possible to make your own custom heatsink with the right screws: Banana Pi BPI-R4 heatsink and Case design - #117 by kvic
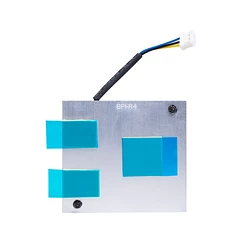
I’ve just noticed that it 1mm distance difference between holes … after my cooler from R3 finally arrived. Ive changed R3 cooler a bit and need some tools to finish my copper thermal pad under it. Im going to use thermal paste instead of thermal silicon pads or tapes the final result will looks like … I drilled new holes and cut new threads for the bolts.
