sinovoip
September 15, 2020, 2:40am
1
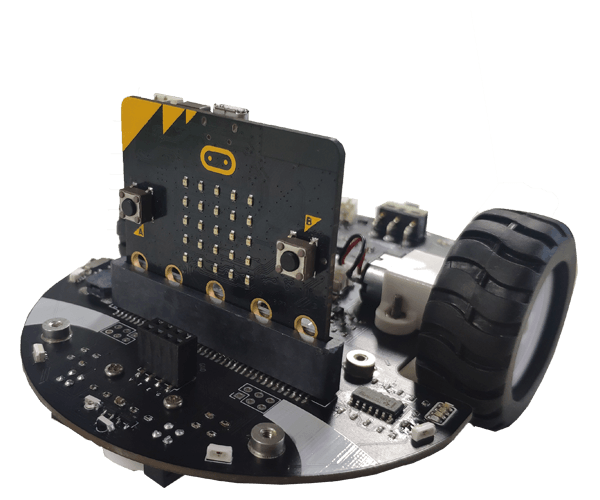
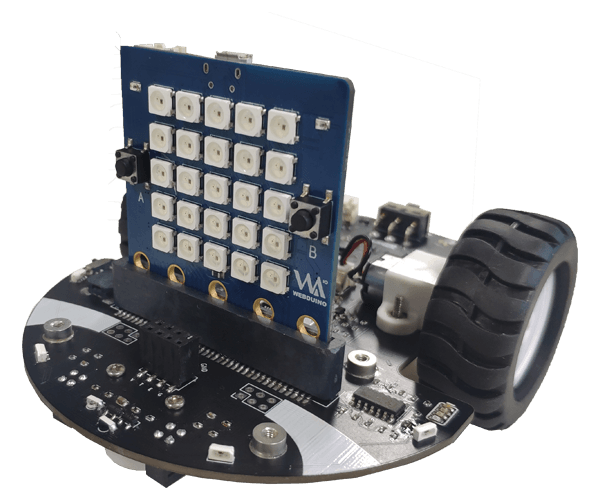
Banana PI BPI Q-Car,which is a robot focusing on maker education.Compatible with Web:Bit(BPI: Bit) and Micro:Bit development boards.Small car body, highly integrated functions, plug and play, can quickly children’s attention, complete the quick start of graphics programming, cultivate independent thinking and logical thinking ability
Key Features
support Micro:bit and PBI:bit(Web:bit)
support Makecode graphical programming(with micro:bit),support Webduino graphical programming(with BPI:bit),and it also support MicroPython arduino(Micro:bit/BPI:bit)
Compact body, strong integrity
N20 Miniature reducer
Infrared emission, infrared reception, line patrol, speed measurement, atmosphere lamp, I2C interface (support 3.3V and 5V), ultrasonic interface, buzzer, steering gear interface, needle row expansion port, expansion screw hole, etc…Fully functional, strong expansibility
Easy to use it.
BPI-Qcar + BPI:bit for arduino :
more please see wiki page, we will keep update on wiki .
http://wiki.banana-pi.org/BPI_Q-Car_kit
this kit support OEM&ODM ,OEM & ODM please contact :
[email protected]
sinovoip
January 12, 2021, 12:10pm
3
Banana Pi BPI-QCar STEAM education kit for Micro:bit and BPI:bit(Web:bit) review and how to use
online documents
http://wiki.banana-pi.org/Getting_Started_with_BPI-QCar
sinovoip
February 22, 2021, 8:10am
4
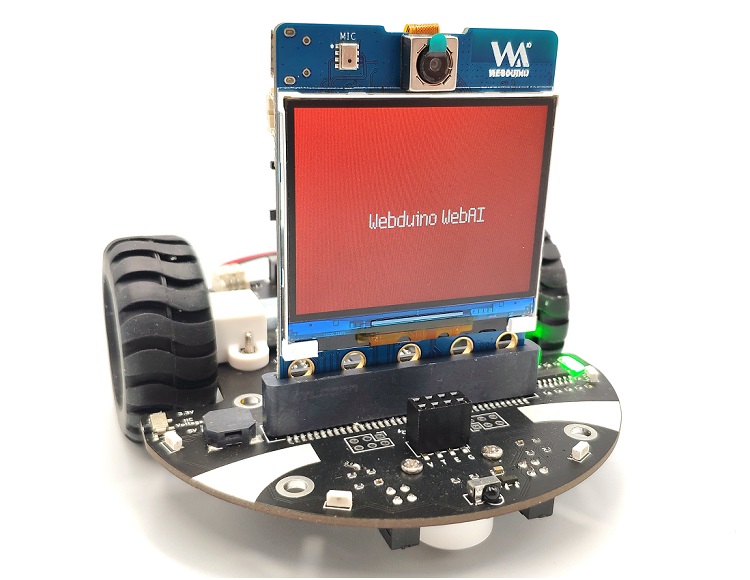
BPI-QCar with BPI:AI baord
BPI:AI wiki page:
http://wiki.banana-pi.org/BPI-AI
sinovoip
March 13, 2021, 3:59am
5
Banana Pi BPI-QCar STEAM education Car kti ,with Micro:bit and use makecode
sinovoip
March 17, 2021, 9:35am
7
BPI-QCar with Micro:bit via makecode : use microbit KeyA/B to control QCar :
demo code:
sinovoip
March 29, 2021, 10:44am
8
Banana Pi BPI-QCAR is controlled by ultrasonic range sensor with micro:bit use makecode
demo code :
# MakeCode编程:用超声波测距传感器控制Q-Car

“声”在1个标准大气压和15℃的条件下传导速度约为340m/s。当一段声波从声源发出,到遇到障碍物被反射传回声源所在的位置,这段声波就经过了传播时间乘以声速乘以2的距离。

通过对<kbd>[压电陶瓷](https://baike.baidu.com/item/%E5%8E%8B%E7%94%B5%E9%99%B6%E7%93%B7)</kbd>施加高频电信号发出<kbd>[超声波](https://baike.baidu.com/item/%E8%B6%85%E5%A3%B0%E6%B3%A2)</kbd>,再用另一块压电陶瓷接收反射回的超声波并转化为高频电信号,测得的两段电信号之间的时间差即为这段超声波的传播时间,进而可以计算出超声波发射源与障碍物之间的距离。

在Q-Car正面micro:bit插槽前方有一个2*4扩展槽,其中有“V,T,E,G”四个排针槽位对应从micro:bit的“3V,P13,P14,GND”引出
<div align=center><img src="https://raw.githubusercontent.com/Wind-stormger/Q-car_docs/main/DOCS/picture/Q-car_front_view2.png" width="100%"></div>
可对应顺序连接HC-SR04超声波测距传感器的“VCC,Trig,Echo,GND”引脚。
<div align=center><img src="https://raw.githubusercontent.com/Wind-stormger/Q-car_docs/main/DOCS/picture/HC-SR04.png" width="50%"></div>
Q-Car在MakeCode中的扩展积+木中有一个"read ultrasonic sensor(cm)"积木,可以用于读取超声波传感器所测得的其与前方物体之间的距离数值,单位可选厘米或英尺。
<div align=center><img src="https://raw.githubusercontent.com/Wind-stormger/Q-car_docs/main/DOCS/picture/screenshot-makecode2.png" width="100%"></div>
此积木仅有读取数值的功能,所以需要将其赋值给一个“Variables”变量积木,或是如条件判断的比较积木等其他可嵌套进数值的积木中来使用。
<div align=center><img src="https://raw.githubusercontent.com/Wind-stormger/Q-car_docs/main/DOCS/picture/screenshot-makecode8.png" width="50%"></div>

在Loop选项栏中,有一个“while”循环积木,在不给它添加循环条件时,程序运行到这里就会开始无限循环执行其内部的积木。

在Logic选项栏中,有一个“if”条件积木,当满足我们添加在上面的判断条件时,其内部的积木会被执行一次。

利用这些即可设计一个利用超声波测距传感器控制Q-Car与前方障碍物保持一定距离的程序。
show original


