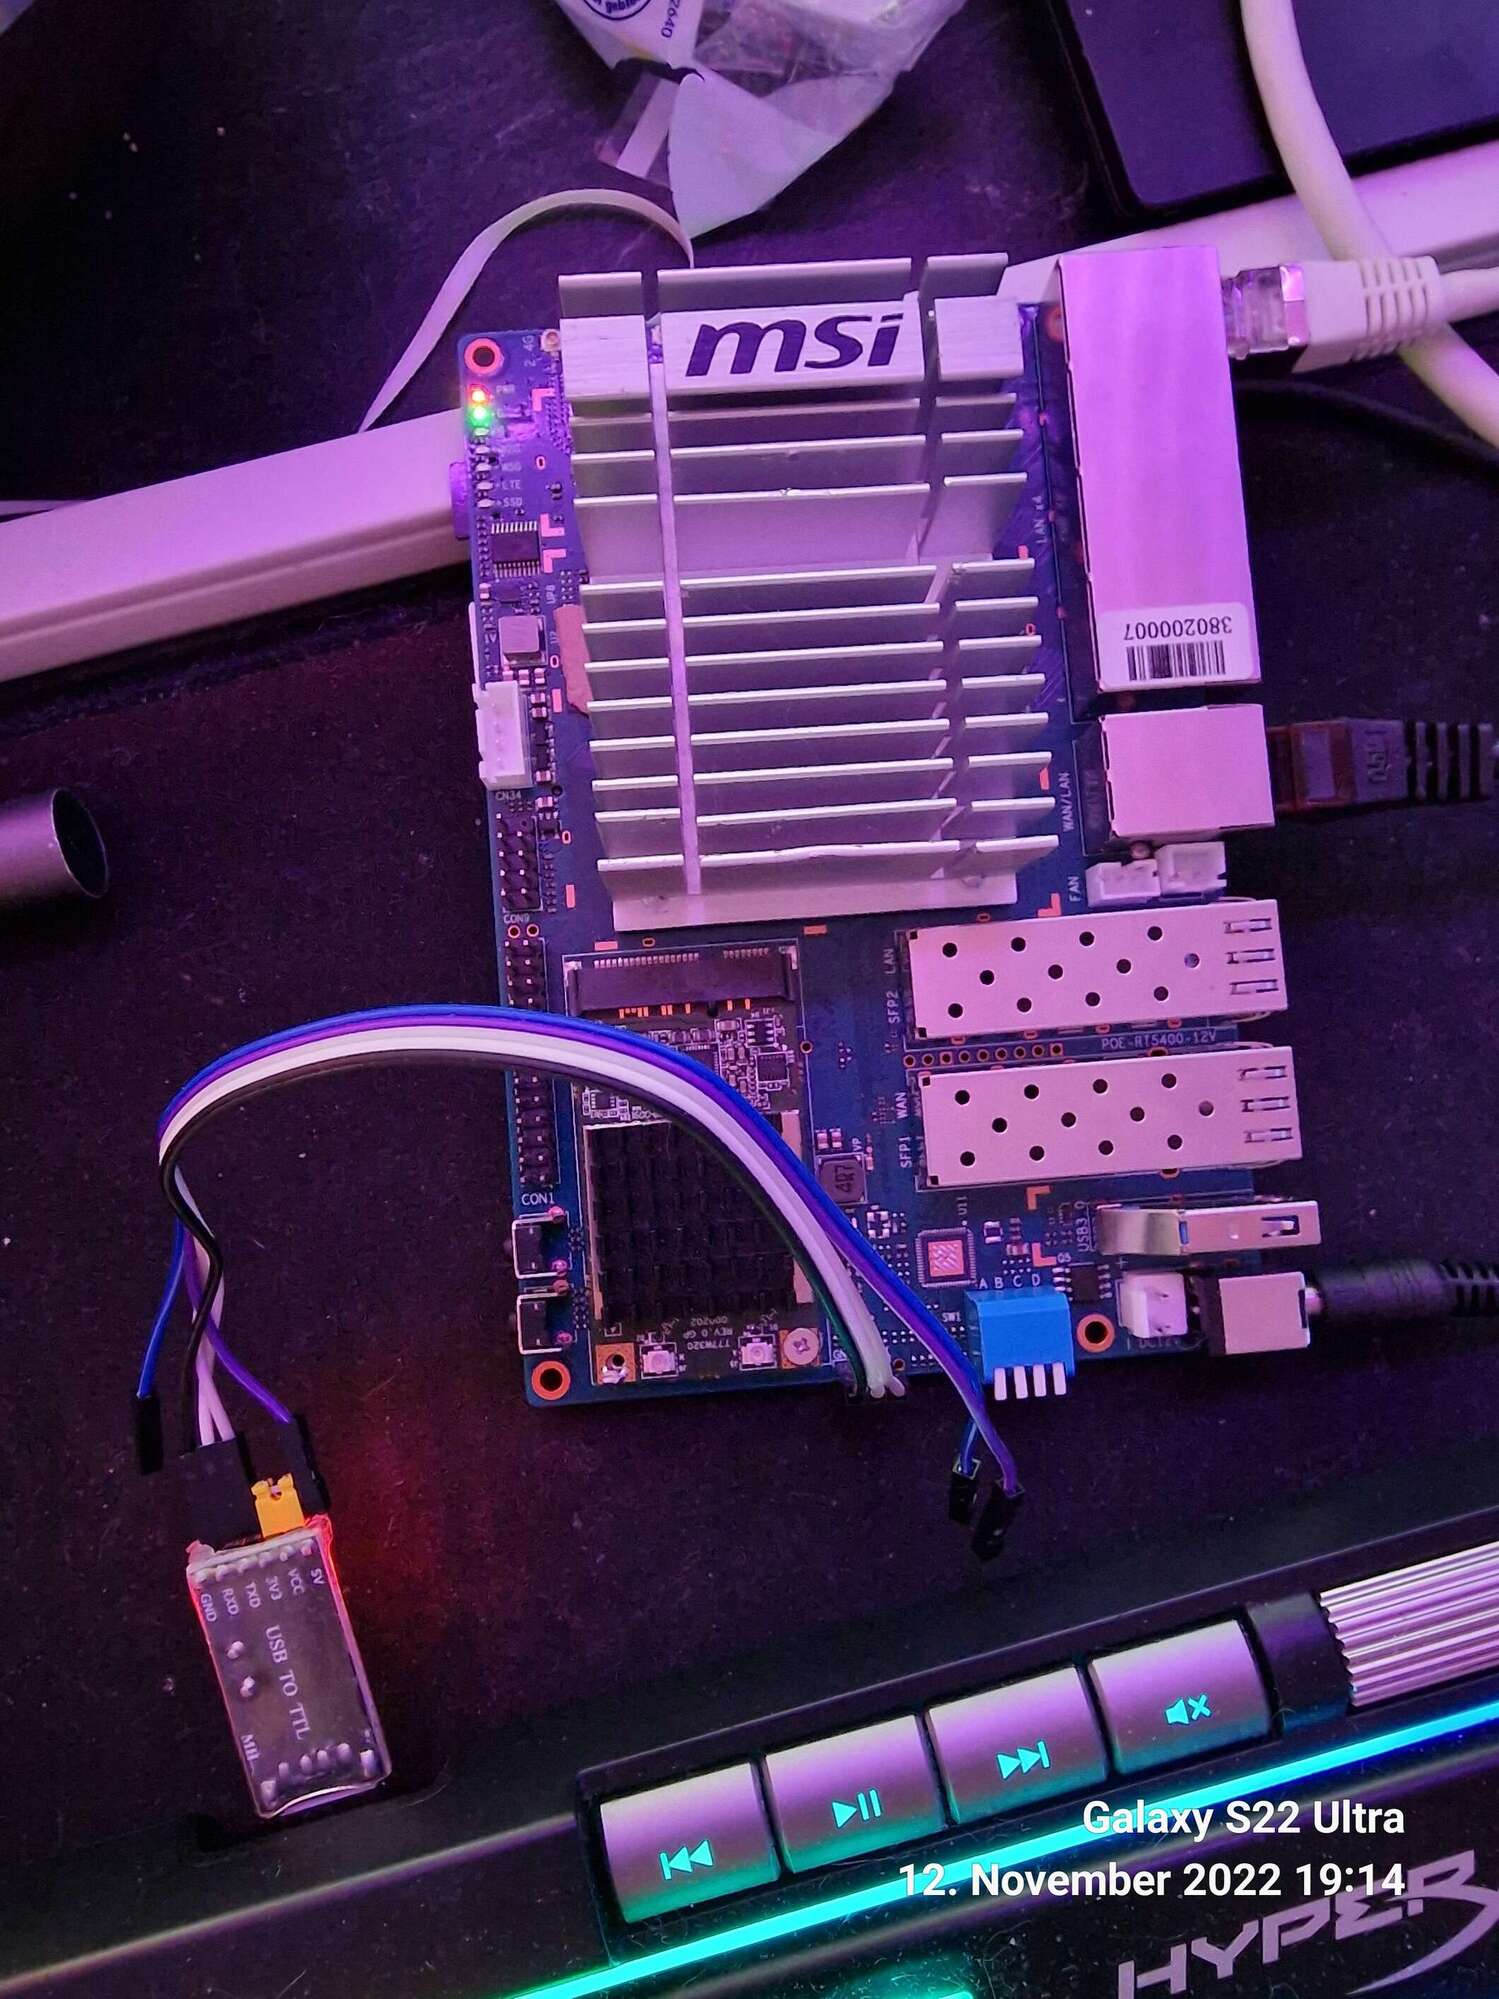
To install to NAND and then subsequently to eMMC the best is to connect to the debug UART. Use your USB to TTL adapter in 3.3V setting and connect RX, TX and GND. See here to find the right pins of the Debug UART:
Other than official release images (which are not yet available for the R3) OpenWrt development snapshots don’t come with the LuCI Web-UI pre-installed. Hence you will have to install it yourself using
opkg update
opkg install luci-ssl
Alternatively you can also generate ready-made images with additional packages pre-installed using the OpenWrt Firmware Selector.
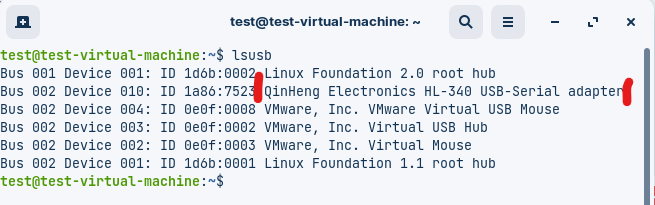
so the usb to ttl is shown to me in linux, how must the switches be on the board so that i can also access the nand and emmc? can i also read out the emmc with lsblk?
You need the USB serial adapter and puTTY just to see the debug console output and interact with the boot menu. Everything needed for installation is contained in the sdcard image.
So, step by step:
You need the USB end of the adapter plugged to your computer.
connect RX, TX and GND signals of the adapter to the Debug UART of the BananaPi R3
download *sdcard.img.gz file
decompress (gunzip) *sdcard.img.gz file
write *sdcard.img to microSD card
insert microSD card in BananaPi R3 board
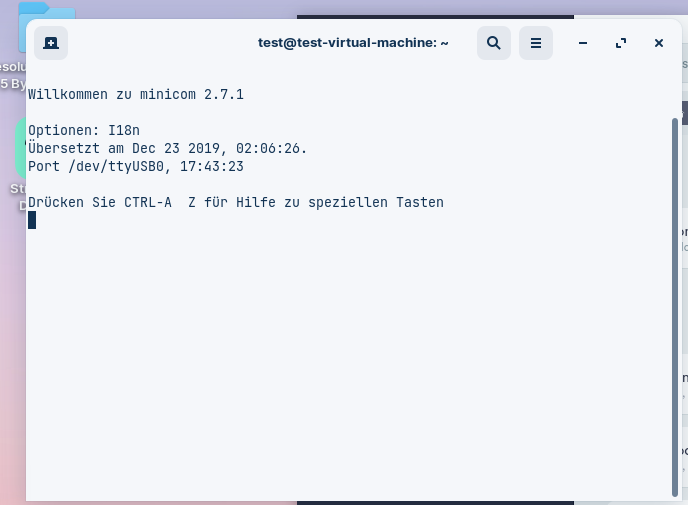
strart puTTY and select the COM port of the USB to serial adapter, 115200 baud, 8N1
or use minicom on Linux and select /dev/ttyUSB0.
put switches of the BananaPi into position to boot from SD card and select NAND flash with the SPI-chipselect switch
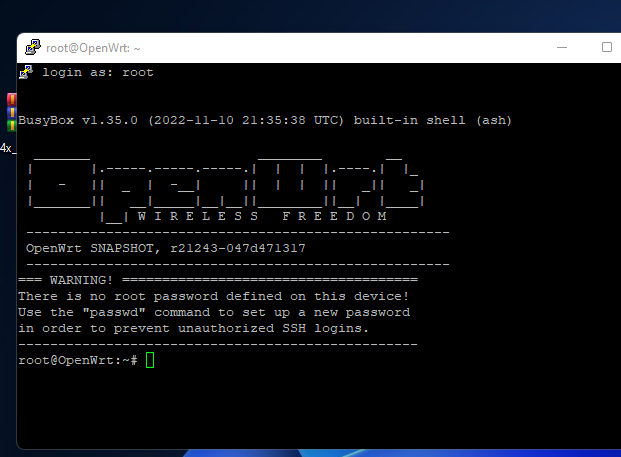
now power on the board, you will see U-Boot menu after a short time
select Install ... to NAND option
once installation has completed (1-2 seconds) you can disconnect the board from power
now put switches into position to boot from NAND flash and select eMMC with the MMC data switch
connect the board to power again, this time you will see bootmenu start started from NAND
select Install ... to eMMC option
once installation has completed (1-2 seconds) you can disconnect the board from power
now put switch into position to boot from eMMC
when you connect to power again, you will see the board booting from eMMC
My board came with all-empty flash. It can be that newer boards come with SinoVoip’s OpenWrt-fork pre-installed.
The SPI chip select is SW5 of the 4 hardware switches you described. The MMC data switch is SW6. SW1 and SW2 are bootstrap pins to select boot device and method for the SoC’s BootROM.
There is not even the bootrom (always shown independend of bootmedia)…are you sure you are using the right tty device, connected the right way (tx-rx,rx-tx,gnd-gnd) and board powered on (red led on)?
Simple question: Did you cross RX and TX? You have to. TX of the R3 has to be connected to RX of the USB-serial adapter, RX of the R3 to the TX of the adapter.
If putty works i guess there is another ttyUSBx or settings are wrong.
ls /dev/ttyUSB*
Show your settings in minicom (speed 115200 8n1,no flow control).
If all is right,maybe there is no new output after board was booted and you have to press only enter.
Btw were holes from the heatsink matching? What is the partnumber to find it? In my current tests i get no higher temp than 45°C,but i have not yet a closed case