BPI-ESP32 for webduino & arduino easy to use instructions
Power supply : Micro USB(Commonly used) or DC 12V Debugging tools : IDE(Arduino/uPyCraft/ESP-IDF)
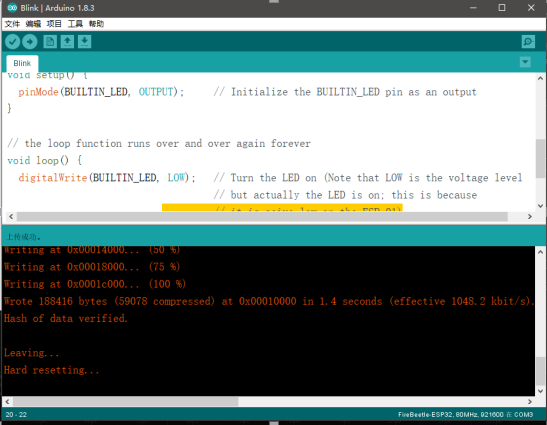
Debug method: Arduino IDE for ESP32 Program download (Download the HEX file) (Need to add ESP32 board in Arduino IDE)
After the program compiles OK, you need to manually press and hold the IO0 button and then use the USB cable to link the card and the PC and then start the download. After the download is completed, release the IO0 button, and power on or reset the program code function normally.
uPyCraft burn firmware and online debugging: When using uPyCraft, you need to burn the firmware beforehand.
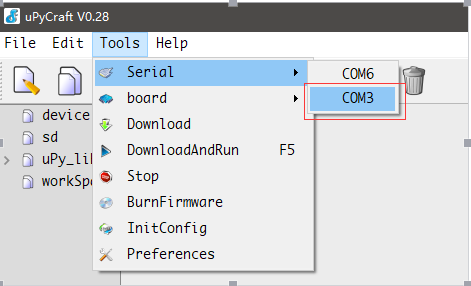
First select the interface in the uPyCraft ESP32 board serial port,

Then select the type ESP32, the following can choose whether to erase the flash
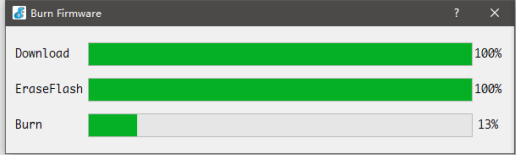
When the Download or EraseFlash progress bar can not continue the progress bar after the completion of the need to press down colleagues EN and IO0 then release EN and then release IO0 can be. When the firmware is burned, you need to manually reset the board once it is finished. You can select the serial port connection or click the icon to connect.

After connecting the software in the lower right side of the dialog box >>> logo.
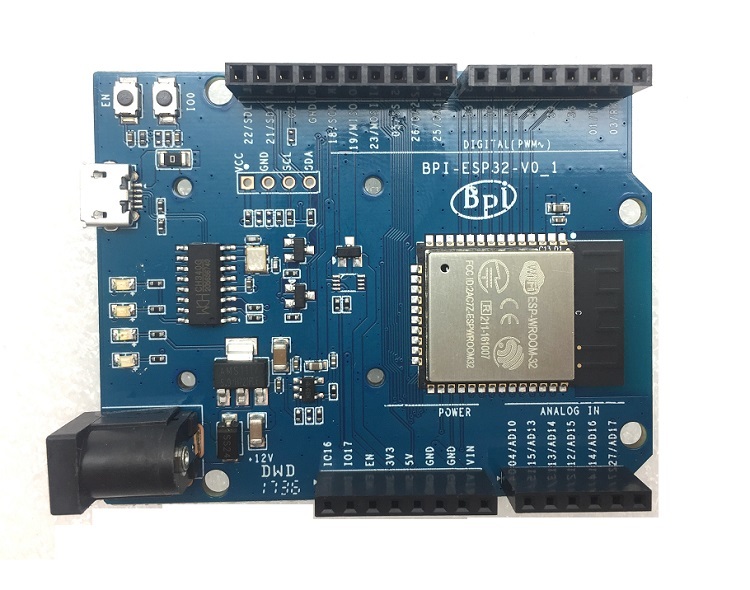
Hardware Interface: Micro USB, DC 12V, compatible with Arduino GPIO pin layout
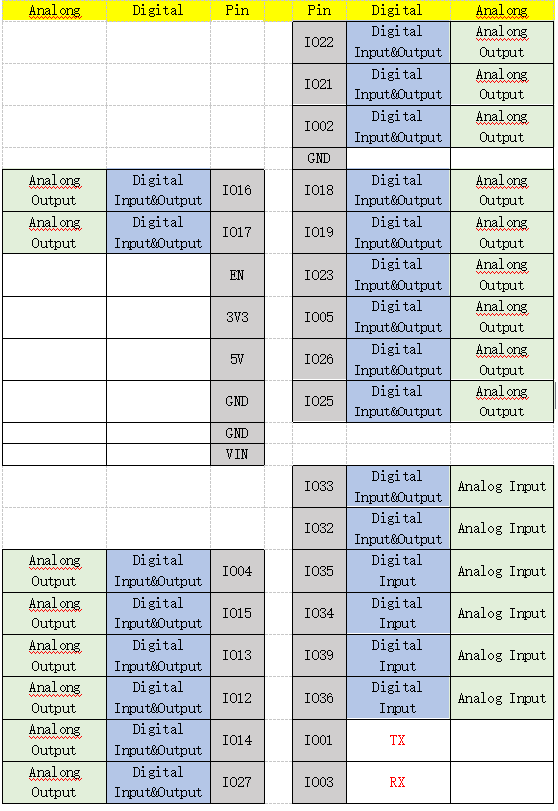
Table .BPI-ESP32 Pin Functions
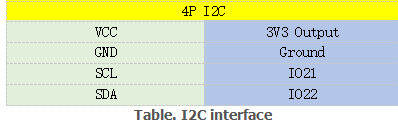
Board left a group of 4P I2C bus can be accessed 0.96 "OLED, and with fixed holes
online gitbook documents:
https://bananapi.gitbooks.io/bpi-accessories/content/en/bpi-uno32-for-webduino-and-arduno.html