
BPI-Pico-S3 is the same size as Raspberry Pi Pico board, equipped with ESP32S3 chip, 8M flash, 4-layer PCB, electroplated half-hole process, ceramic antenna, supports 2.4 GHz Wi-Fi and Bluetooth® LE dual-mode wireless communication, is a development board designed for IoT development and Maker DIY.
Hardware interface

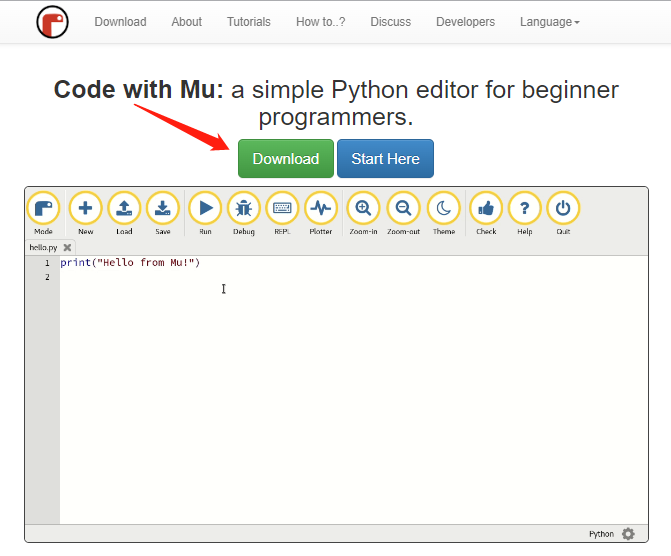
CircuitPython with Mu Editor

CircuitPython is a programming language designed to simplify experimenting and learning to code on low-cost microcontroller boards.
CircuitPython programming with Mu editor is the easiest way to get started. Install the software and connect the device to start using it.
Hardware Preparation
-
Mu editor supports Windows x64, Mac OSX, Linux operating systems, prepare a computer running one of these operating systems.
-
A development board that supports CircuitPython, such as BPI-PicoW-S3.
-
A USB cable that can connect the development board to the computer.
Download and install Mu Editor
- Enter Mu Editor , click the Download button to enter the new page.
- Select the operating system currently used by your computer, and click the Download button of the corresponding operating system to start downloading the installation package.
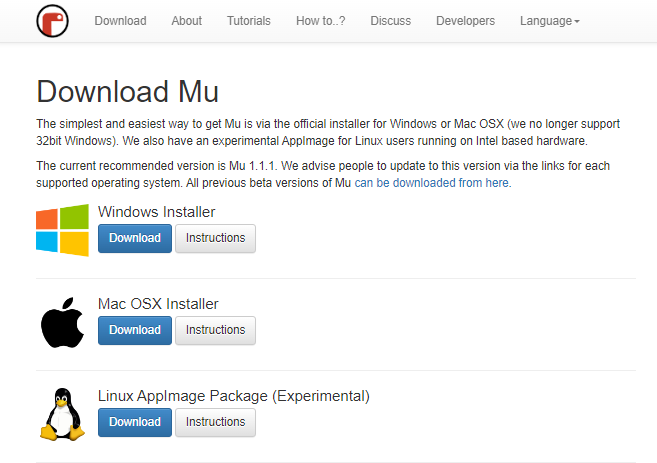
- Click the Instuctions button of the corresponding operating system to view the detailed installation steps, and install according to the instructions.
Establish the connection
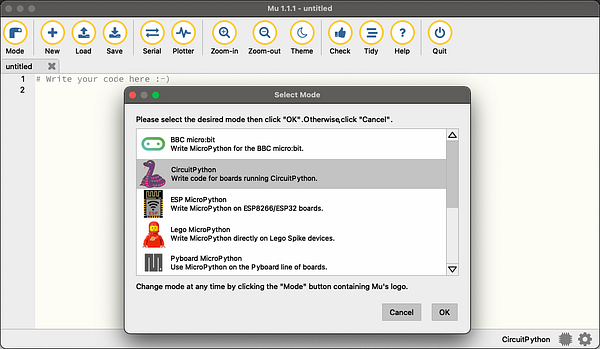
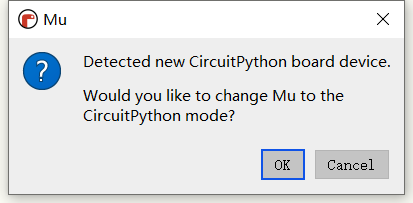
- Start the Mu editor and change the mode to CircuitPython, if you have connected the CircuitPython development board correctly, you will be prompted whether to switch to this mode directly.
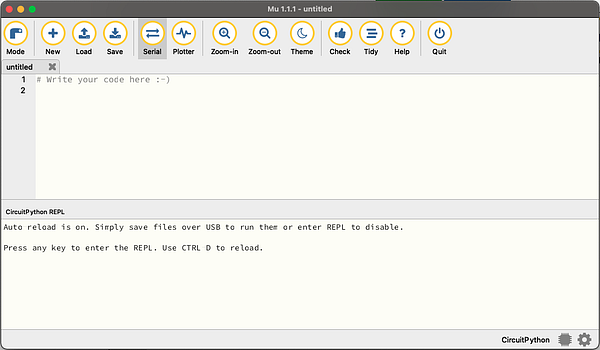
- Click the Serial button and press any key to enter the CircuitPython REPL.
Edit code.py to make the LED blink
-
Click the Load button, select the code.py file on the CircuitPython development board, and click Open to start editing code.py .
-
Enter the following code in the editor:
import time
import board
import neopixel

pixels = neopixel.NeoPixel(board.NEOPIXEL, 1, brightness=0.1)

while 1:
    pixels[0] = (255,0,0)
    pixels.show()
    time.sleep(0.5)
    pixels[0] = (0,255,0)
    pixels.show()
    time.sleep(0.5)
    pixels[0] = (0,0,255)
    pixels.show()
    time.sleep(0.5)
    pixels[0] = (255,255,255)
    pixels.show()
    time.sleep(0.5)
- Click the Save button, and the edited content will be saved to the CircuitPython development board.
Reference Resources
video demo on youtube:
-
OEM&OEM customized service: [email protected]