Banana pi R3 fan with PWM

Through the schematics, it seems that R317 and R318 are supposed to be interchangeable for that exact purpose (they have the same resistance value and all - actually just a jumper, not an actual resistor), BUT, there’s also a 0R at R320 while R319 is not populated (and a 10K at R321, and another 0R jumper at R322 which I’m absolutely unsure if they’re related), I wonder if that’s also required to be swapped in order to have proper 12V fan support. If anyone from Sinovoip (or anyone who made contact with support regarding this) would be so kind to drop in, it would be awesome… I’m not as versed in electronics as to give the call if R317/318 is all that’s needed, or if there’s also another swap to be made :confused:

What I AM sure is that you could always use the CN34 (XH-4AK type connector) with a custom connector to supply either 5V or 12V (it’s supposed to be used for SATA, for some reason, but there’s no SATA data port - or adapter, like in the BPi M3 - available, so it’s free to be used).

If I’m not mistaken, R320 and the others are related to driving the PWM with 3.3V and have nothing to do with VCC_FAN. I used the SATA_12V for supplying a fan snd it worked, you just neet to set GPIO8 high. And maybe avoid connecting a SATA device to the mPCIE at the same time. Can anyone confirm?

You can use a pci2sata (e.g. jmb585) bridge in m2 slot,but then you need power for your drives. This is the reason for this adapter. But if you do not use such adapter you can use connector for a fan

I’ve got confirmation from support, it’s just swapping R317/R318 to choose between 5/12V, the other resistors are unrelated.

1 Like

Hallo, first of all, i want to give an overview (i decided for an 4 Pin Fan). The first Quest was choosing the right thermal Pads:

Thermal%20Pad%20Overview

3 Likes

Heat sink with fan i buyed from Aliexpress:

Heat%20sink%20with%20fan

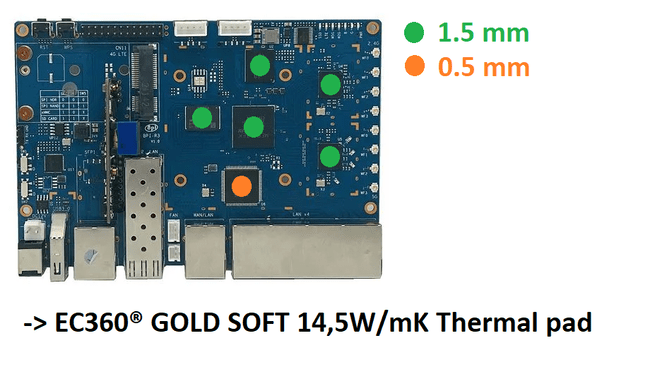
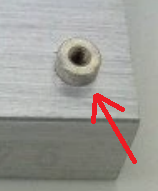
For preventing a gap between heatsink and thermal pad, I took away 1 mm of the screw sleeves on the backside of the heat sink:

fan

I’m not sure it was necessary! Be careful during tighten the screws!

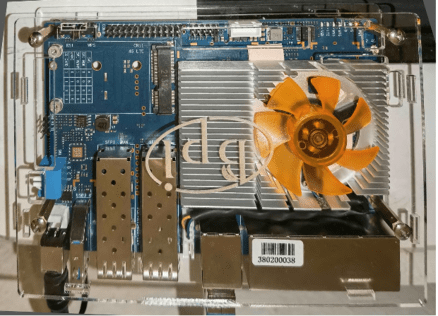
I used the BPI-R2-Case. But only the Top and Bottom site.

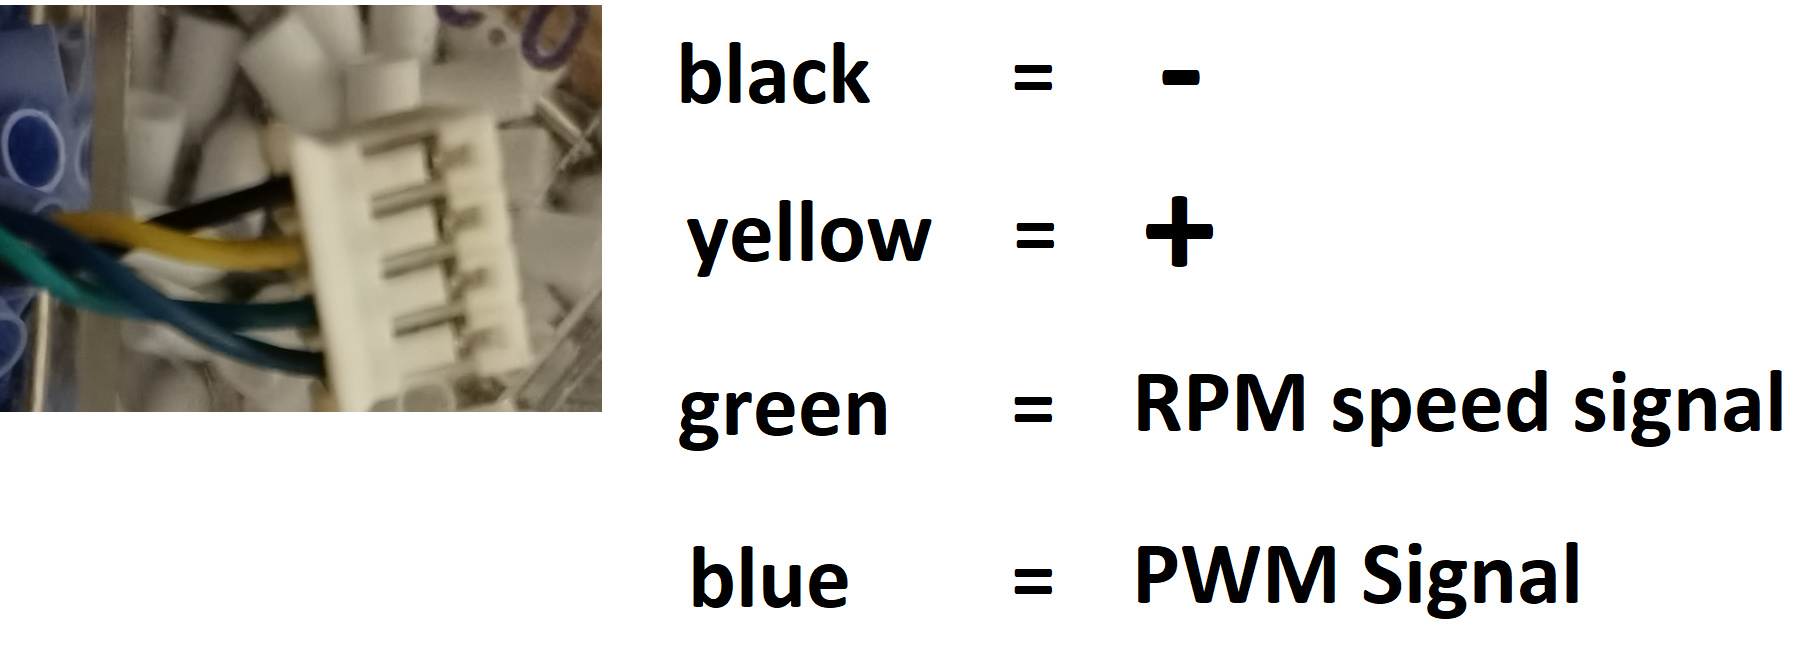
As i said, the original fan connector was a 4 Pin: original%20Pinning

For the connection with the Board i buyed a 3 Pin connector. And I was lucky because the 4 Pin connector was same kind like the 3 Pin connector. I just had to remove the single cable from 4 Pin an do it into 3 Pin connector: Pinning%203%20Pin

I’m not sure that what i do was right, because the fan was running the whole time! It also worked with the green cable for pin 3. After I installed Open WRT the fan runs during start maybe 10 seconds and stops. That happends at every start of the R3.

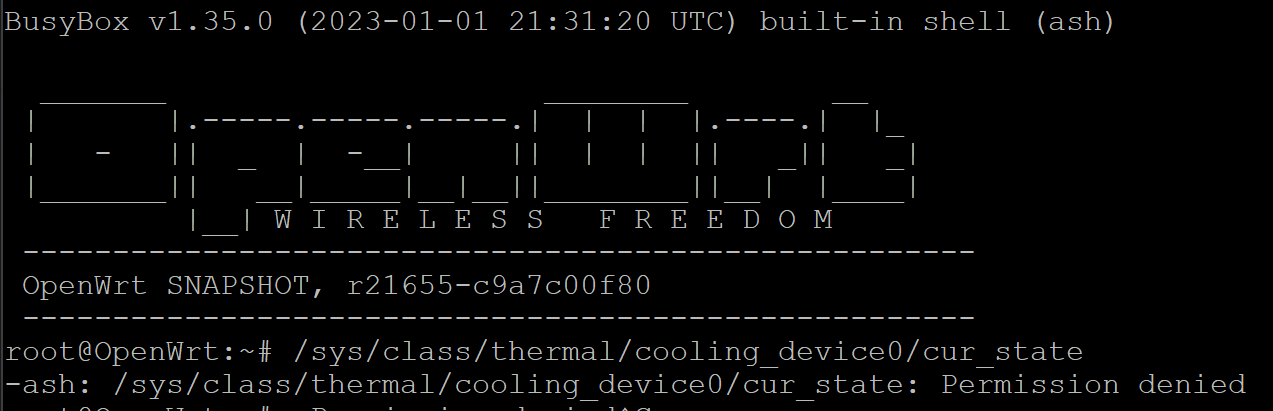
Did someone now how i can access to the fan settings?

I’m not experienced with open wrt. I installed luci and can access via ssh. But not much more

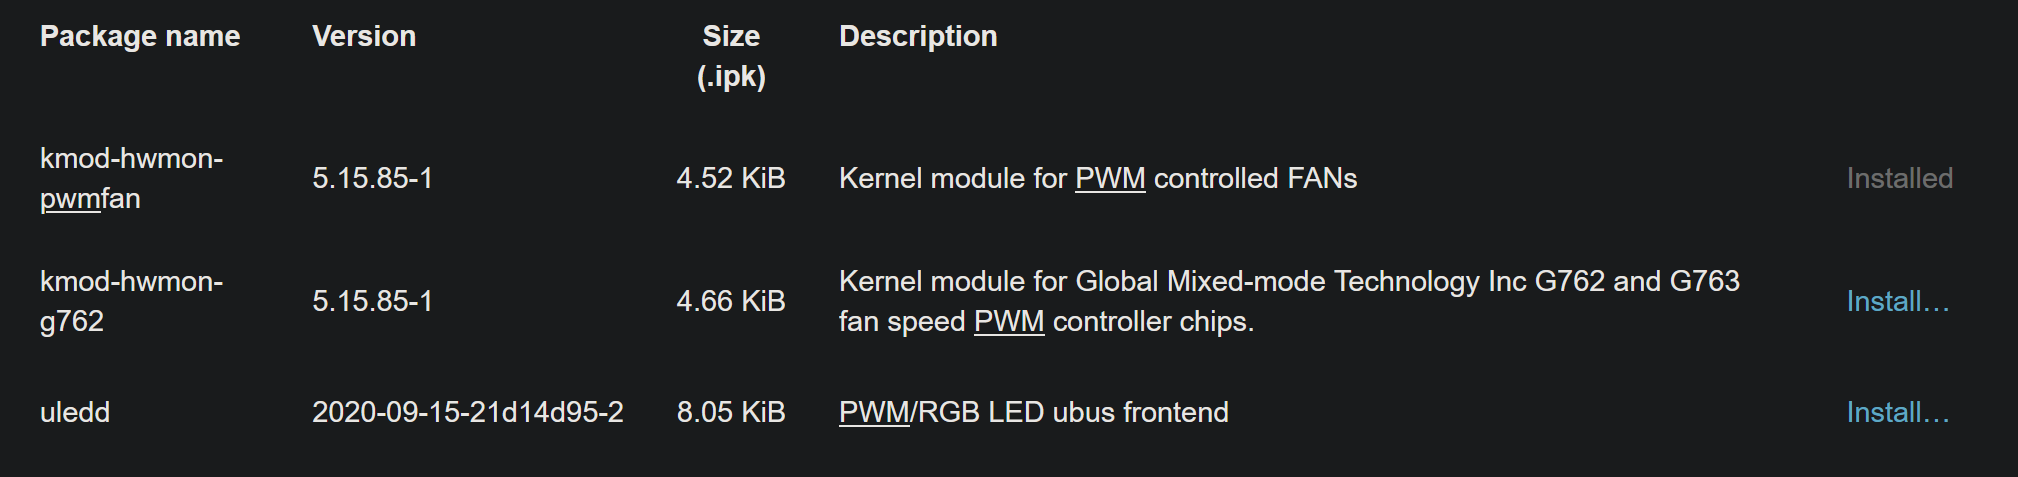
During my search i found in Luci that one PWM Package is still installed: kmod-hwmon-pwmfan Screenshot%202023-01-04%20044239 Did someone know how to access these modul/package? Thanks!!!

2 Likes

Hello, Is it possible the pwm to switch off the fan because the cpu is cold?

I think, it should be possible because my fan is NOT running. The fan runs only at the start (5 seconds) and then stops. But I do not know how to change it. I want to change the behavior for different temperature ranges. But I did not found something in Luci … . Its a bit frustrating …

The fan is registered as a thermal cooling device with the Linux kernel, hence it is controlled by temperature according to temperature trip points.

You can still interfere manually by accessing it via /sys/class/thermal/cooling_device0/cur_state.

I now, its not exact an Fan cooling problem. But I’m very new at open wrt. Can you describe a bit more?

I have a general problem with access via ssh (putty): -> permission denied Screenshot%202023-01-04%20220011

Has someone an idea what i have to do to get a “permission granted” ?

If you want to read “cur_state”, use cat:

cat /sys/class/thermal/cooling_device0/cur_state

Try:

echo 3 > /sys/class/thermal/cooling_device0/cur_state

That should fire up the fan to 75%.

On my board the wifi 2.5 phy has higher temperature

root@BPI-R3:/# cat /sys/class/thermal/cooling_device0/cur_state
0
root@BPI-R3:/# sensors
mt7915_phy1-isa-18000000
Adapter: ISA adapter
temp1:        +33.0°C  (high = +120.0°C, crit = +110.0°C)

mt7915_phy0-isa-18000000
Adapter: ISA adapter
temp1:        +55.0°C  (high = +120.0°C, crit = +110.0°C)

Okay, thanks, thanks, thanks !!! After the “echo 3” command, the Fan runs 4 seconds and stops again. Interesting …

Yes, it is still controlled by the thermal sensor (see cat /sys/class/thermal/thermal_zone0/temp) which is polled every couple of seconds…

is that the CPU temp?

root@BPI-R3:/# cat /sys/class/thermal/thermal_zone0/temp
27681

My current value for R3 is 34523 with running fan. What are you using as thermal cooling system? I use 1.5 mm thermal pad and headsink with fan.

Okay, i took away the top cover. Now i have 27275 with running fan. I did not think about how much the top cover influenced.

I use an open air acrylic case, I like easily access to the internal components.

I connected the 4 pin fan to the sata connector, using this script to control the fan usage

#!/bin/sh

pin_num=8
sleep_time=5 #seconds
fan_time=30 #seconds
fan_temp_threshold=45

gpio_num=$((pin_num + 411))
echo $gpio_num > /sys/class/gpio/export
gpio_sys_path='/sys/class/gpio/gpio'
gpio_sys_path="${gpio_sys_path}${gpio_num}"
current_dir="`cat ${gpio_sys_path}/direction`"
if [ "$current_dir" = "in" ]; then
	echo out > "${gpio_sys_path}"/direction
fi
echo 0 > ${gpio_sys_path}/value
while [ true ]
do
temp=$((`cat /sys/class/thermal/thermal_zone0/temp`/1000))
if [ "$temp" -gt "$fan_temp_threshold" ]; then
	echo 1 > ${gpio_sys_path}/value
	sleep $fan_time
	echo 0 > ${gpio_sys_path}/value
else
	sleep $sleep_time
fi
done

You can also use GPIO8 to generate a 12v PWM signal. I have a script for that as well if anyone is interested. You only need 2 wires.