
Minecraft Server on BPI
We all know sometimes it is more fun to play Minecraft with friends and other people on a server instead of playing alone. That is exactly the reason why so many public Minecraft servers are set up; but have you ever wanted to make your own server? The BPI Banana Pi boards is the perfect low cost solution to hosting a dedicated private Minecraft server. The dual-core processor and 1GB of RAM can probably handle moderate Minecrafting.

Installing Spigot Server
credit: as you can see in the video I did not come up with these on my on, rather I read Spigot's website and Google to optimize a set of commands for your banana pi.
My hardware: BPI M1 Dual-core A20 running on Bananian with 8GB SD
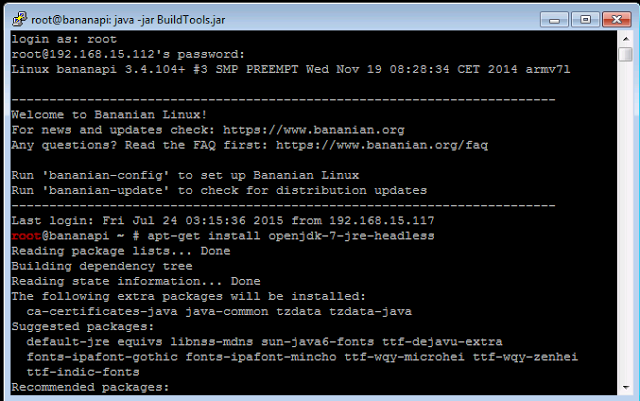

First, we need to install java
apt-get install openjdk-7-jre-headless
then install git
apt-get install git
Then get build tools for Spigot server
wget "https://hub.spigotmc.org/jenkins/job/BuildTools/lastSuccessfulBuild/artifact/target/BuildTools.jar" -O BuildTools.jar
Run the build tool
java -jar BuildTools.jar

The process took 2 hours for me on the M1, I know its a long time, but you can just leave you Banana Pi on and do other things.(For example: looking at my other blog posts:)
Start the Server, locate spigot.jar
cd Spigot/Spigot-Server/target
ls
make new start script
nano start.sh
copy and paste the two lines below into it
#!/bin/sh
java -Xms512M -Xmx1024M -XX:MaxPermSize=128M -jar spigot.jar
set permission
chmod +x start.sh
run start script
./start.shYou will get an error telling you to sign eula.txt, so do that
nano eula.txt
change the "false" to "true", press "control + x" to exit, select y to save
Modify server settings

Now paste the default properties found on gamepedia. Change settings as needed.
Modify server settings
nano server.properties

Now paste the default properties found on gamepedia. Change settings as needed.
#Minecraft server properties
#(File Modification Datestamp)
generator-settings=
op-permission-level=4
allow-nether=true
resource-pack-hash=
level-name=world
enable-query=false
allow-flight=false
announce-player-achievements=true
server-port=25565
max-world-size=29999984
level-type=DEFAULT
enable-rcon=false
level-seed=
force-gamemode=false
server-ip=
network-compression-threshold=256
max-build-height=256
spawn-npcs=true
white-list=false
spawn-animals=true
snooper-enabled=true
online-mode=true
resource-pack=
pvp=true
difficulty=1
enable-command-block=false
gamemode=0
player-idle-timeout=0
max-players=20
max-tick-time=60000
spawn-monsters=true
generate-structures=true
view-distance=10
motd=A Minecraft Server
Start the server again
./start.sh
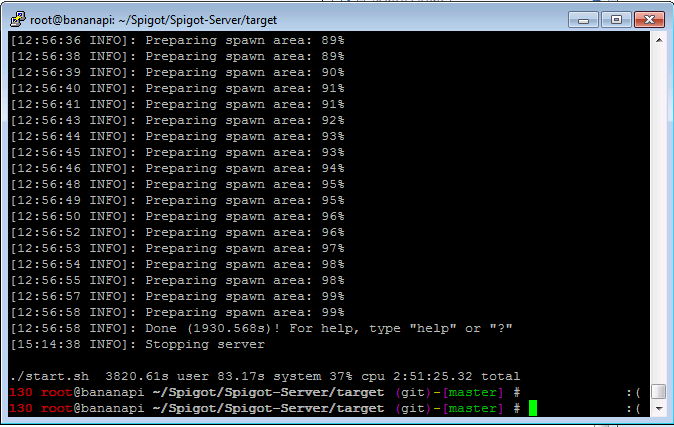
It will prepare the spawn area which will also take a really long time.
Testing
Now you can connect to the server through the IP specified IP in the server properties file. For your friends to connect, you have to forward the minecraft port 25565 to the Banana Pi in your router settings.